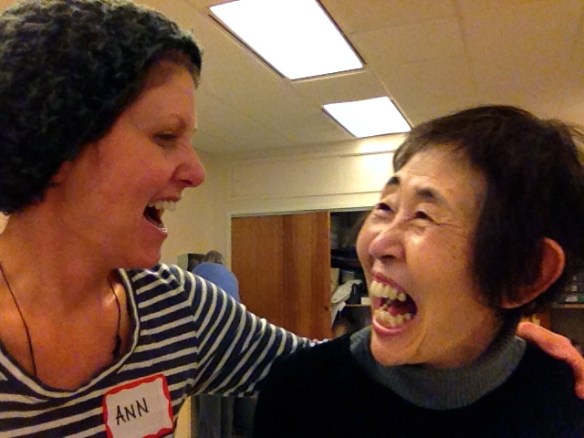
Instructor Midori Tanimune, a diminutive and ageless Japanese woman with twinkling eyes, begins the class with a story about herself. When she was 11, living in Japan with her family, her father tragically passed away. She had spent every day talking to her father in the fields, and they were very close, so when he died she didn’t know what to do with her grief. Her mother, having no other answers, sent her to tea ceremonies and Ikebana class once a week after school. Midori would listen to her Ikebana teacher, and talk about herself, and as long as she came home with a flower in her hand her mother did not question her. “Ikebana saved my life,” she whispers, but through a smile. It will teach you to “clean up your soul” and respect nature, respect silence. I look around at my classmates in surprise at this raw emotion I did not expect to feel at 9am in the Acer Room at Longwood. There are some other watery eyes too.
Midori is in the Sogetsu School, the newest Ikebana school founded in 1927. In this school, they use unconventional materials alongside fresh flowers. Their philosophy of Ikebana is that “it can be created anytime, anywhere, by anyone in any part of the world and with any kind of material.”
Also, the teacher must make the arrangement towards the student, which I imagine might be difficult, given all the precise angles, etc. Midori explains that if we see something we want her to do or to change, to speak up. I know I certainly don’t feel qualified to do that at this point! As she creates several different designs for us, none of which I got very good pictures of I’m sorry to say, certain words of wisdom pop out at me.
- The moment you’re making it is the most important.
- Never put the kenzan in the middle of the container in Moribana. (Kenzan is the device with points meant to hold the stems.)
- Use a cutting bowl to cut stems underwater especially for spring flowers.
- There are 3 main elements when creating an arrangement in Sogetsu Ikebana: Line, Color and Mass. Line = Space.
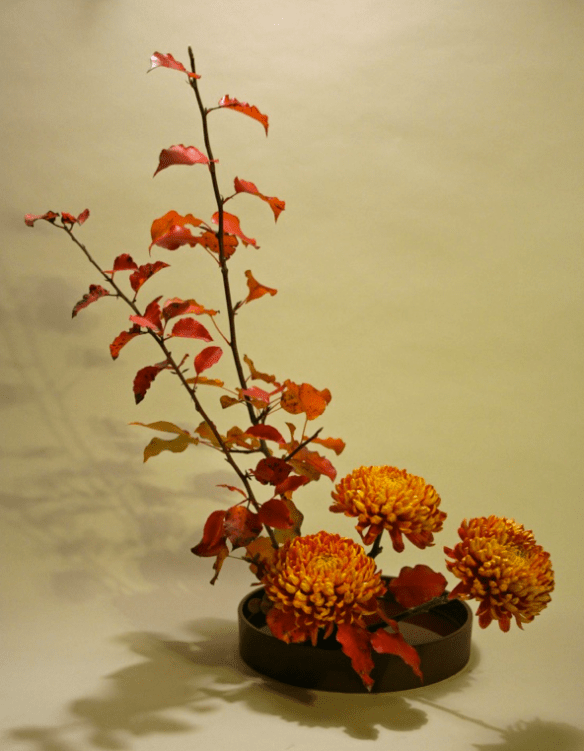
Basic Upright Moribana photo courtesy of http://keithstanley.com - 365 days of ikebana
Our first lesson is to create a Basic Upright Moribana Arrangement. Moribana, as you may recall from Day 1, means “piled up flowers.” And the basic upright arrangement is the most important, “because all freestyle comes from this.” There are 3 main stems and specific rules about how long they should be and at what angle they are placed in the kenzan. We’re using a long low container for this.
Shin is the First Main Stem, and Midori calls this stem “the husband.” The measurement of this stem is the most important, as the other stems will be fractions of it. The shin should be 1 1/2 times (the depth of the container + the diameter of the container.) The Shin stem goes in first, in the back center position, placed straight into the kenzan and then turned slightly to the left, as if bowing. In the arrangements we’re doing, the Shin is a Willow stem. Choose a side of the stem that will create depth, and trim the stem accordingly to create the strongest line.
Soe is the Second Main Stem, and Midori calls this stem “the wife.” The Soe is 3/4 the size of the Shin, and goes in second in the left front position. She is placed straight into the kenzan, then pushed to a 45 degree angle towards the arranger’s left shoulder. The Soe is also a Willow stem. In choosing how to place the stem visually, don’t think radially. Think about the stems ‘conversing’ with themselves. (This was not a natural thing for me to do! I’m so radially oriented!)
Hikae is the Third Main Stem, and Midori calls this stem “the child.” The Hikae is the shortest stem, and 3/4 the size of the Soe, and goes in the right front position. She should be placed straight into the kenzan, then pushed to a 75 degree angle towards the arranger’s right shoulder and opposite from the mother or Soe. We used a Lily for this stem.
Next, you should “invite all your friends to the house,” by placing in other supporting stems of the same material – lilies and willow. But these supporting stems, or Jushi, must never compete with the main stems for line or space. Always keep the spaces between the main stems open. And when placing the supplemental “friends” in, make sure some of them are angled towards the main action of the house, so they’re all having a conversation with each other, rather than angling them radially. Make sure they create movement. Also, remember that smaller blooms are placed higher in an arrangement, and larger ones LOWER. Then, place one main flower at the center to “close the door,” and add some greens or pittosporum in our case, to hide the mechanics of the kenzan (not too much but just enough).
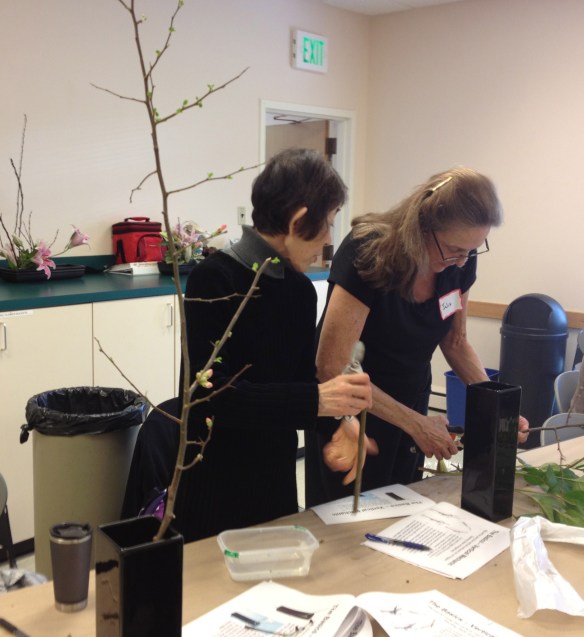
After a nice long lunch break, we’re back to create the Basic Upright Variation No 4 – Nageire Arrangement in a Tall Vase.
Nageire is Japanese for “thrown in” and usually utilizes a single long branch with shorter branches and flowers at the base arranged in a tall upright vase. And while there are only 2 main stems (the Shin and the Hikae,) there is NO KENZAN, or device to hold the stems in place, so the mechanics of this will be a little tricky.
The first order of business is to cut a supporting branch that will hold the Shin, making sure there is water in the vase first. Once you place your stems in, that’s it, it’s really hard to move the container without displacing the stems! So, your supporting branch will be a few inches lower than the container’s depth – and where it touches the bottom of the container, it will be cut straight, not on a slant. Cut a slit in the top side and widen it out – this will create a Y for the Shin to sit in. The Shin stem, a flowering Quince branch, should be as straight as the material will allow, and should be cut up the center so that it can connect strongly with the supporting branch. The end of the Shin should be cut on a slant and touch the side of the container for support. Actually there are some rules about the stems and where they can touch, that are basically all about how to anchor things so they stay in place best.
Getting the Shin in right is easier said than done! Midori has to help all of us with this. We are not used to working with this mechanic but it’s SO cool once you learn it!
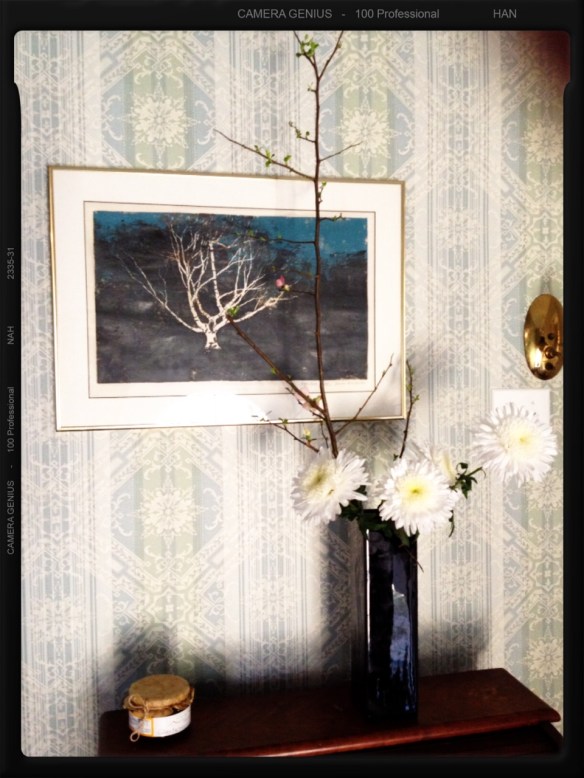
Then you will add the Hikae stem – in this case a big white Chrysanthemum. The Hikae must be placed at a 75 degree angle towards the arranger’s right shoulder, just like in the Basic Moribana arrangement. But in this design, there is no Soe. The Hikae stem should be against the back wall of the container to get the proper angle away from the Shin, and you can gently bend your stems to fit them in. Then place some supporting mums in, and then take a little left over mum foliage to hide the mechanics. Nothing in this design should be hanging over the back edge of the container!
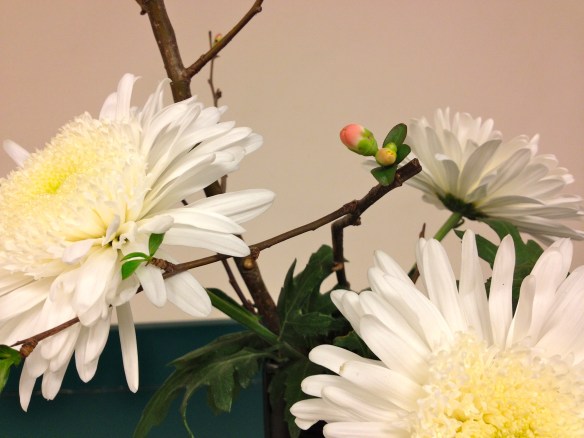
Midori helped my design by pruning back the quince branch to reveal the buds that were popping - so they became more evident
I loved this class and I loved Midori. She is such a special person and made all of us feel like we deserved an A+ for our designs. I learned a lot this day, and also felt spiritually connected to what I was doing. Thanks, Midori!
Photo of Midori at beginning of post courtesy of – New Castle Delaware – Arasapha May Market 2011’s Facebook page


