It’s been many moons since I’ve blogged, but recently I was inspired by an email from Mary in Mumbai. She writes, “…I really appreciate the time and efforts you have taken to provide information for your love for flowers, gardening and other activities. I hope you do carry on the good work. Your blog somehow has inspired me too and I will definitely try some of the stuff you have posted…I really look forward to hear about your new adventures in floral designing and your love for gardening.” Thanks, Mary!

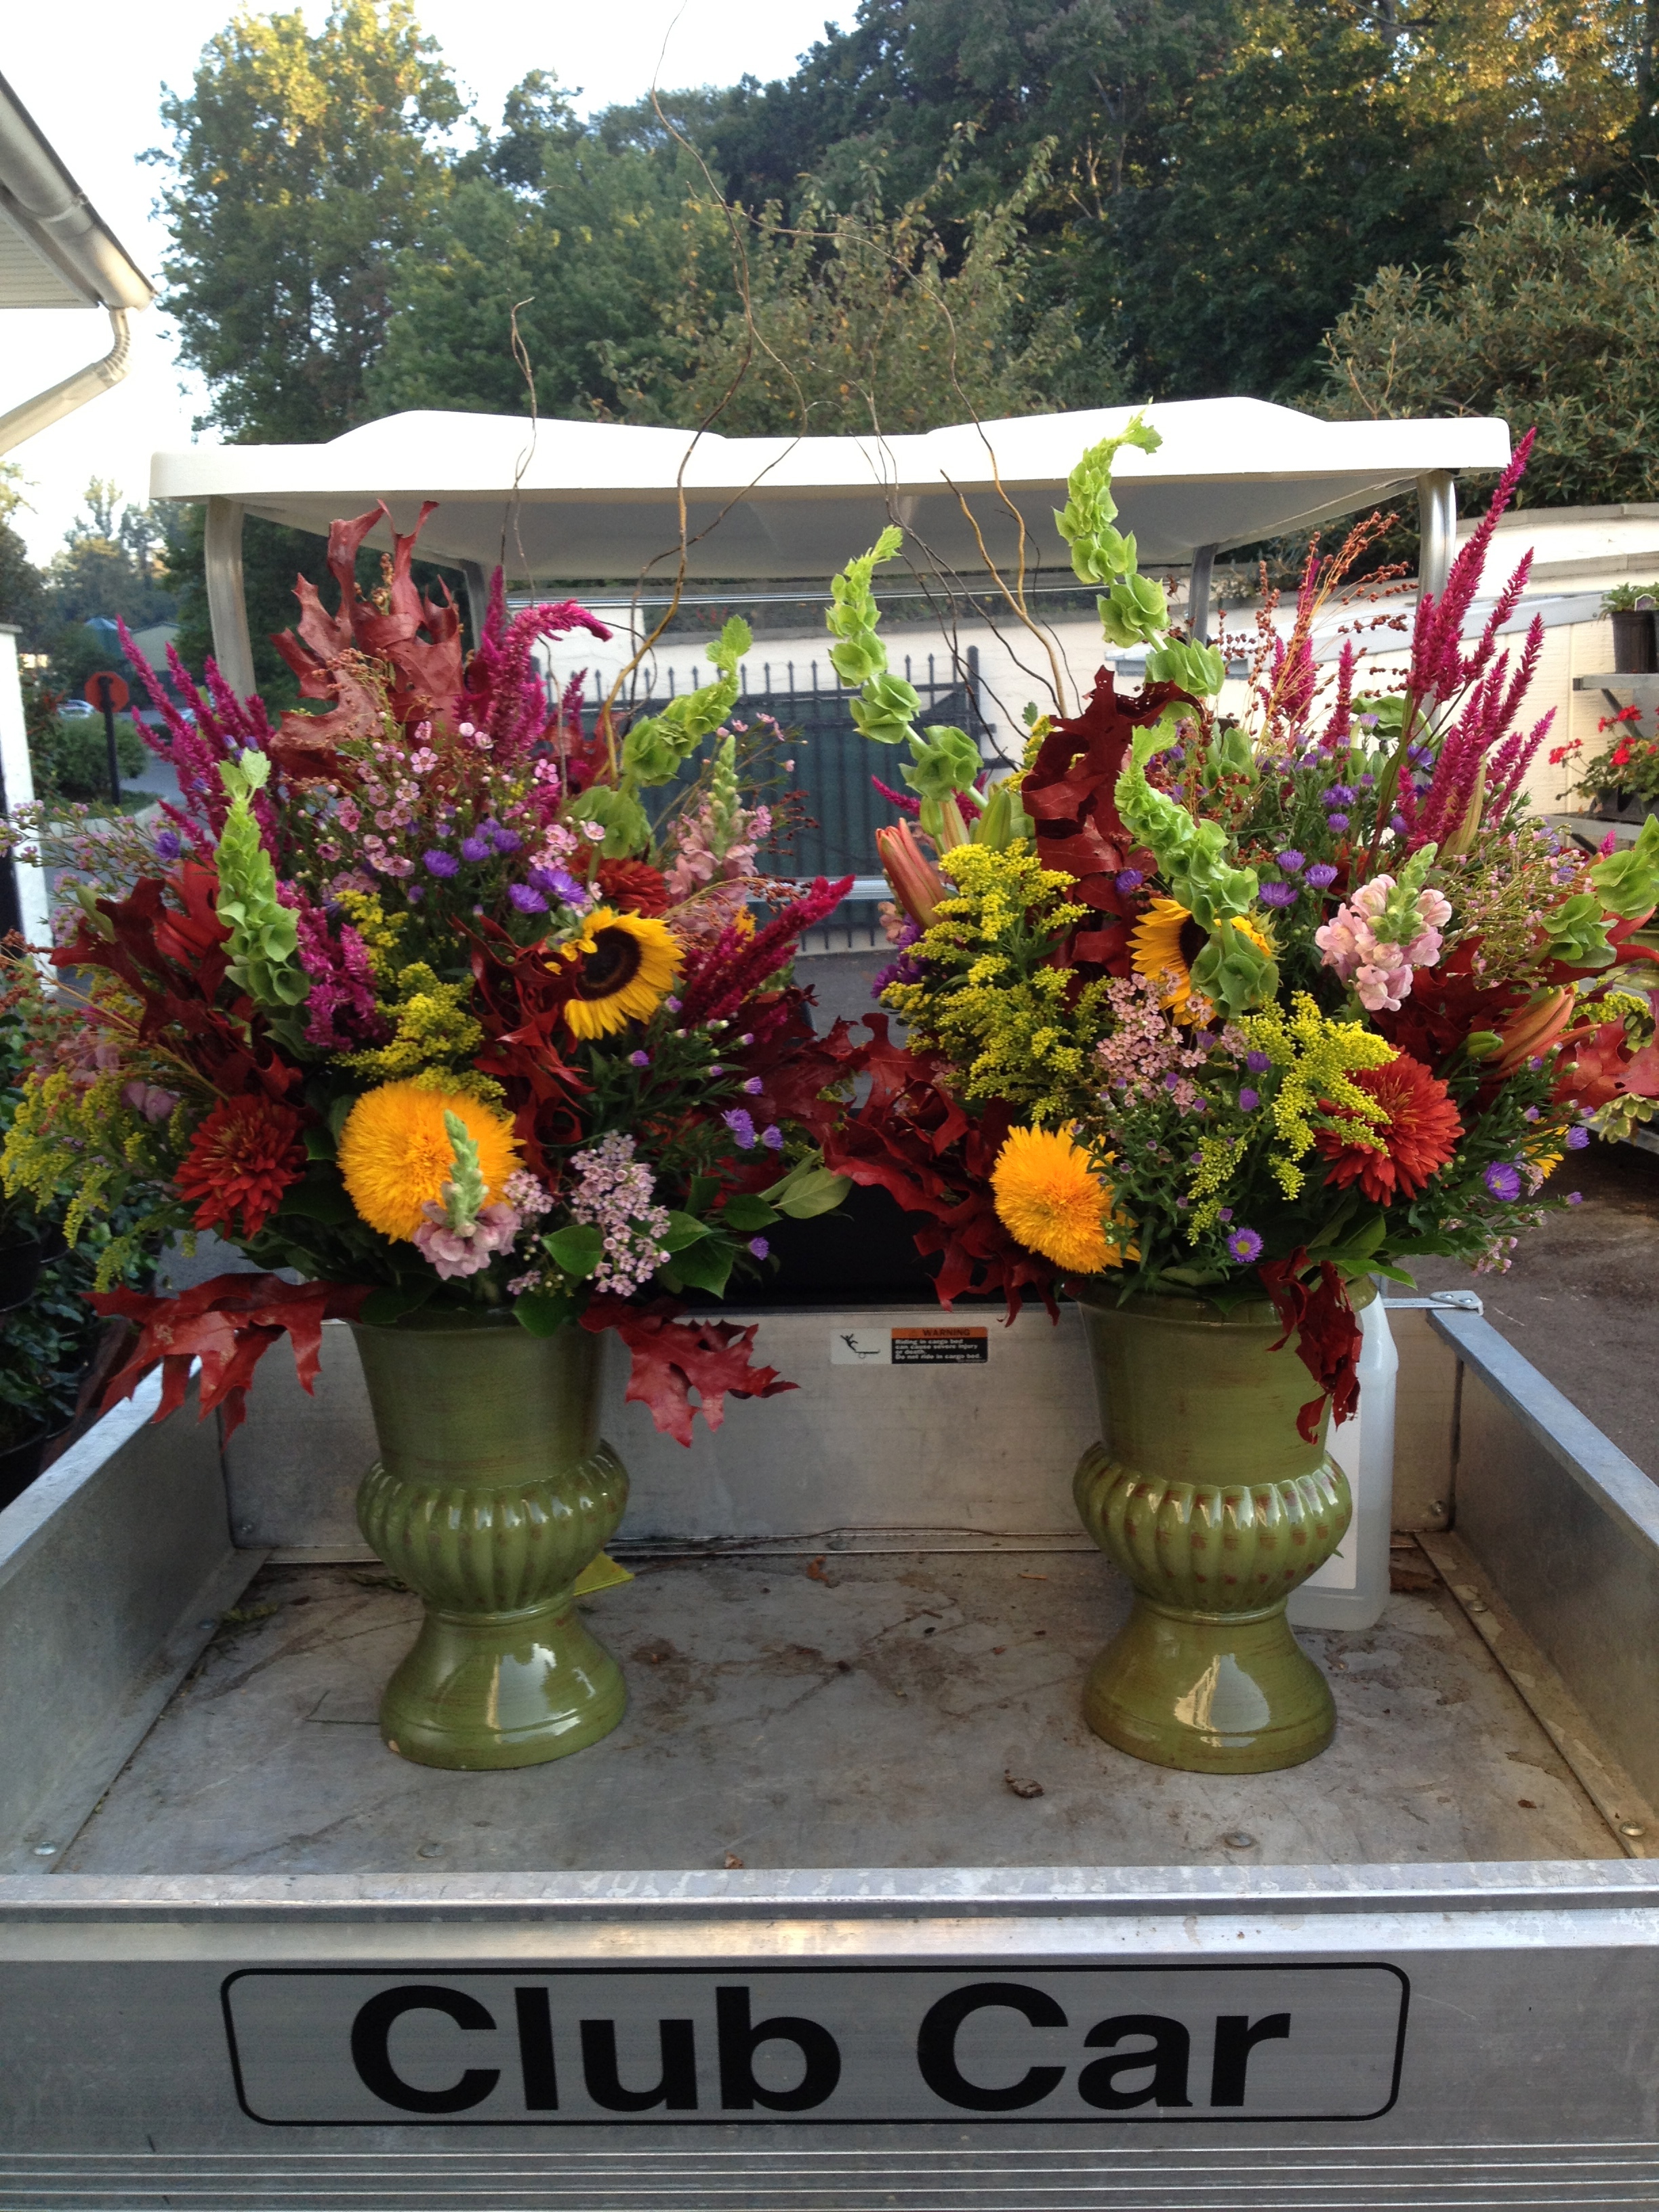
Golf Cart full of Autumnal Arrangements I created for Merion Golf Club
A lot has happened in the past year. Back in February 2013, I was lucky enough to be hired by Merion Golf Club in Ardmore, PA to create floral designs throughout their clubhouse as well as maintain the surrounding gardens. A big job, especially considering the work I did in June during the U.S. Open, an annual championship where the best and brightest golfers duke it out.

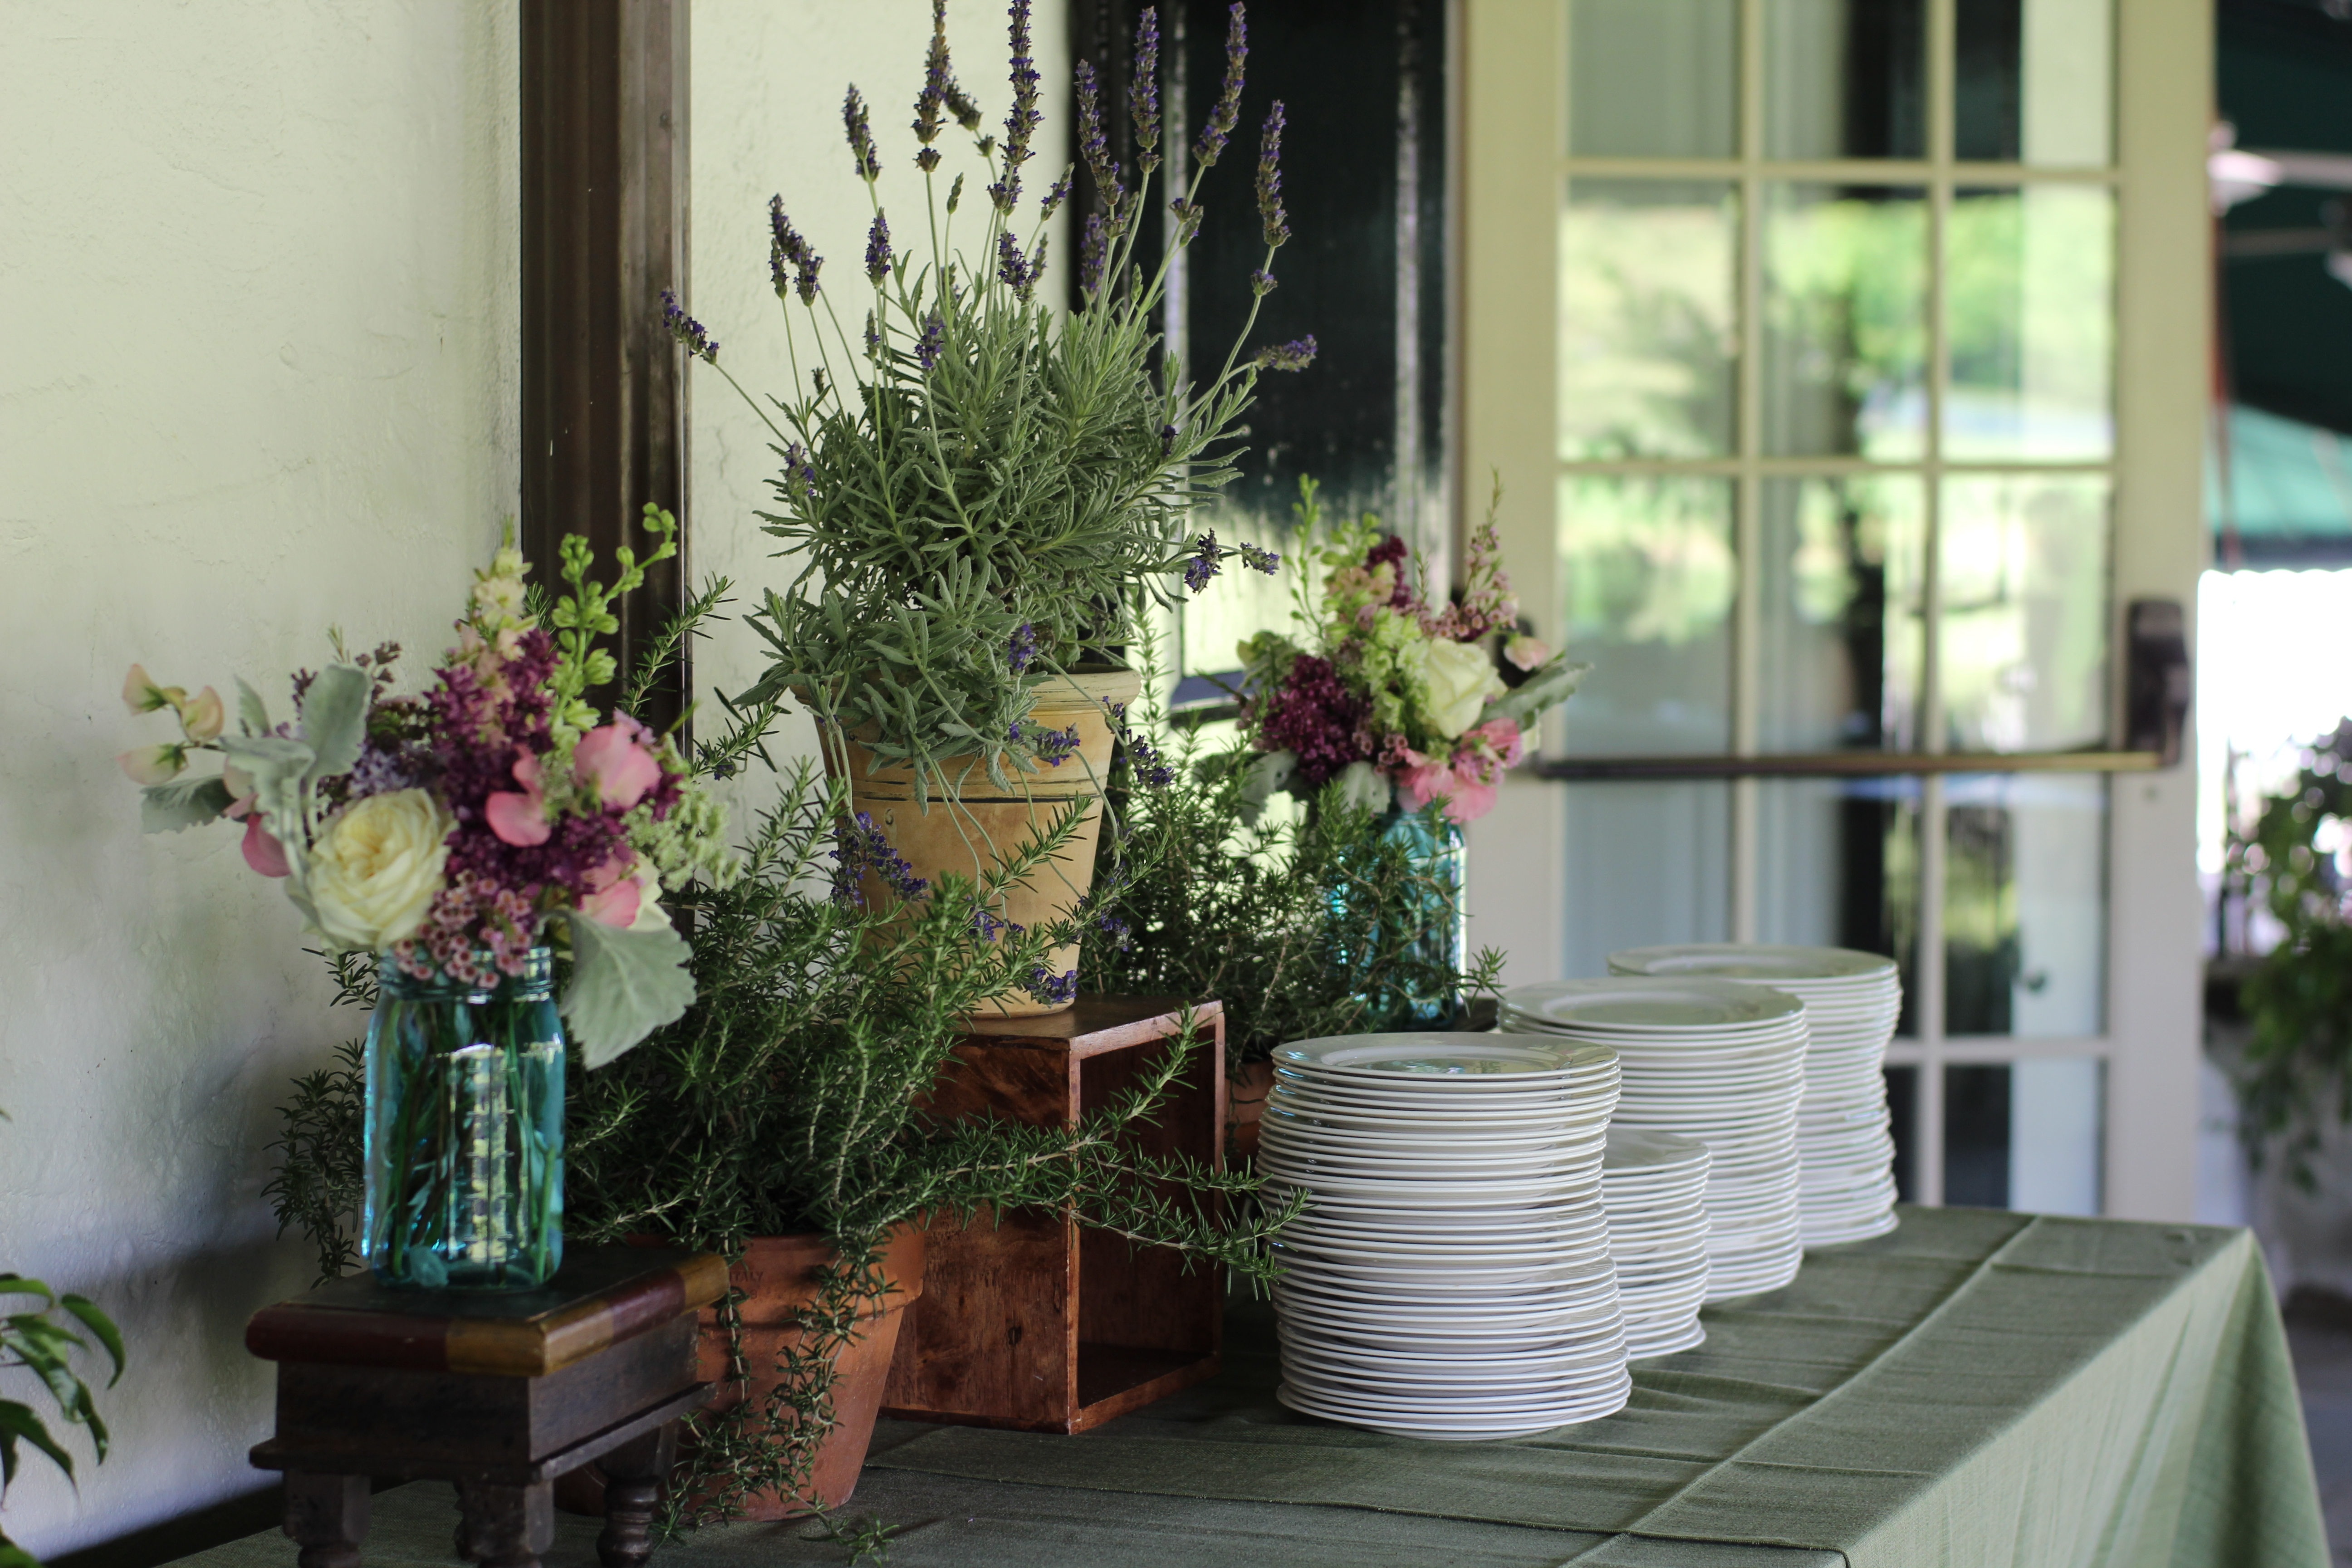
I maintained many container herbs and flowers throughout the year.
The style at Merion is “Farmhouse Elegance,” a style which is already very much my own. So I would like to think that I took to it like a duck to water, but of course there are always speed bumps as you learn anything new. I look back on some of my beginning designs and think, “yuck;” or how I’ve learned so much since then and would never put so much material into one arrangement. I think simplicity is one of the hardest things to learn in floral design. My temptation is to use a lot of different material, colors, and textures because it’s just all so pretty. But using more pretty things doesn’t always equal an even more beautiful design.

Spring arrangement using lilies and larkspurs

Easter “Tree” I created with hand-blown, hand-dyed eggs

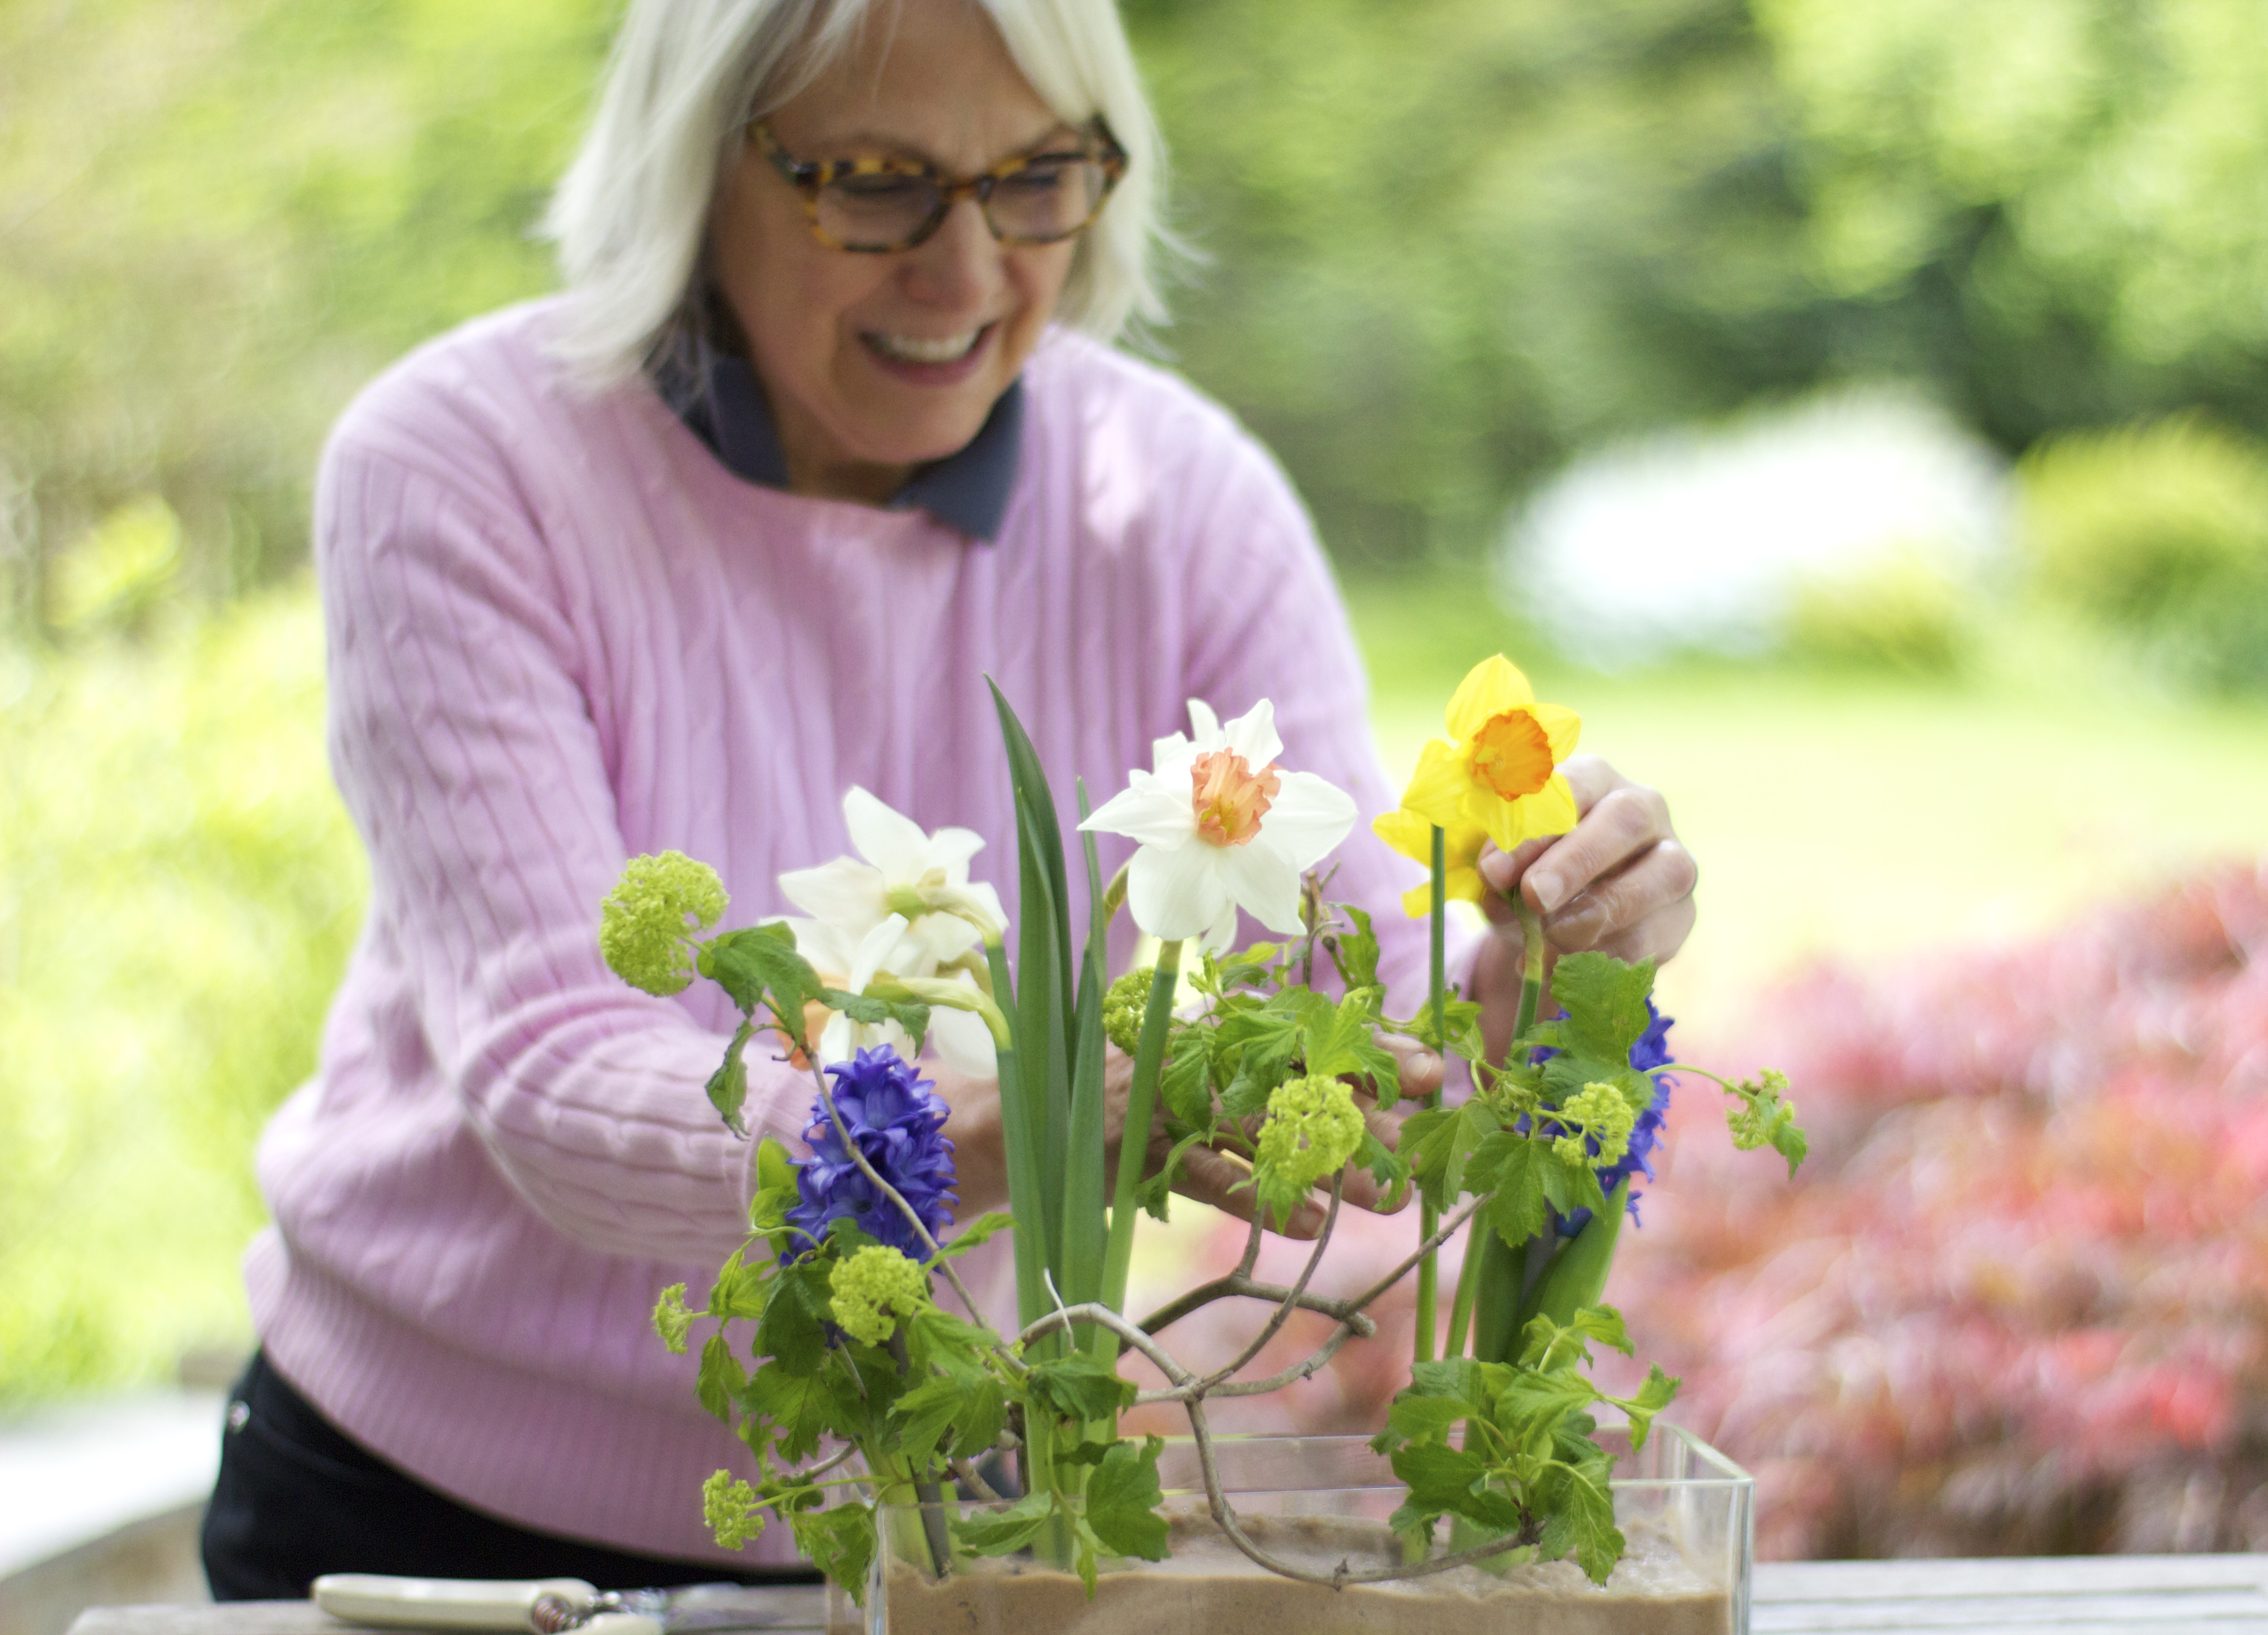
Spring Containers

Lavender I love you
Working there during the US Open was a life experience I’ll never forget. I created almost 200 designs from julep cup sized to large urn sized arrangements that had to last for an entire week. Challenging, to say the least, but I learned so much and was able to utilitize my television production background to organize the “pre-production” part of the event, and plan everything to a tee (no pun intended!) Here are some of my planning documents: The Open – Floral Setup; The Open: Floral Timeline.

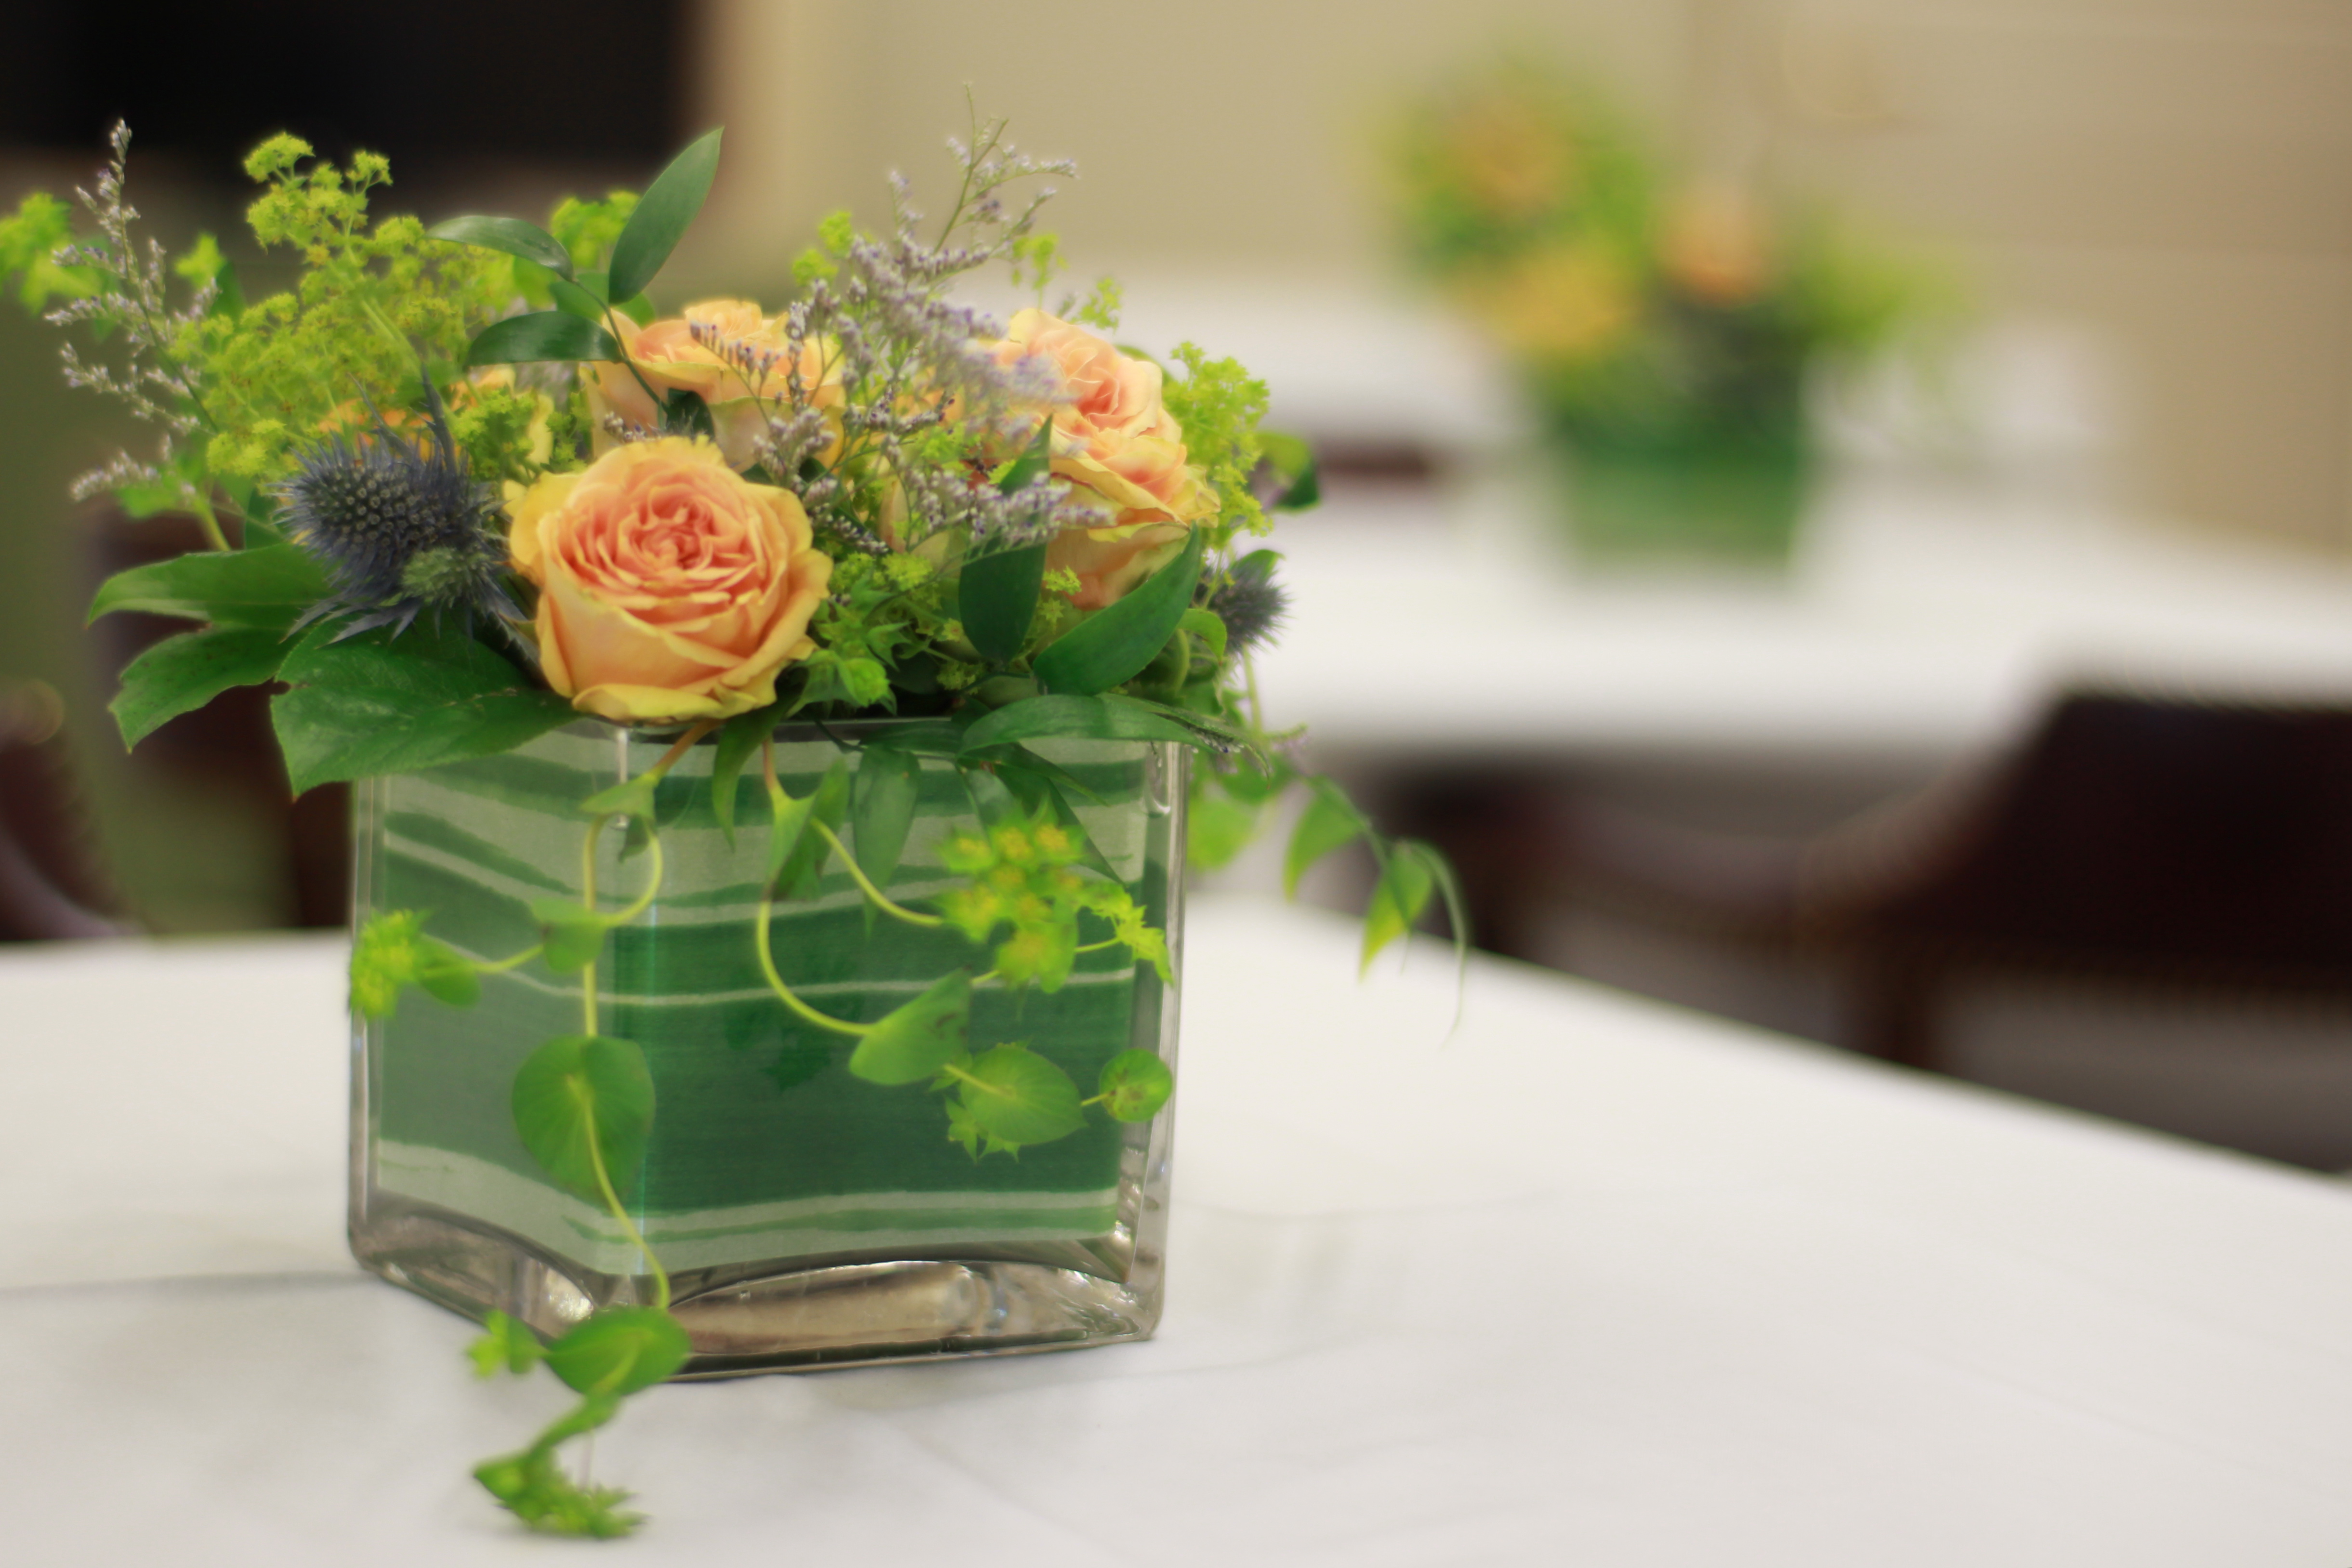
Centerpiece for Golfers area

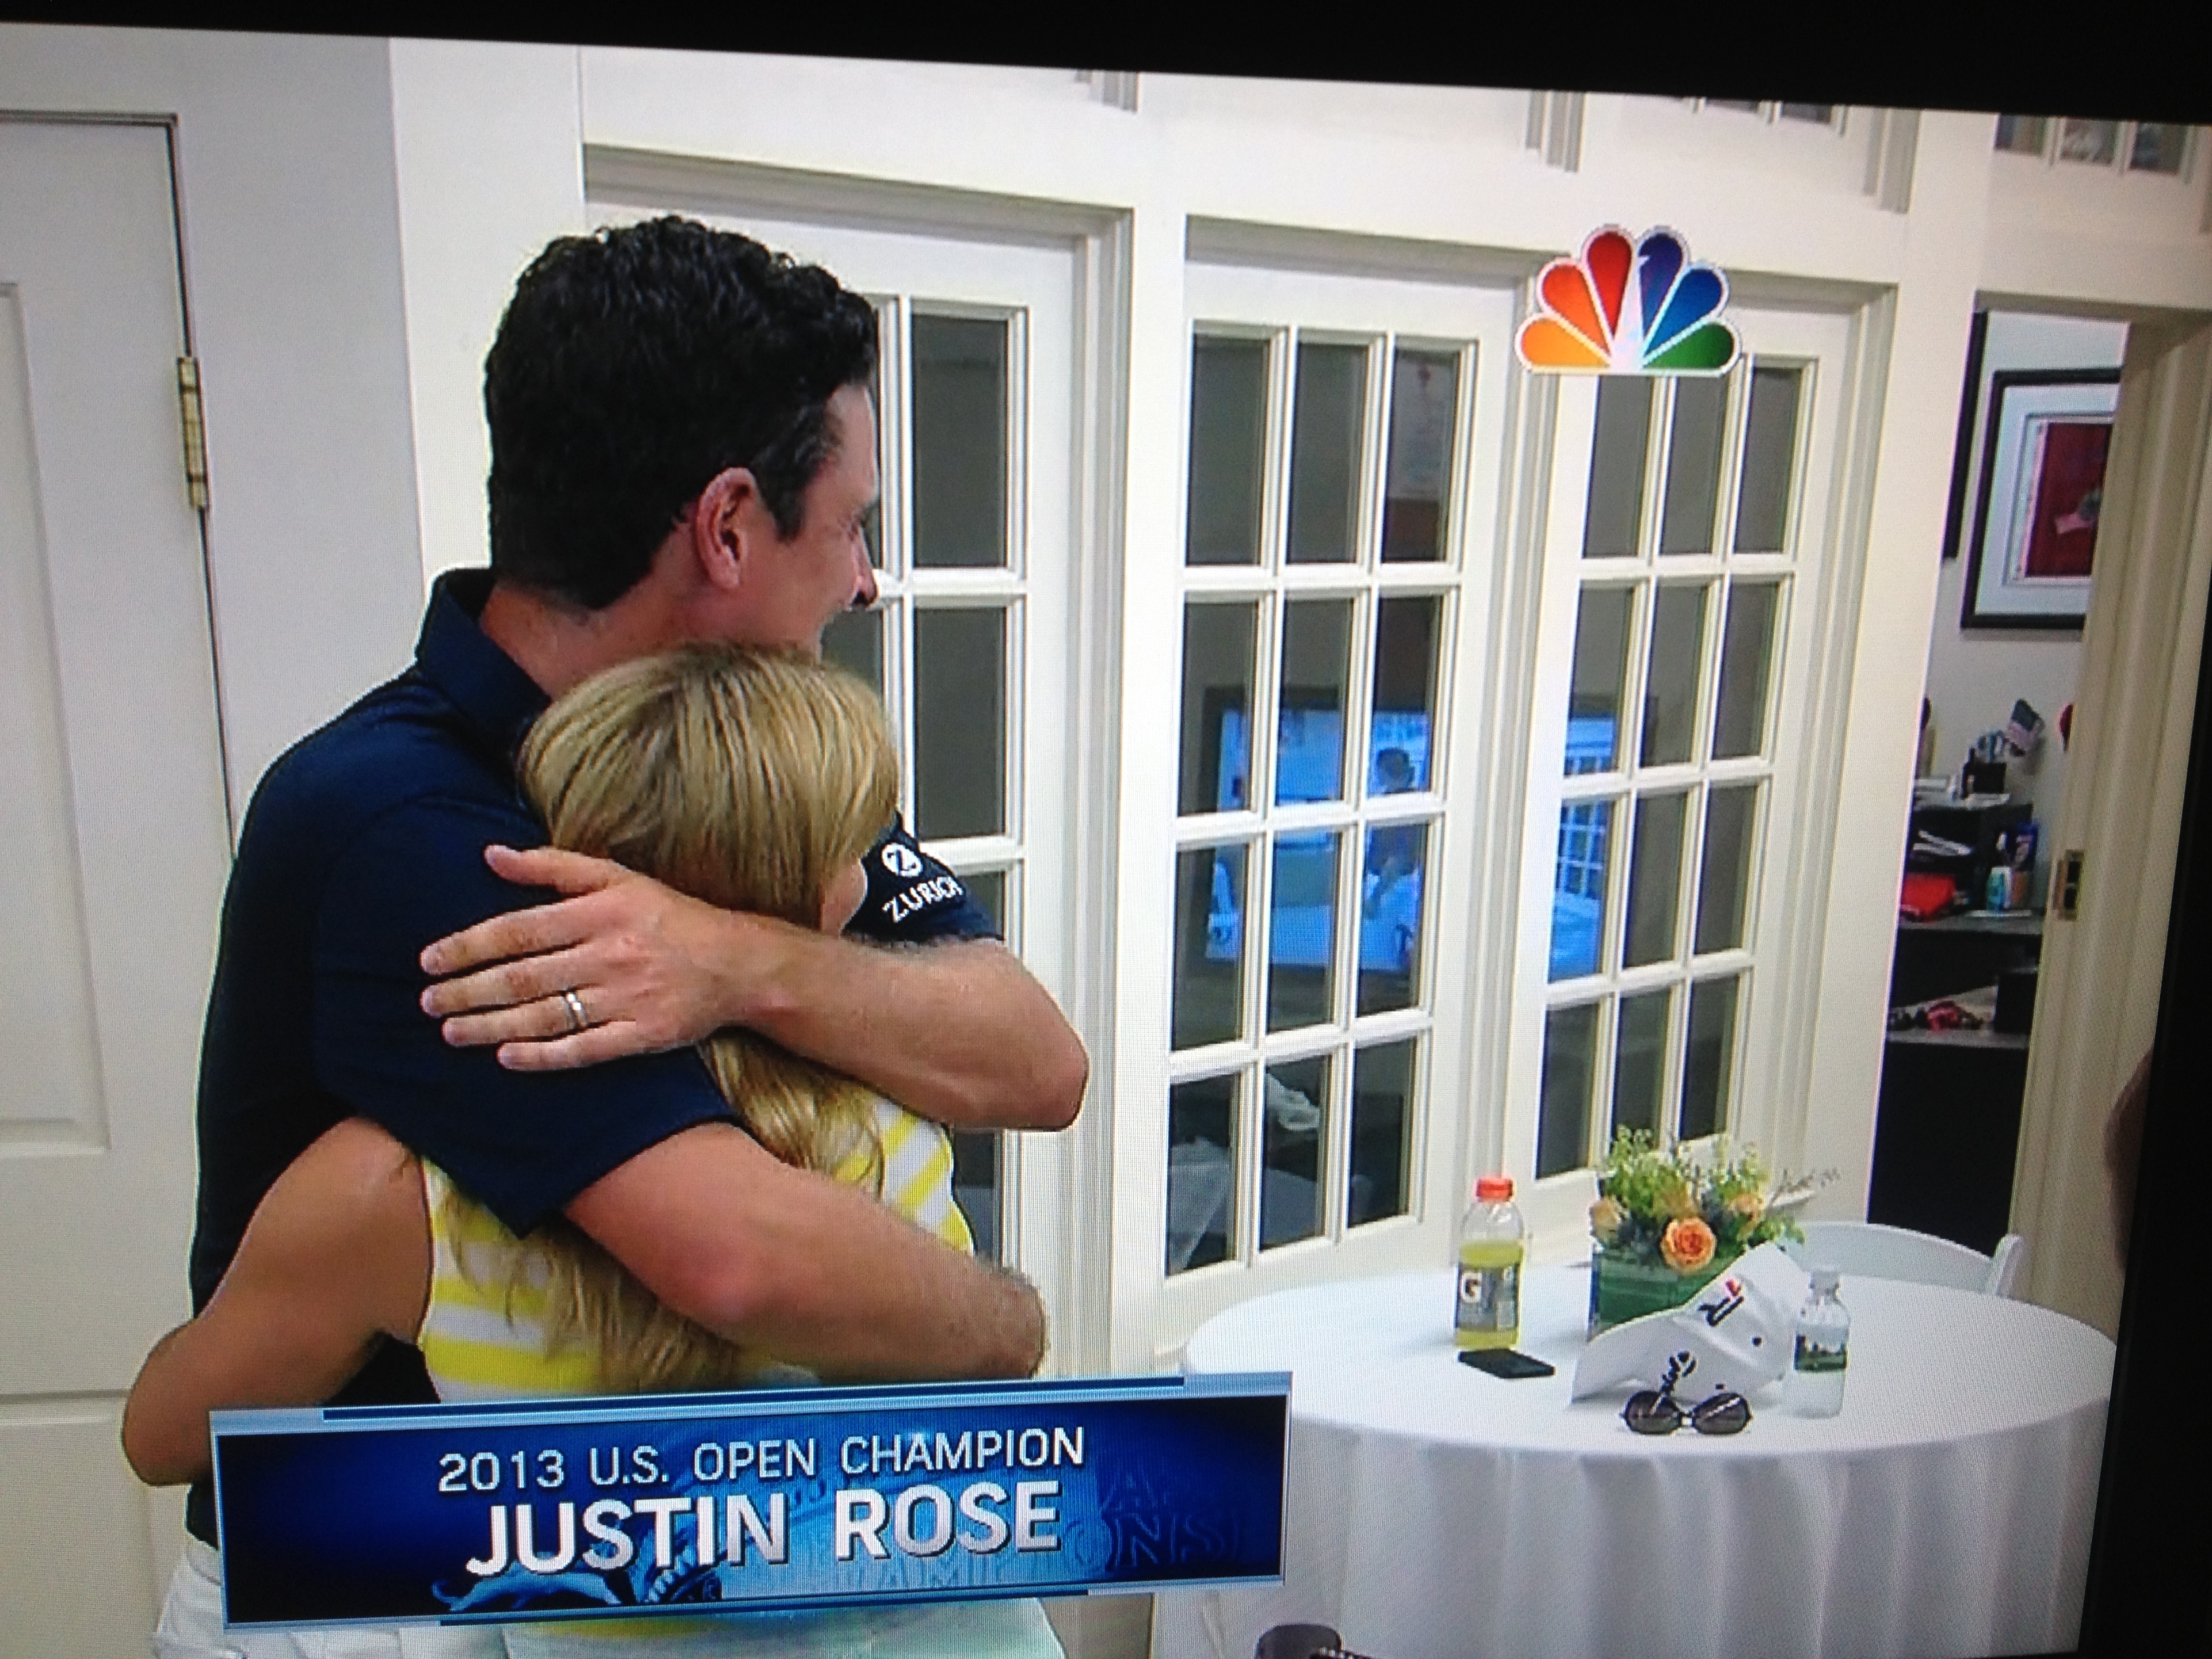
Winner of US Open Justin Rose…finding out he won, my flowers in background. 😉
The result was something that I look back on and truly cherish, especially getting to know a lot of the wonderful staff at Merion much better during that week.

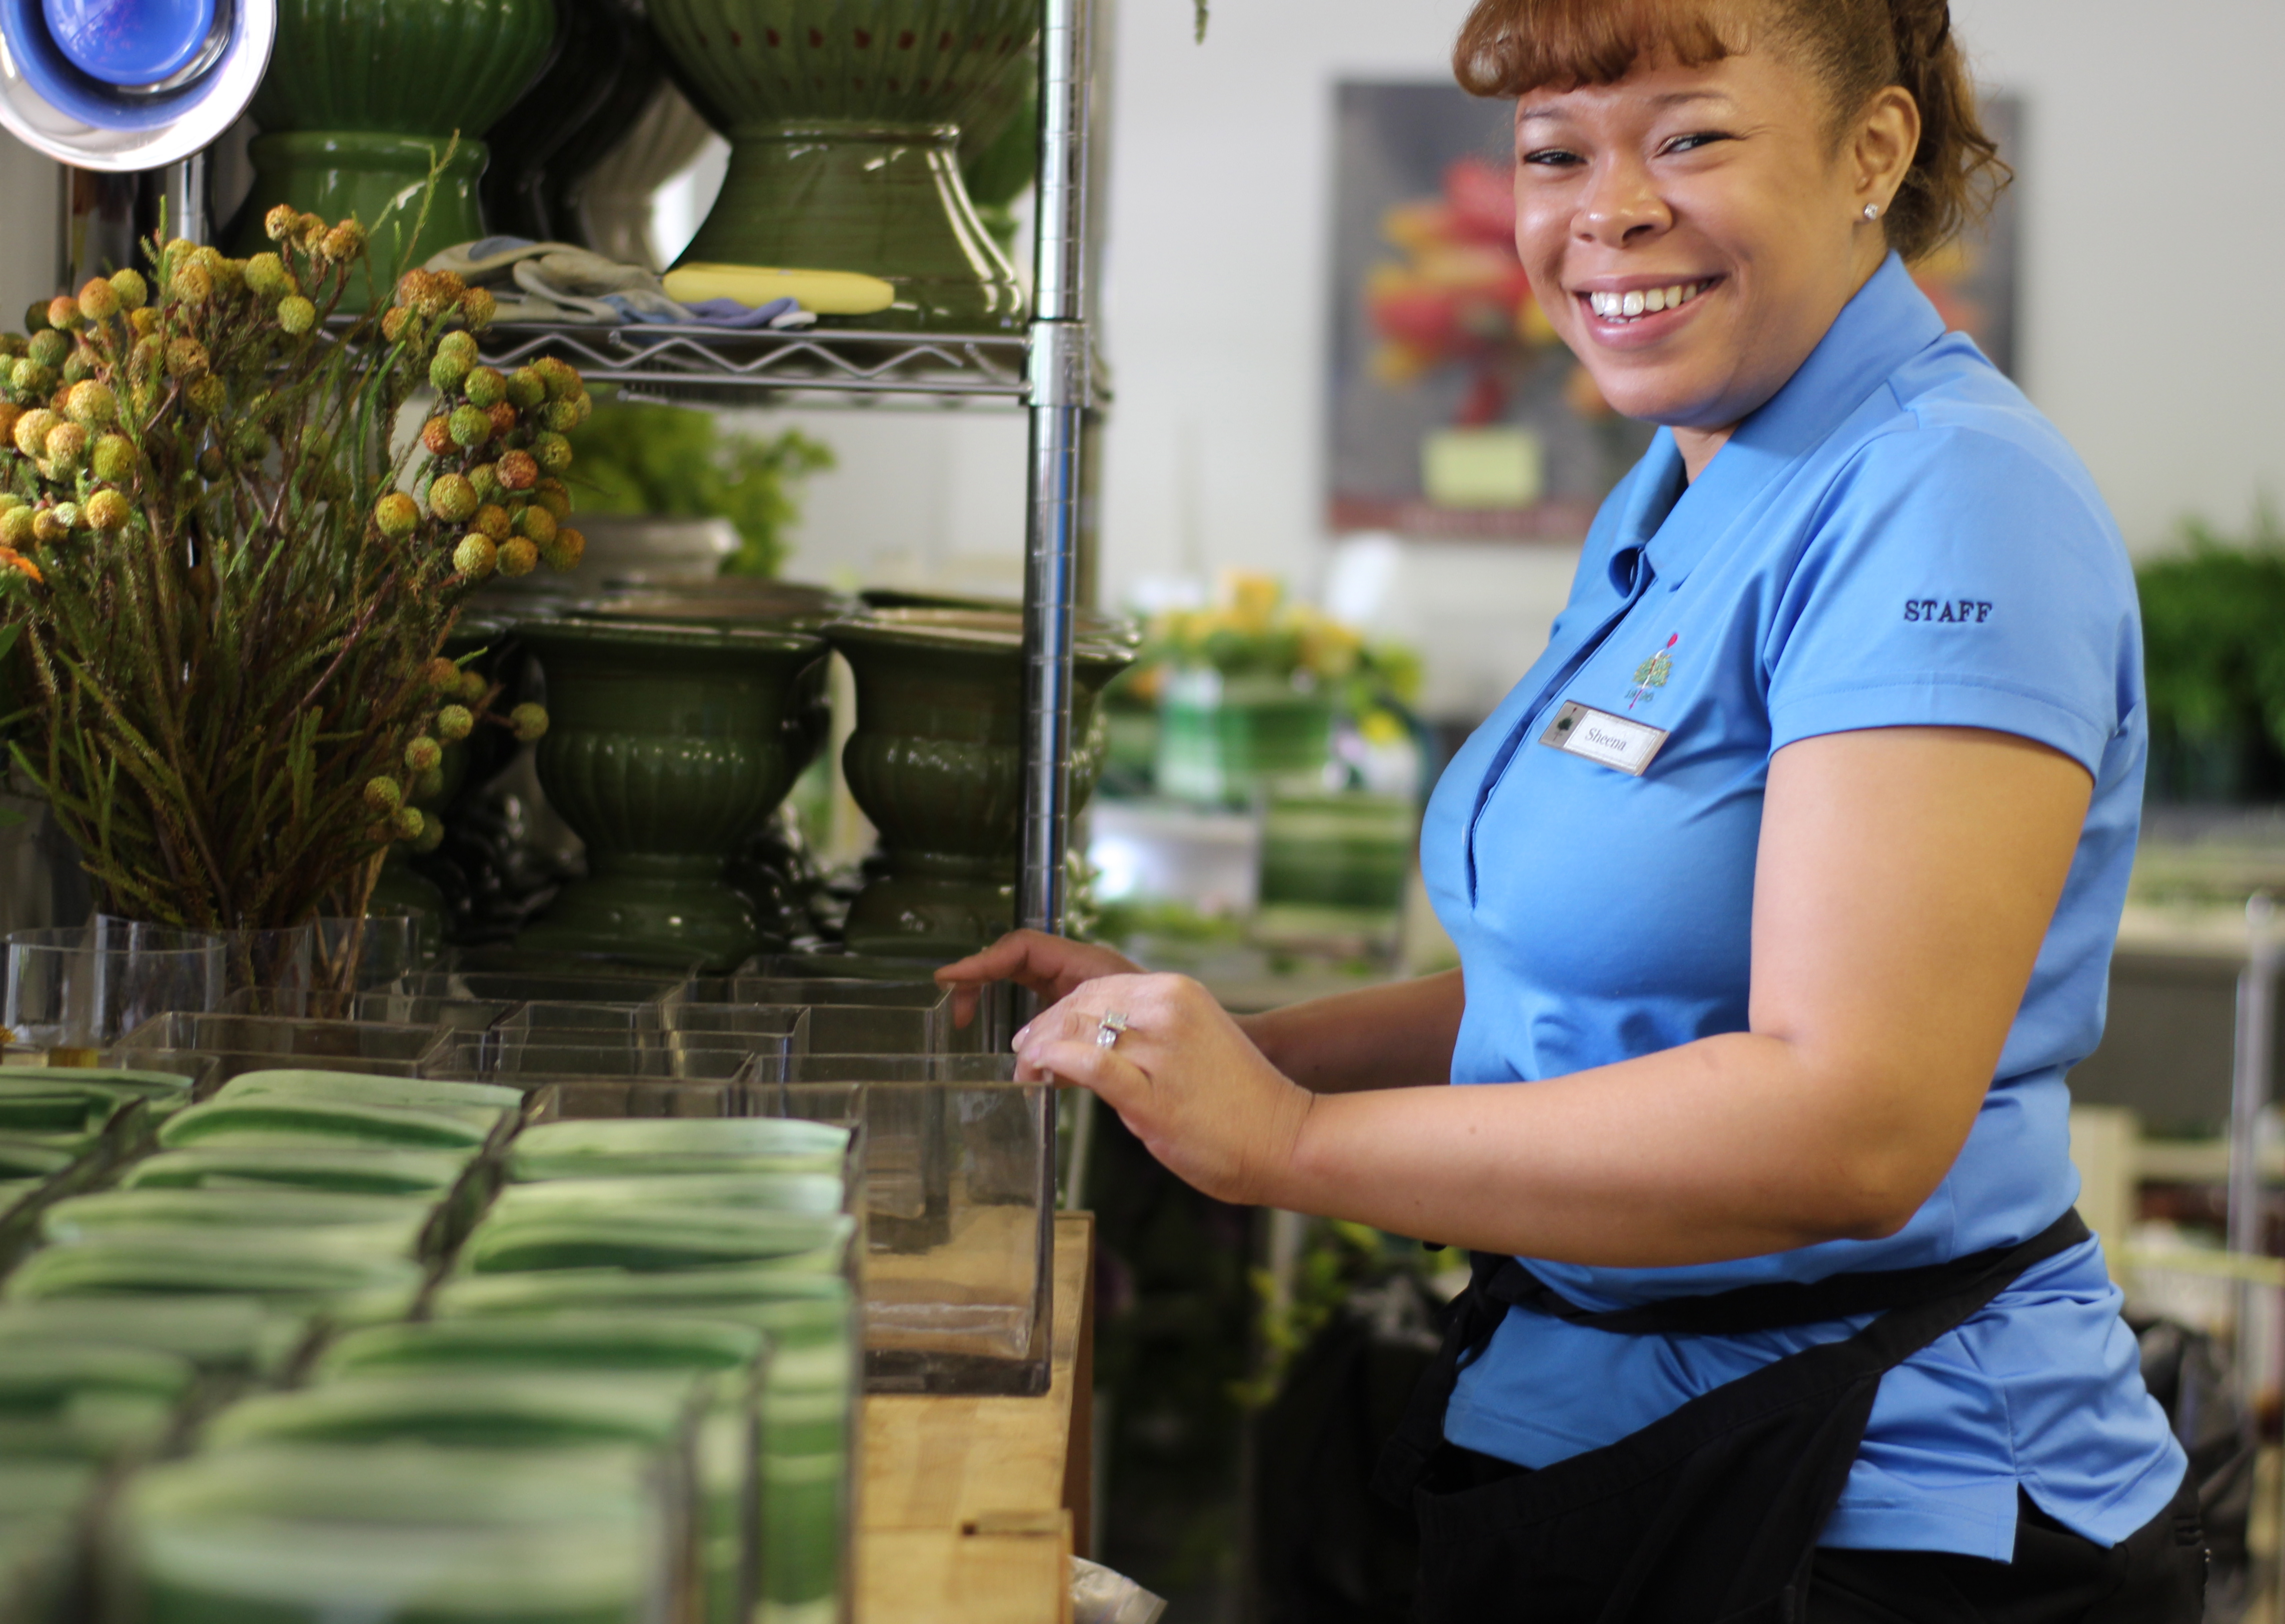
Sheena, my wonderful helper during the U.S. Open, keeps things in line

Chicken Wire ‘Frog’ held in place with floral tape

Base Layer of Mountain Mint

Finished: one of many centerpieces for Champions Dinner
Here is a sampling of some of the other moments captured during the Open:
-

-
Tables for USGA
-

-
Lost in a sea of materials for US OPEN
-

-
Members Tent Centerpieces using ‘Free Spirit’ Roses, grown sustainably
-

-
My Dad and I at US Open. After the flowers were done, I snuck out and watched some golf with him.
-

-
Big fat design for Golfers area
-

-
Annual Planting
After the Open, we all breathed a sigh of relief. But life carried on, and Merion bustled with other summer functions, basking in the glow of the highly successful event. I was so impressed by the staff coming together and working so hard during that time, and also so proud to be a member of that team. Everyone did such a great job.

Mandy, one of the friends I made at Merion and a great golfer too!

An interesting floral challenge using a small version of Merion’s famous ‘Wickers’
Other challenges included being budget conscious, and of course I was also committed to being as environmentally conscious as possible, something that can be quite difficult in the floral design business. Firstly, I was composting all vegetative matter. I tried to source materials as responsibly as possible, using locally grown flowers when possible, cutting materials from the gardens themselves, using materials that were in season, and buying from farms that use sustainable growing practices. This was a big lesson for me. I used Delaware Valley Wholesale Florist and had a great rapport with their wonderful sales rep, Susan, who helped me through thick and thin. But it just wasn’t always possible to stick to my guns about responsible sourcing when there was so much to order and without much lead time to do, so I did end up ordering a lot of stuff that was flown in from other countries (mostly South America.) But, as I said, a lot of it was grown sustainably so that made me feel a little better.

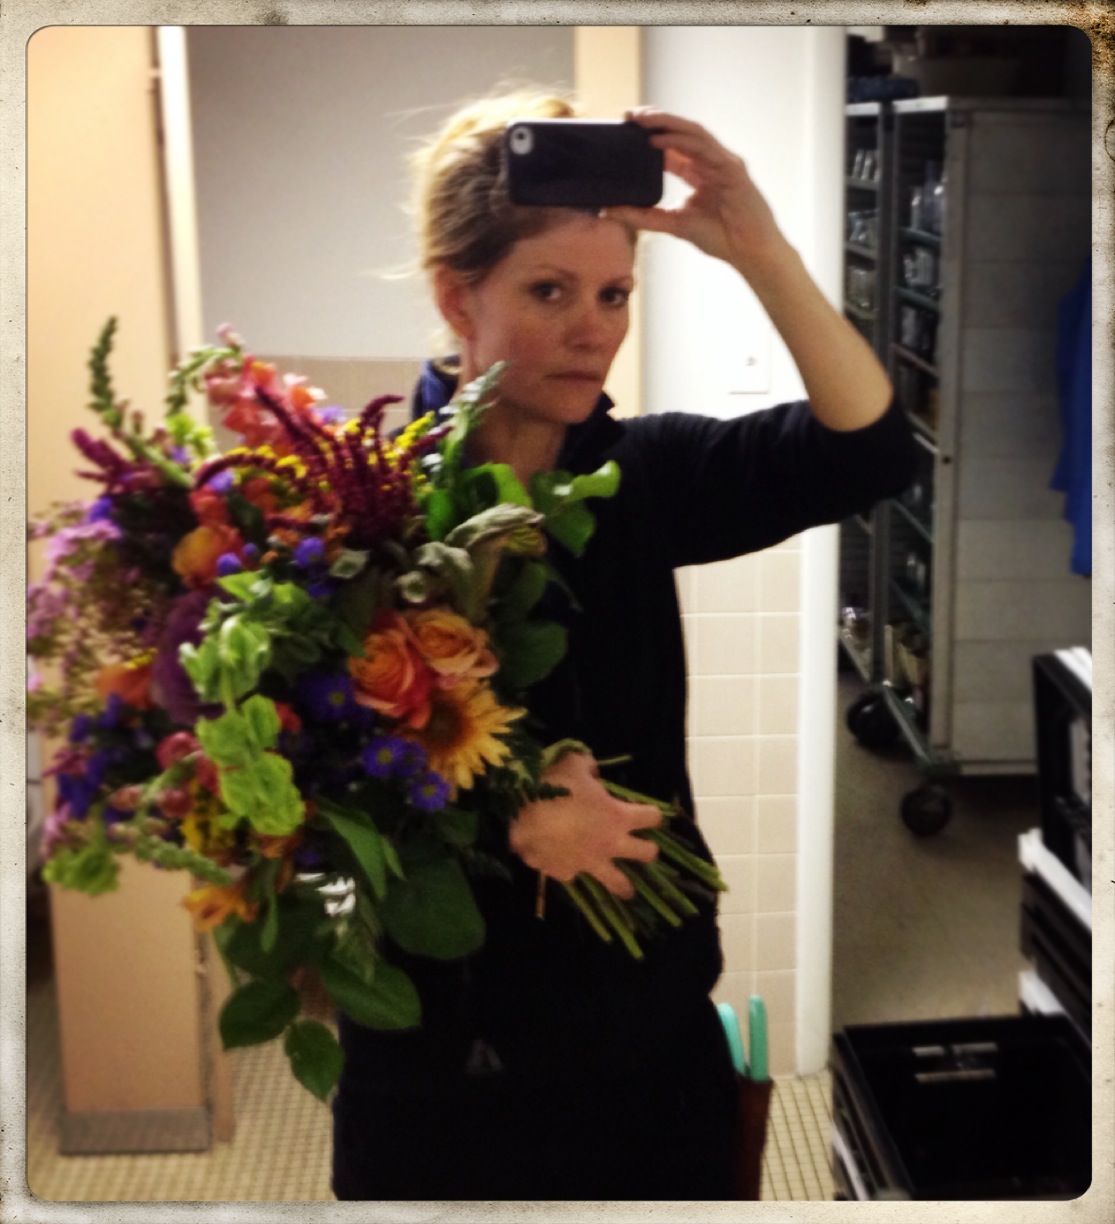
Locally Grown Hand tied bouquet – Flowers from Red Earth Farm
I also wanted to use eco-friendly mechanics instead of relying on floral foam, and with large arrangements I found the best method to be creating a ‘frog’ out of chicken wire, adding water, and then adding the stems. The chicken wire did a great job of keeping stems in place, but still giving it a natural feel.

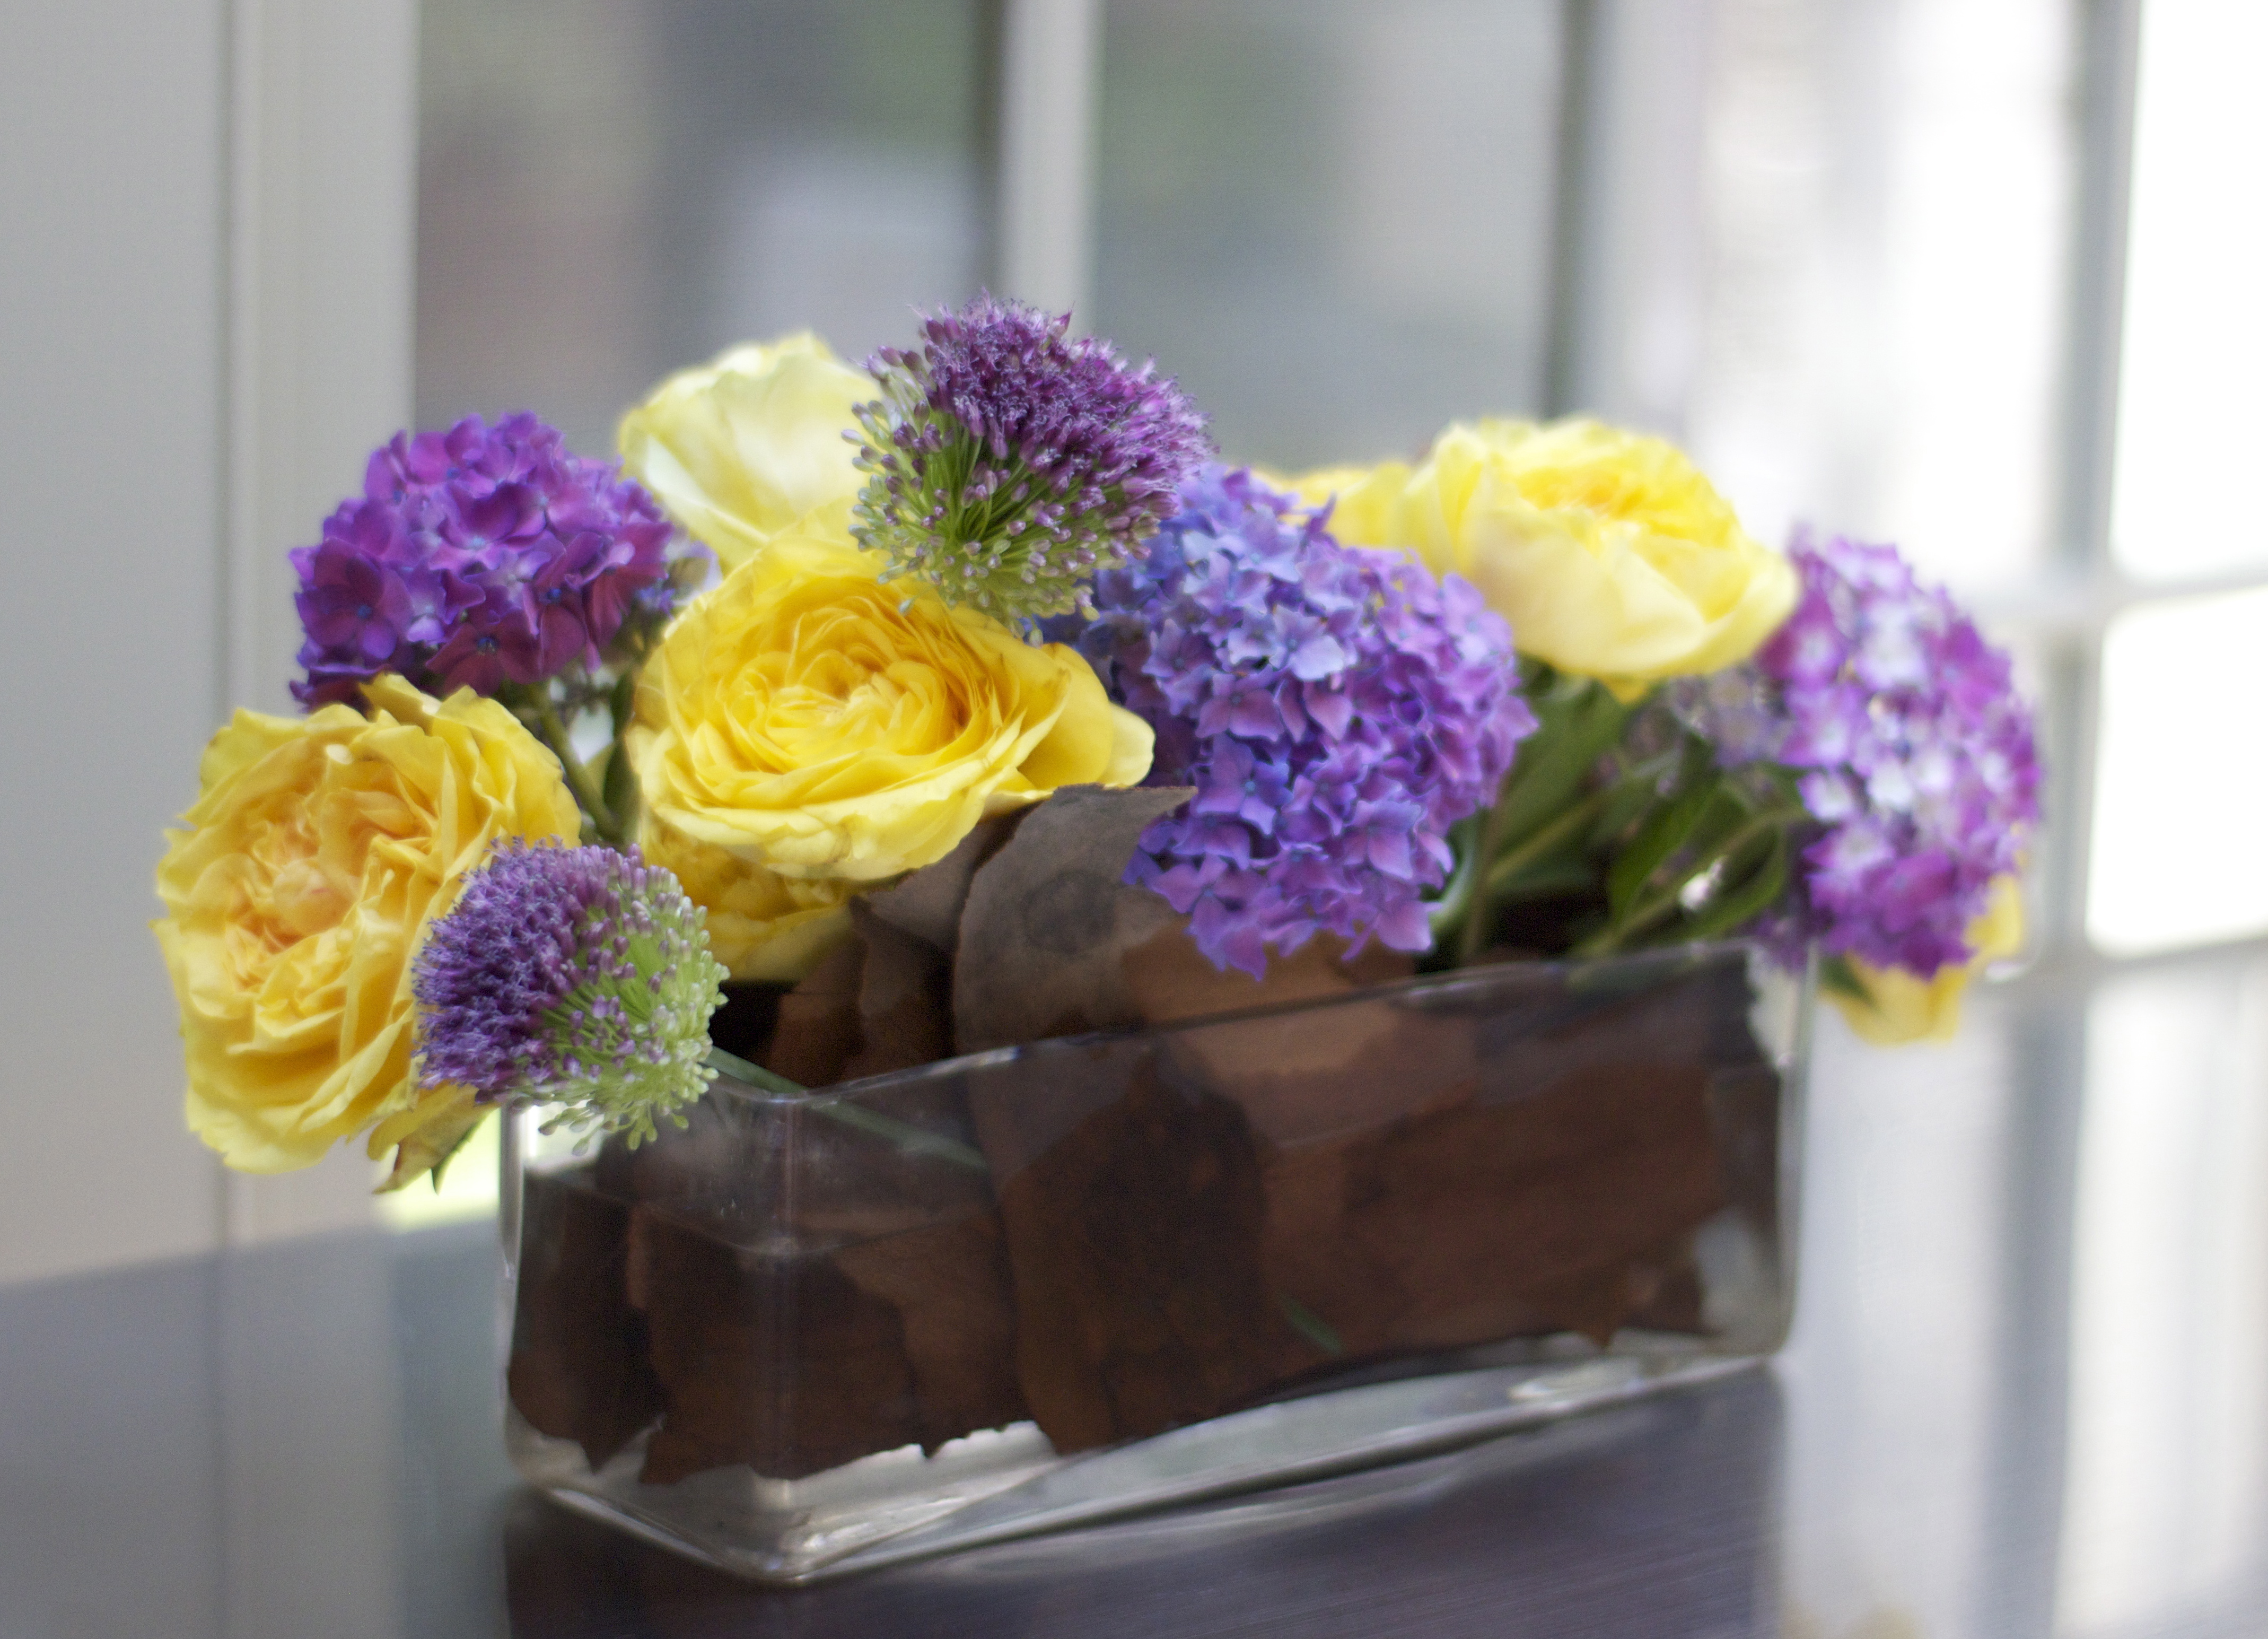
Fall Design using gold hurricane vase with a decorative mesh wire net holding stems in place

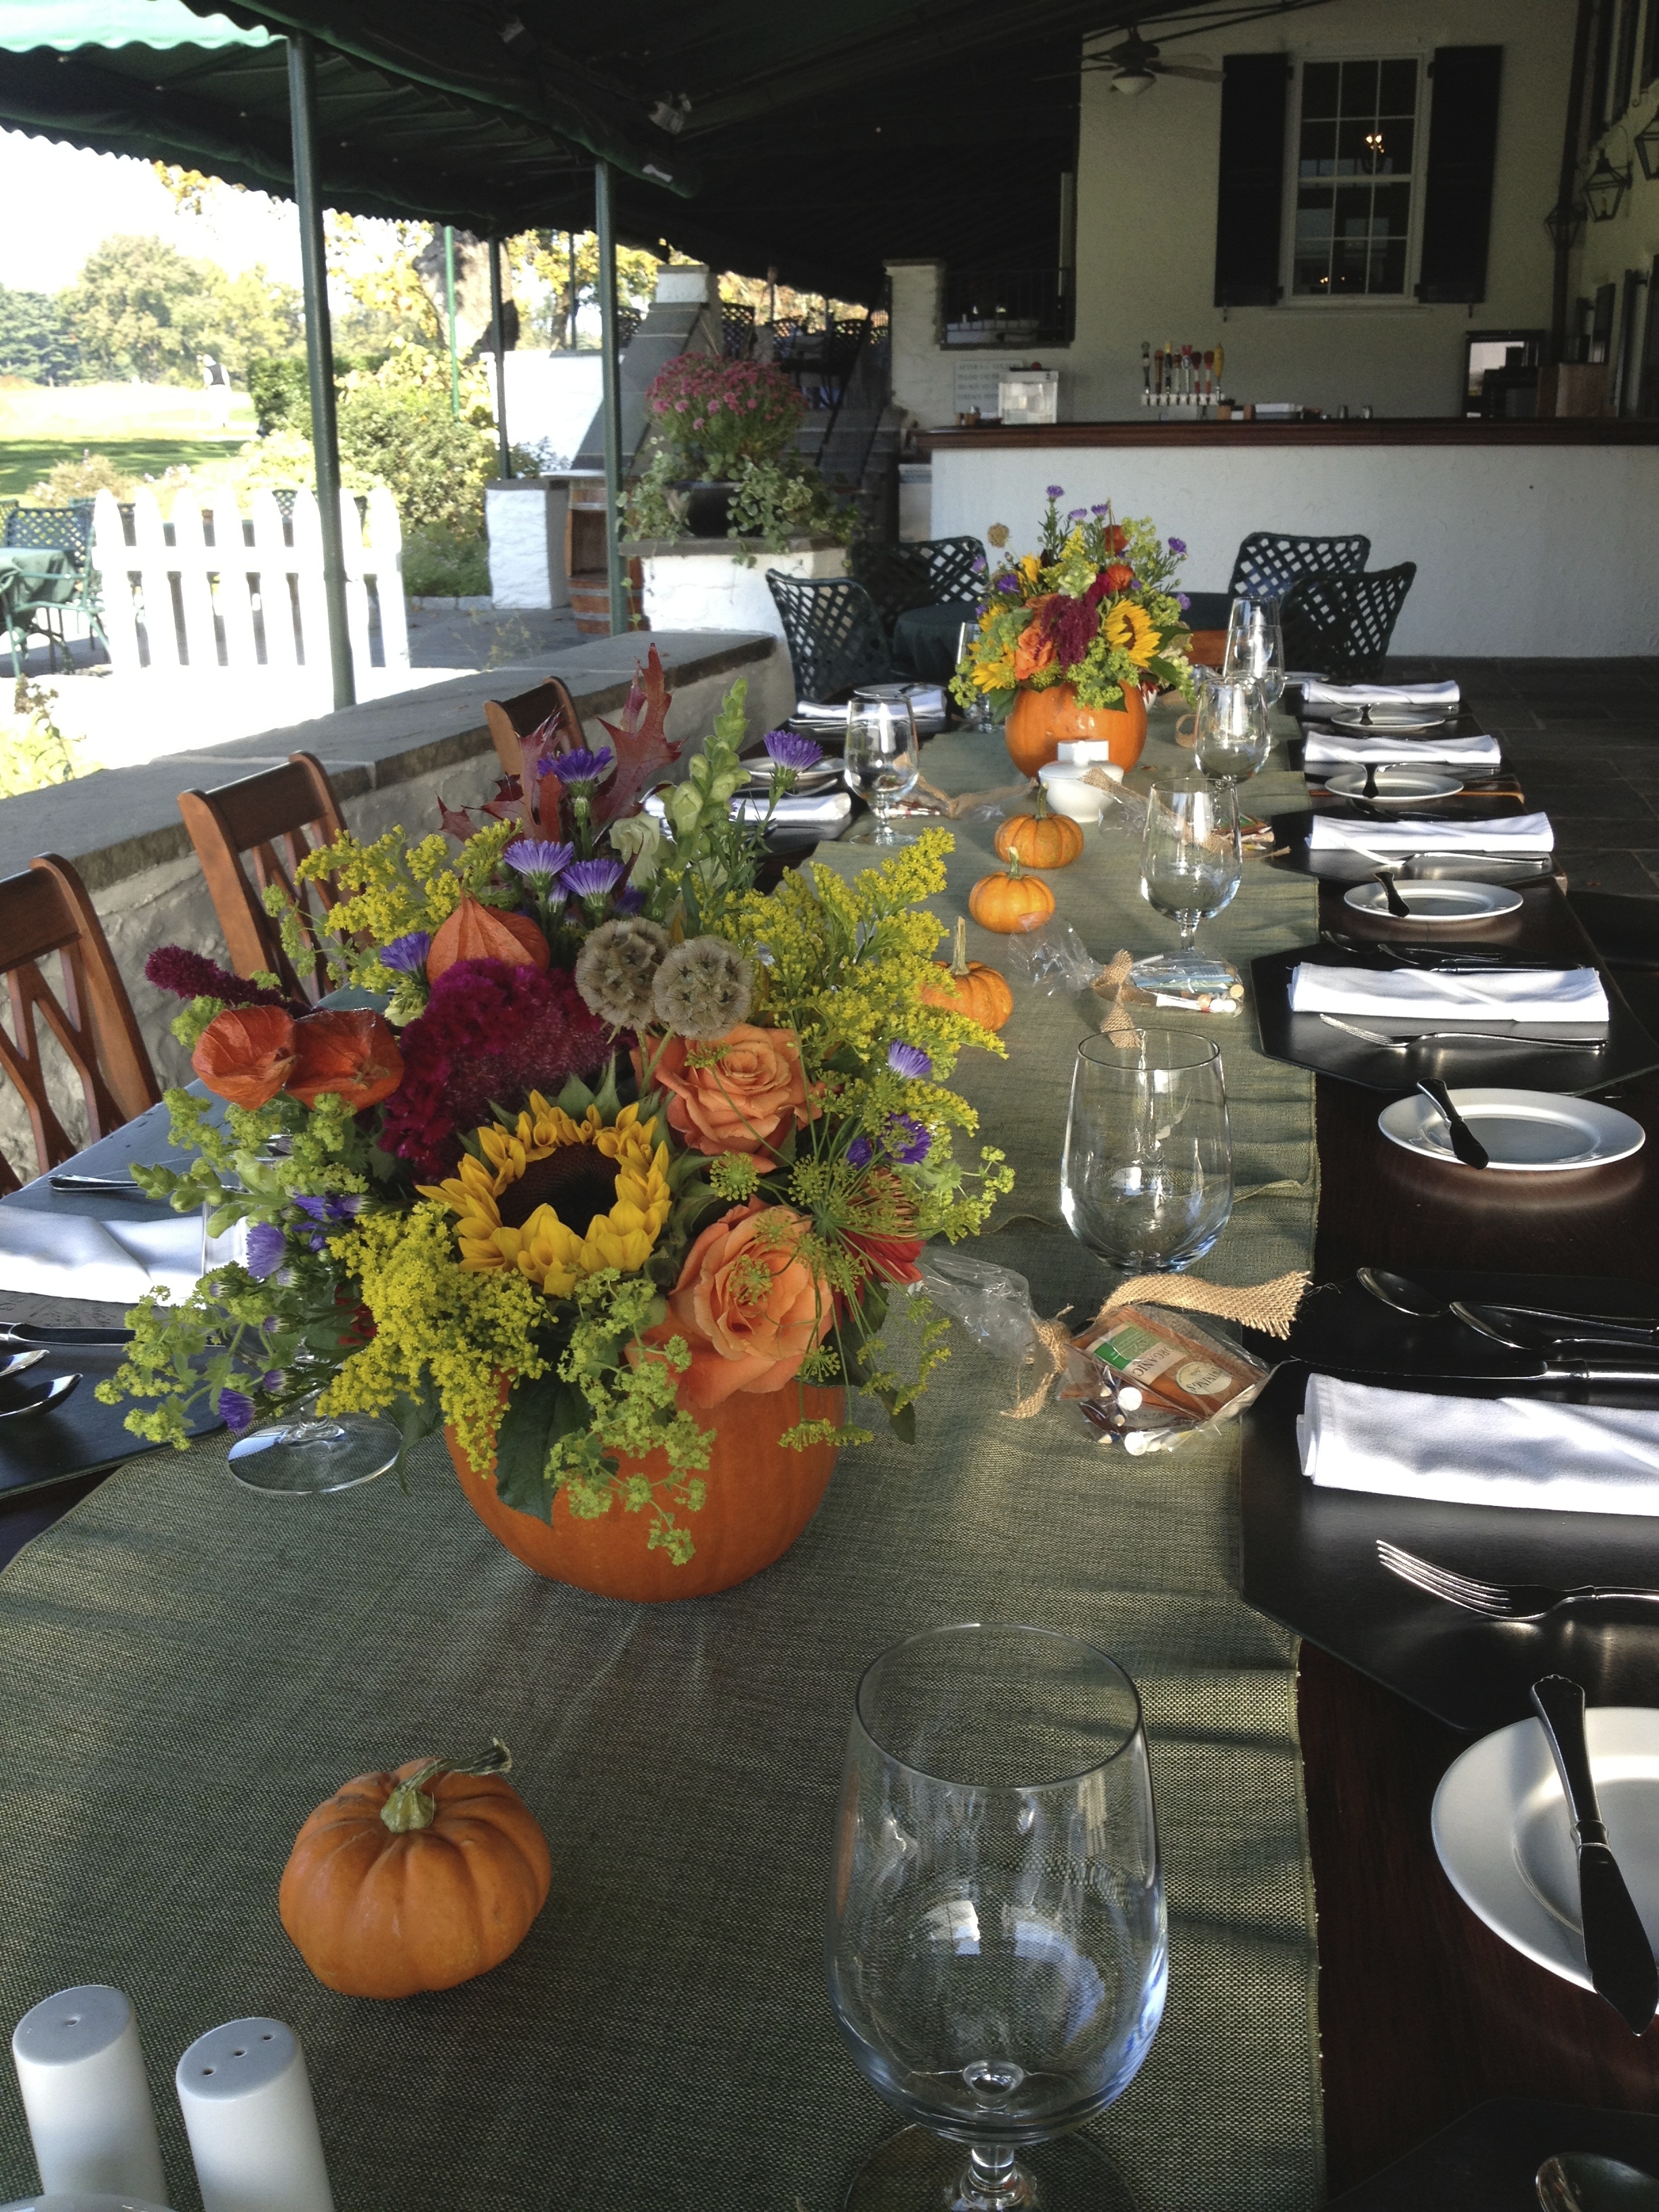
Pumpkin Containers for Fall Luncheon
For large arrangements, and with most in general, it was helpful to add a layer of greens first, then the linear elements, the form flowers, and finally filler. And if I was using branches, sometimes more branches would go in at the very end. These large urns filled with seasonal materials really ended up being the workhouses at Merion for me, used in 2 or 3 rooms and then for special events on the buffet tables. They would last almost a week, but needed water to be refreshed along the way. I did mix flower food in with the water, and that made a difference not only for the life of the flowers, but cut down on icky looking water (if using clear glass) as well as icky smelling water.

Large urn with a lot of locally grown flowers
Unfortunately I injured my back a few times during the course of my employment there, and finally had to seek medical attention and take a leave to deal with my injury. My doctor banned me from heavy lifting, and so Merion had to let me go. It’s been a bittersweet parting, because I really did love so many aspects of my job there, and so many of the people too. But they deserve to have a worker who can do everything independently, managing the gardens as well as producing all the floral designs. I wish them the best of luck, and hope that I can transition to a situation that will allow me to continue doing floral design with less impact to my lower back. I have a few interesting floral opportunities on the horizon that I’ll blog about next!