I’m back at Longwood, taking floral design electives until some of the meatier courses resume in October. Everything is happening in October. Well, and November too.
 Anyway, it was so nice to be back in Jane Godshalk’s classroom, where everything is right with the world. Jane is a phenomenal teacher, and I can’t say enough lovely things about her without seeming like a gushing fool…but really. Jane does it right. Her ability to select materials that create foolproof combinations is spot on, and her directions are easy to follow and inspiring. It’s not just “boom, put it in the container, you’re done.” There is a thoughtfulness and precision to floral design; and if your materials become unwieldy, Jane will help you tame them with such a grace, you almost want to simply watch her do all the floral design. But, it is too fun not to play yourself, especially with all the Fall Bounty in front of us!
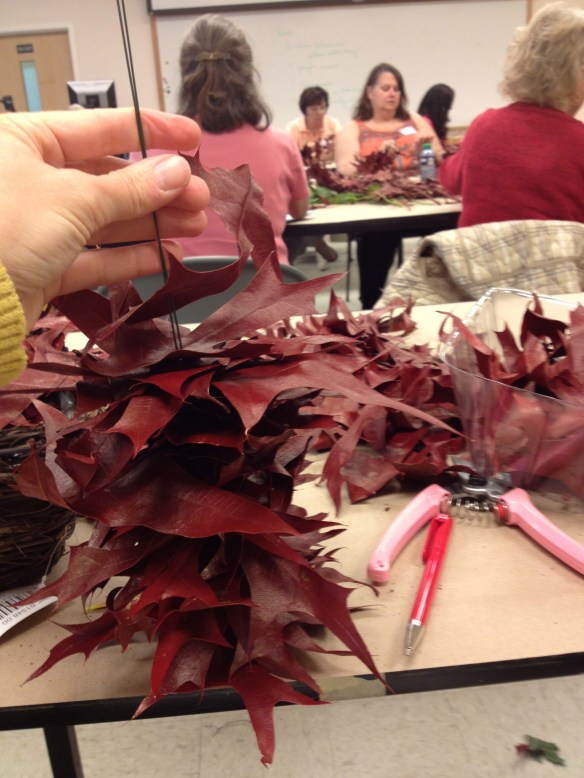
For this class, we’re creating a natural table design in a woven basket with a plastic liner. One of the main ingredients is a garland made of preserved oak leaves that we wire together ourselves while Jane shows us the rest. It’s busy work you can do while you’re watching TV, and it gets my creative juices flowing, thinking about all the cool autumn possibilities (can you say: Thanksgiving table-scaping?!) We have our choice with the mechanics – either use floral foam (no thanks) or balled up chicken wire in which the stems will rest. While the floral foam is easier to work with – you just stick your stem in and you’re done – the chicken wire is re-usable. It’s worth the extra effort in my opinion. Just be sure to fill it up with water!

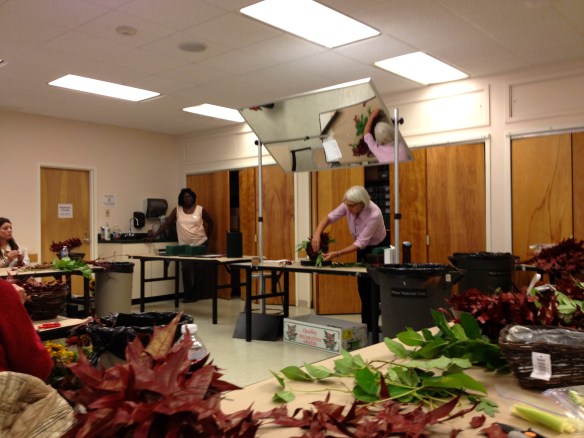
Jane begins by adding greens – I have to apologize for my bad camerawork during this class, I was too mesmerized by all the floral treasures.
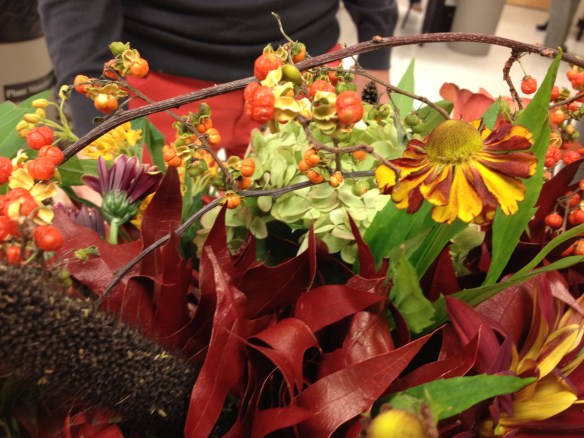
Jane starts by adding greens, making a nice, natural base, using Italian ruscus, olive and even some fragrant bay leaf if you like. (Note to self: I love bay. Maybe this is something I could use for the NAOC award head garlands. More on this later!!) She then adds the bigger flowers like hydrangeas. Some of our hydrangeas are so huge, we can divide them and have more. Hydrangeas are a really important flower in floral design, I’m learning, because not only do they come in such great colors (and change color as well,) they help take up some real estate while actually adding a certain lightness to your design. They really help tie everything together, especially this variety in the light green color with some muted rose to the edges of it, it’s just delicious.
She adds ‘Coffee Break’ Roses, ‘Red Rover’ mums, and then it’s time for the sunflowers. Sunflowers are hard to work with – they are just so singular, they pop out so much, that they really need to be placed just perfectly. If you put them side by side, and they have the dark centers, they look like eyes staring out of your design. Not good. So play with the way you angle them, group them together but have the heads pointing slightly different directions…or just watch Jane and learn from the master. We also have millet, amaranth, broom corn, bittersweet, and asclepias to play with! Our designs are overflowing with possibility, and the colors are so autumnal.
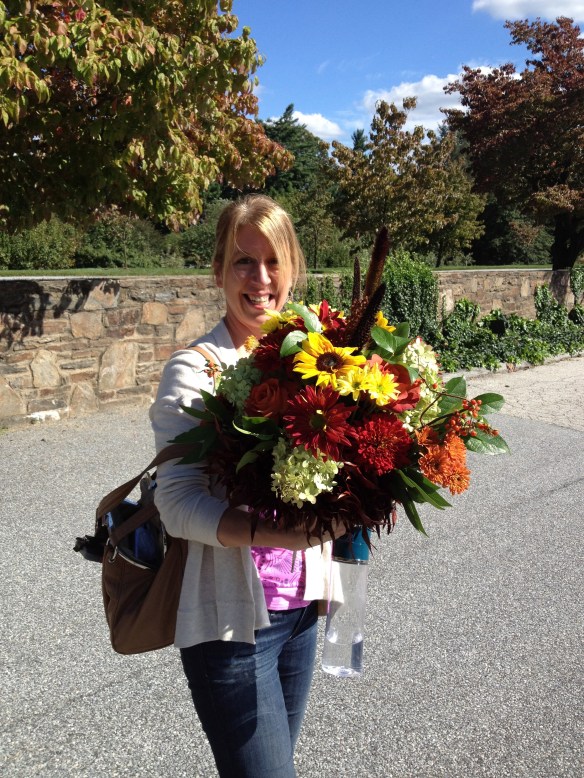
I was a little out of practice, I’ll admit! It took me a little while to get going. I ended up giving this natural fall table design to my brother and sister-in-law for a party they were hosting, so it went to good use. However I neglected to get pictures with my ‘good camera.’
It’s so great to be back in class!


