the little garden that could

Back in February, my parents said they’d let me turn a patch of earth at their house into a garden of my own(ish).  Turns out they weren’t kidding after all, and made good on the promise.  At the end of February, I did some soil excavation to test the tilth and drainage of the area.
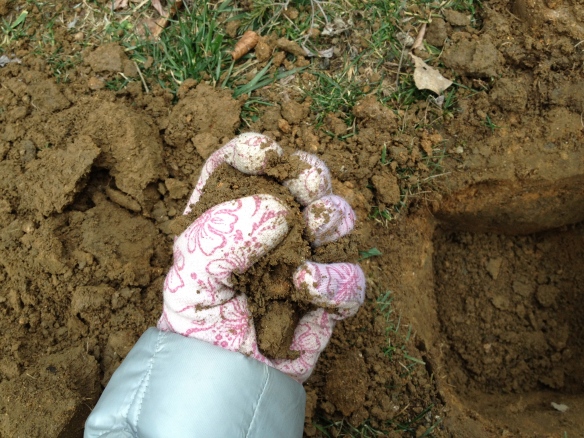
holding the ball of soil, then seeing how easily it breaks apart - it stayed in the ball so it's pretty much clay (feb 21st)

i dug a foot-deep hole and poured water in twice to see how it would drain - good news, it drained right away both times! (feb 21st)

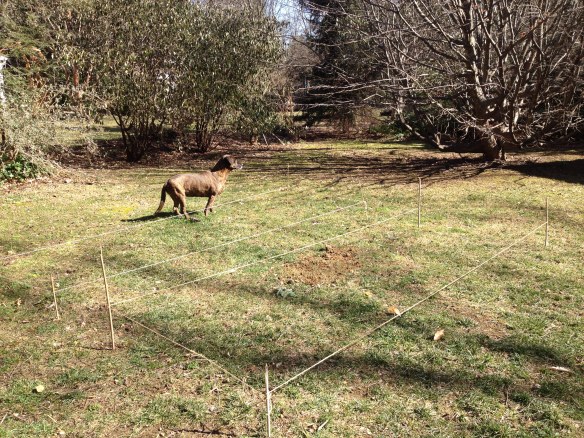
Satisfied enough to try this garden experiment, I roped off two 4′ x 13′ beds in a mostly full sun spot by the garage with all the best intentions.

Larry the dog sniffs out the projected garden site (feb 26th)

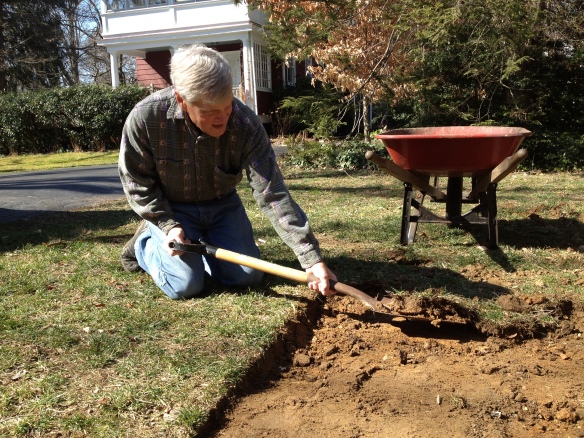
My dad and I started the sod removal/soil amendment at the end of February, deciding just to see what the work was like between the two of us for one bed.  One bed at a time.  I have a bad back, and he’s 72.  (That’s never stopped us from doing stupid things, though.)
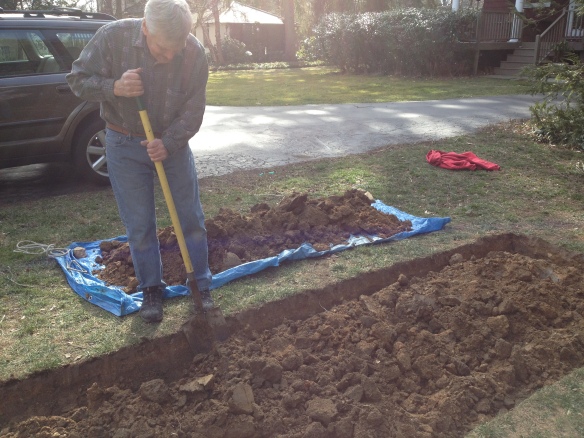
My dad, the ex-Marine, is going along with this folly and helping me remove sod (feb 27th)

a nice crisp edge is how we like it (feb 27th)

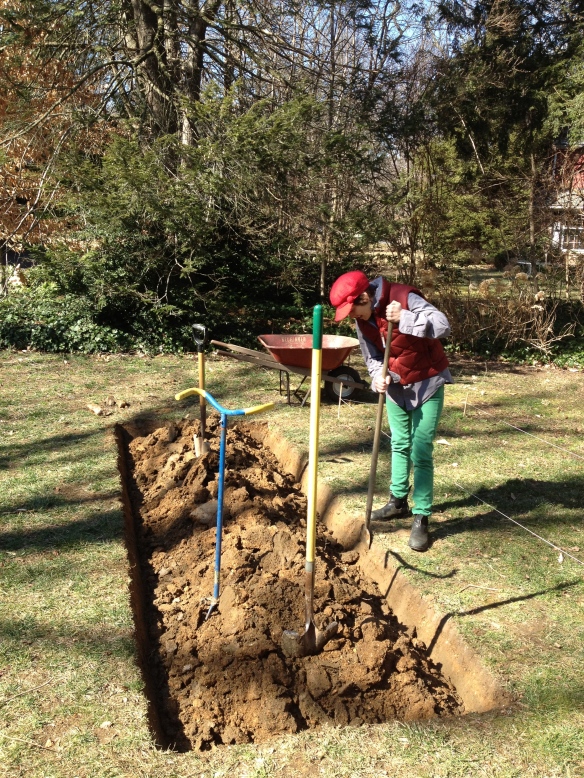
dad the incredible hulk does the bulk of the work, we have to remove quite a bit of crap soil to make way for the good stuff (feb 27th)

While I’m not looking, Dad (and Larry) double-dig much of the bed, despite my wishes to wait to do that until we had the soil amendment materials. There is no stopping him!  He is a machine!  We get into a heated discussion that’s not really about the garden at all, but more about my current life situation (I call it a ‘pickle’) and the fact that I can’t do this all myself because of my back.  He lets me yell at him for a while until I realize I am not treating my only laborer with the kindness he deserves.  Many apologies and a few tears later…we both agree that gardening brings out the best in me!

double digging and lots of sniffing (feb 27th)

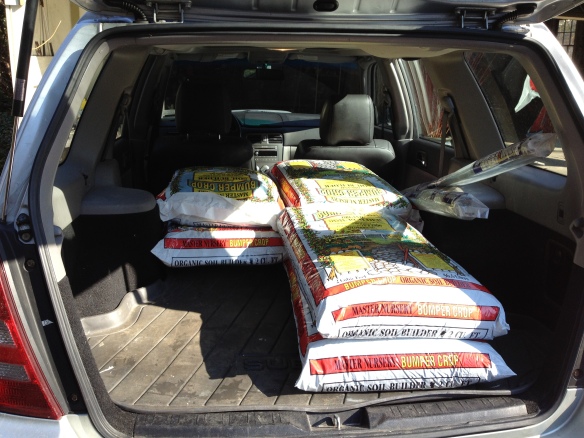
Ok, now we got the goods: Bumper Crop, the new and improved organic soil builder we purchased from Mostardi’s Nursery.  It contains Sphagnum Peat Moss, Peat Humus, Worm Castings, Kelp Meal, Dolomitic Lime, Composted cow manure, Lobster and Crab Shells (wait, I’m getting hungry) Aged Bark, dehydrated Poultry manure, and both endo and ectomycorrhizae.  This soil needs all the help it can get!
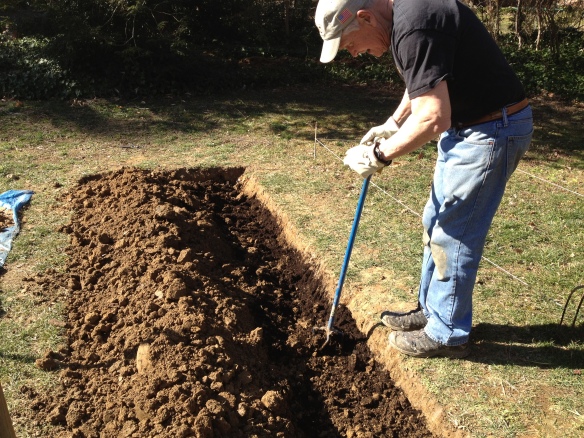
subarus rock for garden jobs! (feb 28th)

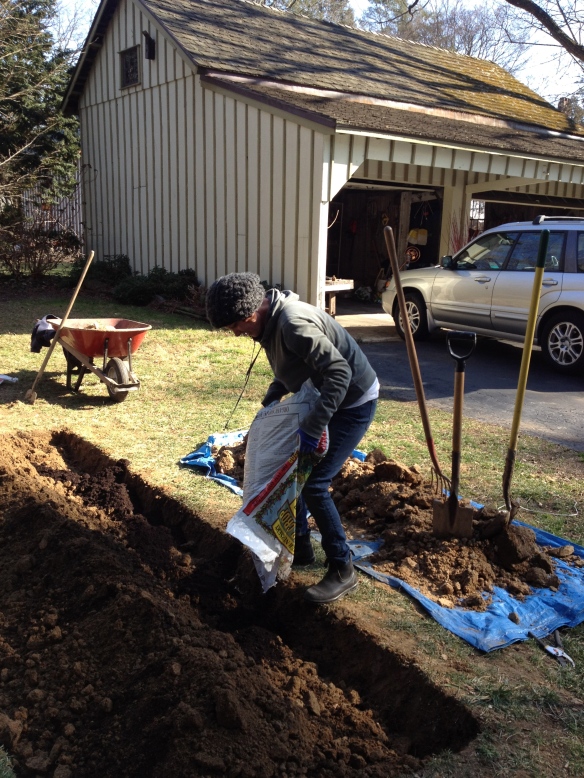
i can't thrash like i used to. adding bumper crop soil amendment (feb 28th)

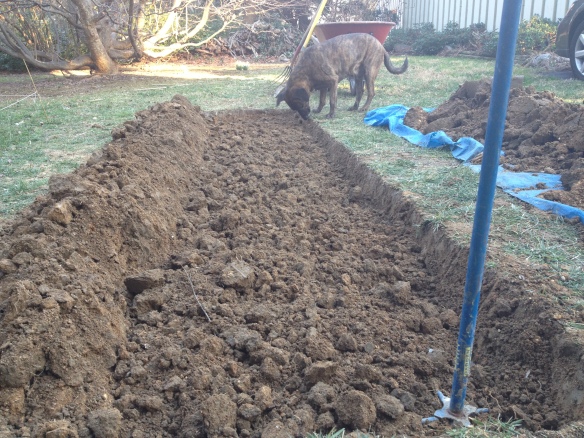
Capt Mac works in the luscious good stuff with the garden weasel and later i help a little with a pitchfork (feb 28th)

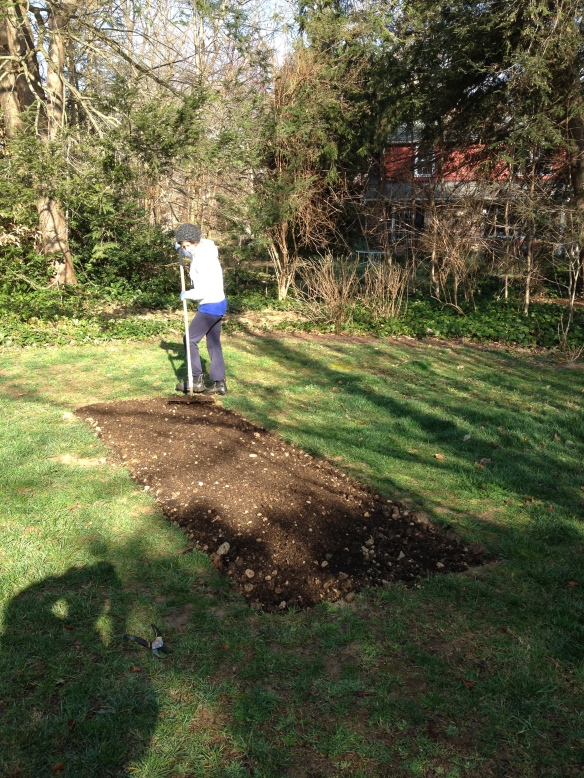
We let the bed sit, and carefully watch as rains come, sun shines, and bunnies hop.  All looks good.   I go back to Boston to see my husband.  I come back. Then the temps warm up. I decide that in my current situation (living a few different places) it might be best not to have two garden beds to maintain, so it will be one for now.  I also decide to get the ball rolling and add some more of the black stuff since we aren’t using it for the other bed.  And do some fine raking to break up some remaining clumps.  There is a voice in my head saying, “Be careful Ann, this is one of the ways you threw your back out once.”  Again, it doesn’t stop me (but now I do my back stretches almost every day to counter the gardening etc.)
raking out clumps, added another bumper crop bag (mar 19th)

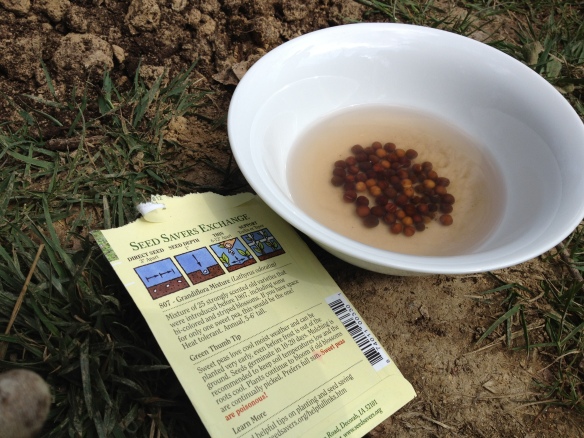
i read in my Flower Farmer book it's good to soak sweet peas for 24 hours before planting. they got all swelled up and look ready to burst here. (mar 20th)

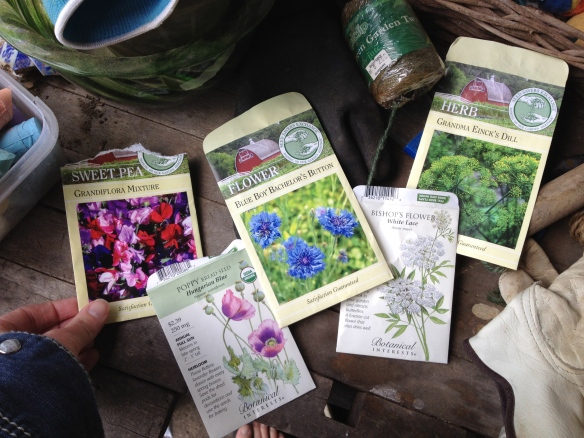
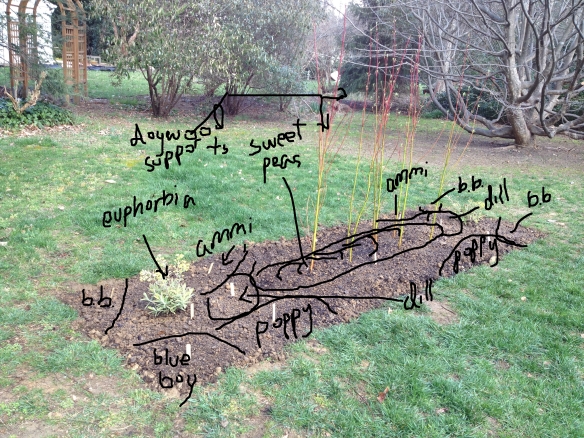
And then it’s TIME TO SOW!  Here’s everything I planted today…Sweet Peas (Grandiflora mixture,) Hungarian Blue Poppy (Papaver somniferum,) Blue Boy Bachelor’s Button (Centaurea cyanus), White Lace Bishop’s Flower (Ammi majus) and Grandma Einck’s Dill.

first round of sowing (mar 20th)

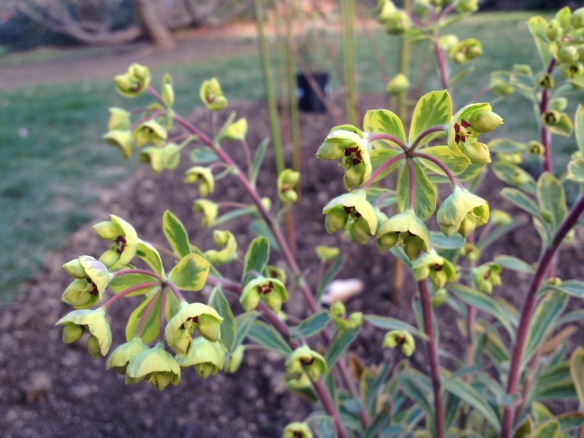
Julie and I also bought some more stuff at Mostardi’s – I found some Euphorbia x martinii ‘Ascot Rainbow’ which I really dig for the foliage, although it is blooming now.  It will get 2-3′ tall and spread a bit.

Euphorbia x martinii 'Ascot Rainbow' (mar 20th)

garden diagram gone haywire, at least i can read it (mar 20th)

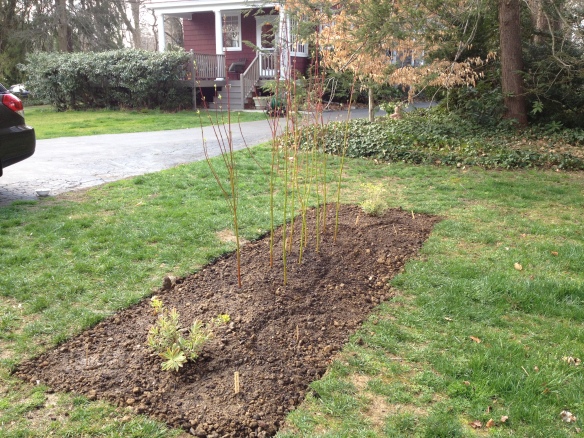
after first round of sowing/planting (mar 20th)

The red-stemmed dogwood will hopefully support the sweet peas, and also looks neat while there’s nothing happening.  Heck, maybe it will actually root! (Doubtful.) The plan is to see what germinates and perhaps add a few other things like sunflowers, zinnias or stuff I see in nurseries I like.  (Not doing the cukes this year because I think my huzz and I should do that project together.)  All watered and ready to grow…so think good thoughts for the little garden that could.  And happy first day of Spring!

day three – basic floral design I at longwood

In this class, we started by watching a video from the ’80s on Conditioning.  Jane had some stuff to add that I’ve worked into the tips I took away from it:

  1. Recut stems on an angle / Strip lower leaves to avoid decay under water.
  2. Put flowers into water in a cool dark place for several hours.  This video said to use warm water (100-110 degrees F) because it has less oxygen and can freely absorb water and nutrients better because warmth dissolves trapped air.  Jane says warm water can also speed up the flowering process, so using cool water can help flowers last longer.  So if you wanted something to open up right away, warm water would be the way to go.  And let the water cool before you put it into a fridge, if that’s what you’re using for the cool dark place.
  3. pH level of water should be 3.5-4.5 – water flows through vascular system better at this level.
  4. Use only NON-METAL containers.   Cleanliness is next to godliness.  Wash all buckets, containers, and cutting tools with bleach solution.
  5. Use a floral preservative like Floralife to reduce flower senescence.  Preservatives contain Sugar (carbs for nourishment,) Acidifier (to lower pH level,) and Biocide (inhibits growth of bacteria.)
  6. Daffodils should be stored in a separate container because it’s sap is toxic to other flowers.  Once you cut them, and put them into water for a while, the stem will harden off and not seep the toxin anymore.
  7. Tulips are funny ones.  To get them ‘straightened out,’ wrap them in wet paper and place them in a deep container to keep them from bending.   Also bear in mind tulips keep growing after they’re cut.
  8. Woody stems – slit the stem across the center for maximum water uptake.  DON’T mash the stems!
  9. Lilies – pollen can stain so pull off the anthers. This also adds to their vase life.
  10. Euphorbia and Poppies ooze a milky sap when cut.  Singe them with a flame or super hot water to prevent the ooze factor.
  11. Iris – to get them to partially open you can peel them open a bit and blow on them!  This was the best part of the video, because it was just funny watching a guy from the ’80s blowing on Irises.
  12. Orchids – tropical – keep in warm temps not below 45 degrees F and out of sunlight.
  13. Gerbera need head support and are prone to stem blockage.
  14. Jane says the best time to cut Garden Flowers is the morning or evening.  Ideally, water them at night and pick them first thing in the morning. Give them a shot of hot water, then put them in cooler water and let them rest for 4-6 hours in a cool dark place.   THANKS JANE!

botanical design using tulips at every stage from bulb to fully open flower

Jane then walked us through a few different arrangements before we did ours.  I really loved the Botanical design, which represents nature through the life cycle or study of a plant.  The design uses one kind of bulb flower in all of its phases, and the bulb on it’s own is included.  Cute!

Jane doing the landscape design using birch, moss, hellebores, tulips and more

Then the Landscape Design, which is a panoramic view of a man made garden area.  It’s a larger design and includes trees, bushes, flowers and ground cover.  Also you can use a little water element if you want!  This “would be perfect if you were having a bunch of gardeners over for a dinner party,” says Jane.

Landscape design - Jane did this in about 10 minutes

Today’s lesson was a Vegetative Arrangement, which is meant to be a design that presents plants as they grow in nature or the garden.  Flowers and foliage are selected according to seasonal compatibility – so you wouldn’t see a sunflower in with a daffodil because they wouldn’t be blooming at the same time in the garden.  This ‘slice of garden’ should show interest from all sides and bear in mind Color, Fragrance, Texture and Pattern.

Radial Vegetative Arrangement "think about how it might be growing"

I decided to do the Radial Design rather than the Parallel Design.  We used 1 block of Oasis cut to fit the container, then pinned some moss on using greening pins but leaving the center exposed.  Our materials were 1 Quince Branch (or Red Stemmed Dogwood – limited supply,) 3 Daffodils, 5 Tulips, 3 Iris, 1 pot of Tete a Tete Daffodils, and lots of different foliage to choose from like Bupleurum, Ivy, Fern, and 3 Galax leaves.  The Galax is shiny shiny shiny and draws your eye.

Mary Jo grabs tulips! You've got to be brutal to get what you want in this line. 🙂

after you've done the assignment, each student goes up and the class and Jane interact to discuss the design, what works and what doesn't. This one worked!

afeefa was lucky to grab some of jane's hellebores ... mmm!

This design was definitely harder for me than the Roundy Moundy.  I struggled with the Quince Branch, was not happy with it, and then Jane came around and gave me some Red Stemmed Dogwood which worked better with my orangey tulips.  I took the following pictures once I got home:

my vegetative arrangement when it first came home

other side, i like the dripping bupleurum meant to mimic lady's mantle

about 5 days after it was made, irises blooming, tulips going nuts, and tete a tete much leggier

I just want to pinch it’s cheeks and say, “My how you’ve grown!”