birthday head garland

Today I made a floral head garland for my beautiful 29-year old sister Fiona.  She’s a Taurus, like so many in my family, and I think because of that Earth sign she can really pull off the crown of flowers look.

It could be that she’s really a fairy princess, though.  Happy birthday, sis!

spring arrangement with shrubs

I clipped a few things from my parent’s yard and took them up to Boston with me for the week as a reminder of the lushness of spring in Pennsylvania. This is what I ended up doing with them, keeping clusters of azalea, lilac, and snowball viburnum grouped together.   These pics were taken before I got my new camera, unfortunately.  More delicious plant and flower photos to come as the week progresses.

I’m pretty sure the viburnum in question is Viburnum opulus Roseum, also called European Snowball Viburnum or European cranberry bush, which flowers in spring and early summer, starting out chartreuse and turning white.  All of these shrubs have been here for many decades, and I’m glad I’m finally able to appreciate them (when I was 17 I don’t think I really noticed…silly girl.)

I didn’t do anything fancy with the stems (like pound them or slit them vertically,) I just cut them with sharp pruners on a slant – and because there was a lot of woody material, they stayed in place pretty well.

These didn’t last as long as I would have hoped – only 4 days or so.  The lilacs crisped up first.  I should have let them condition in a cool dark place with hot water for an hour, then added cool water and let them sit for 4-5 hours (like my teacher Jane taught us during Day 3 of Basic Floral Design!)  Instead, I cut them, put them right in a bucket of cold water, and drove 5+ hours with them, letting the lilac scent permeate my brain deliciously.   Upon returning to Swarthmore, where these shrubs live, I see I will be given another chance to work with these dazzling spring blooms – but I’ve missed out on the chartreuse phase of the Viburnum – it’s already turned white!

unbridled bouquets – a longwood elective course

“Go beyond traditional bridal bouquets and expand your repertoire to the cutting edge,” promises the Longwood Continuing Education Course Catalog when describing Unbridled Bouquets.  Today’s class is another taught by Jane Godshalk  (and I realize it may seem like I’m stalking her, but she just happens to be a great teacher and one of the main floral instructors at Longwood, okay?)  All materials including containers are covered in the fee for this class, but we were told to bring wire cutters, a stapler, and a box to bring our stuff home in.

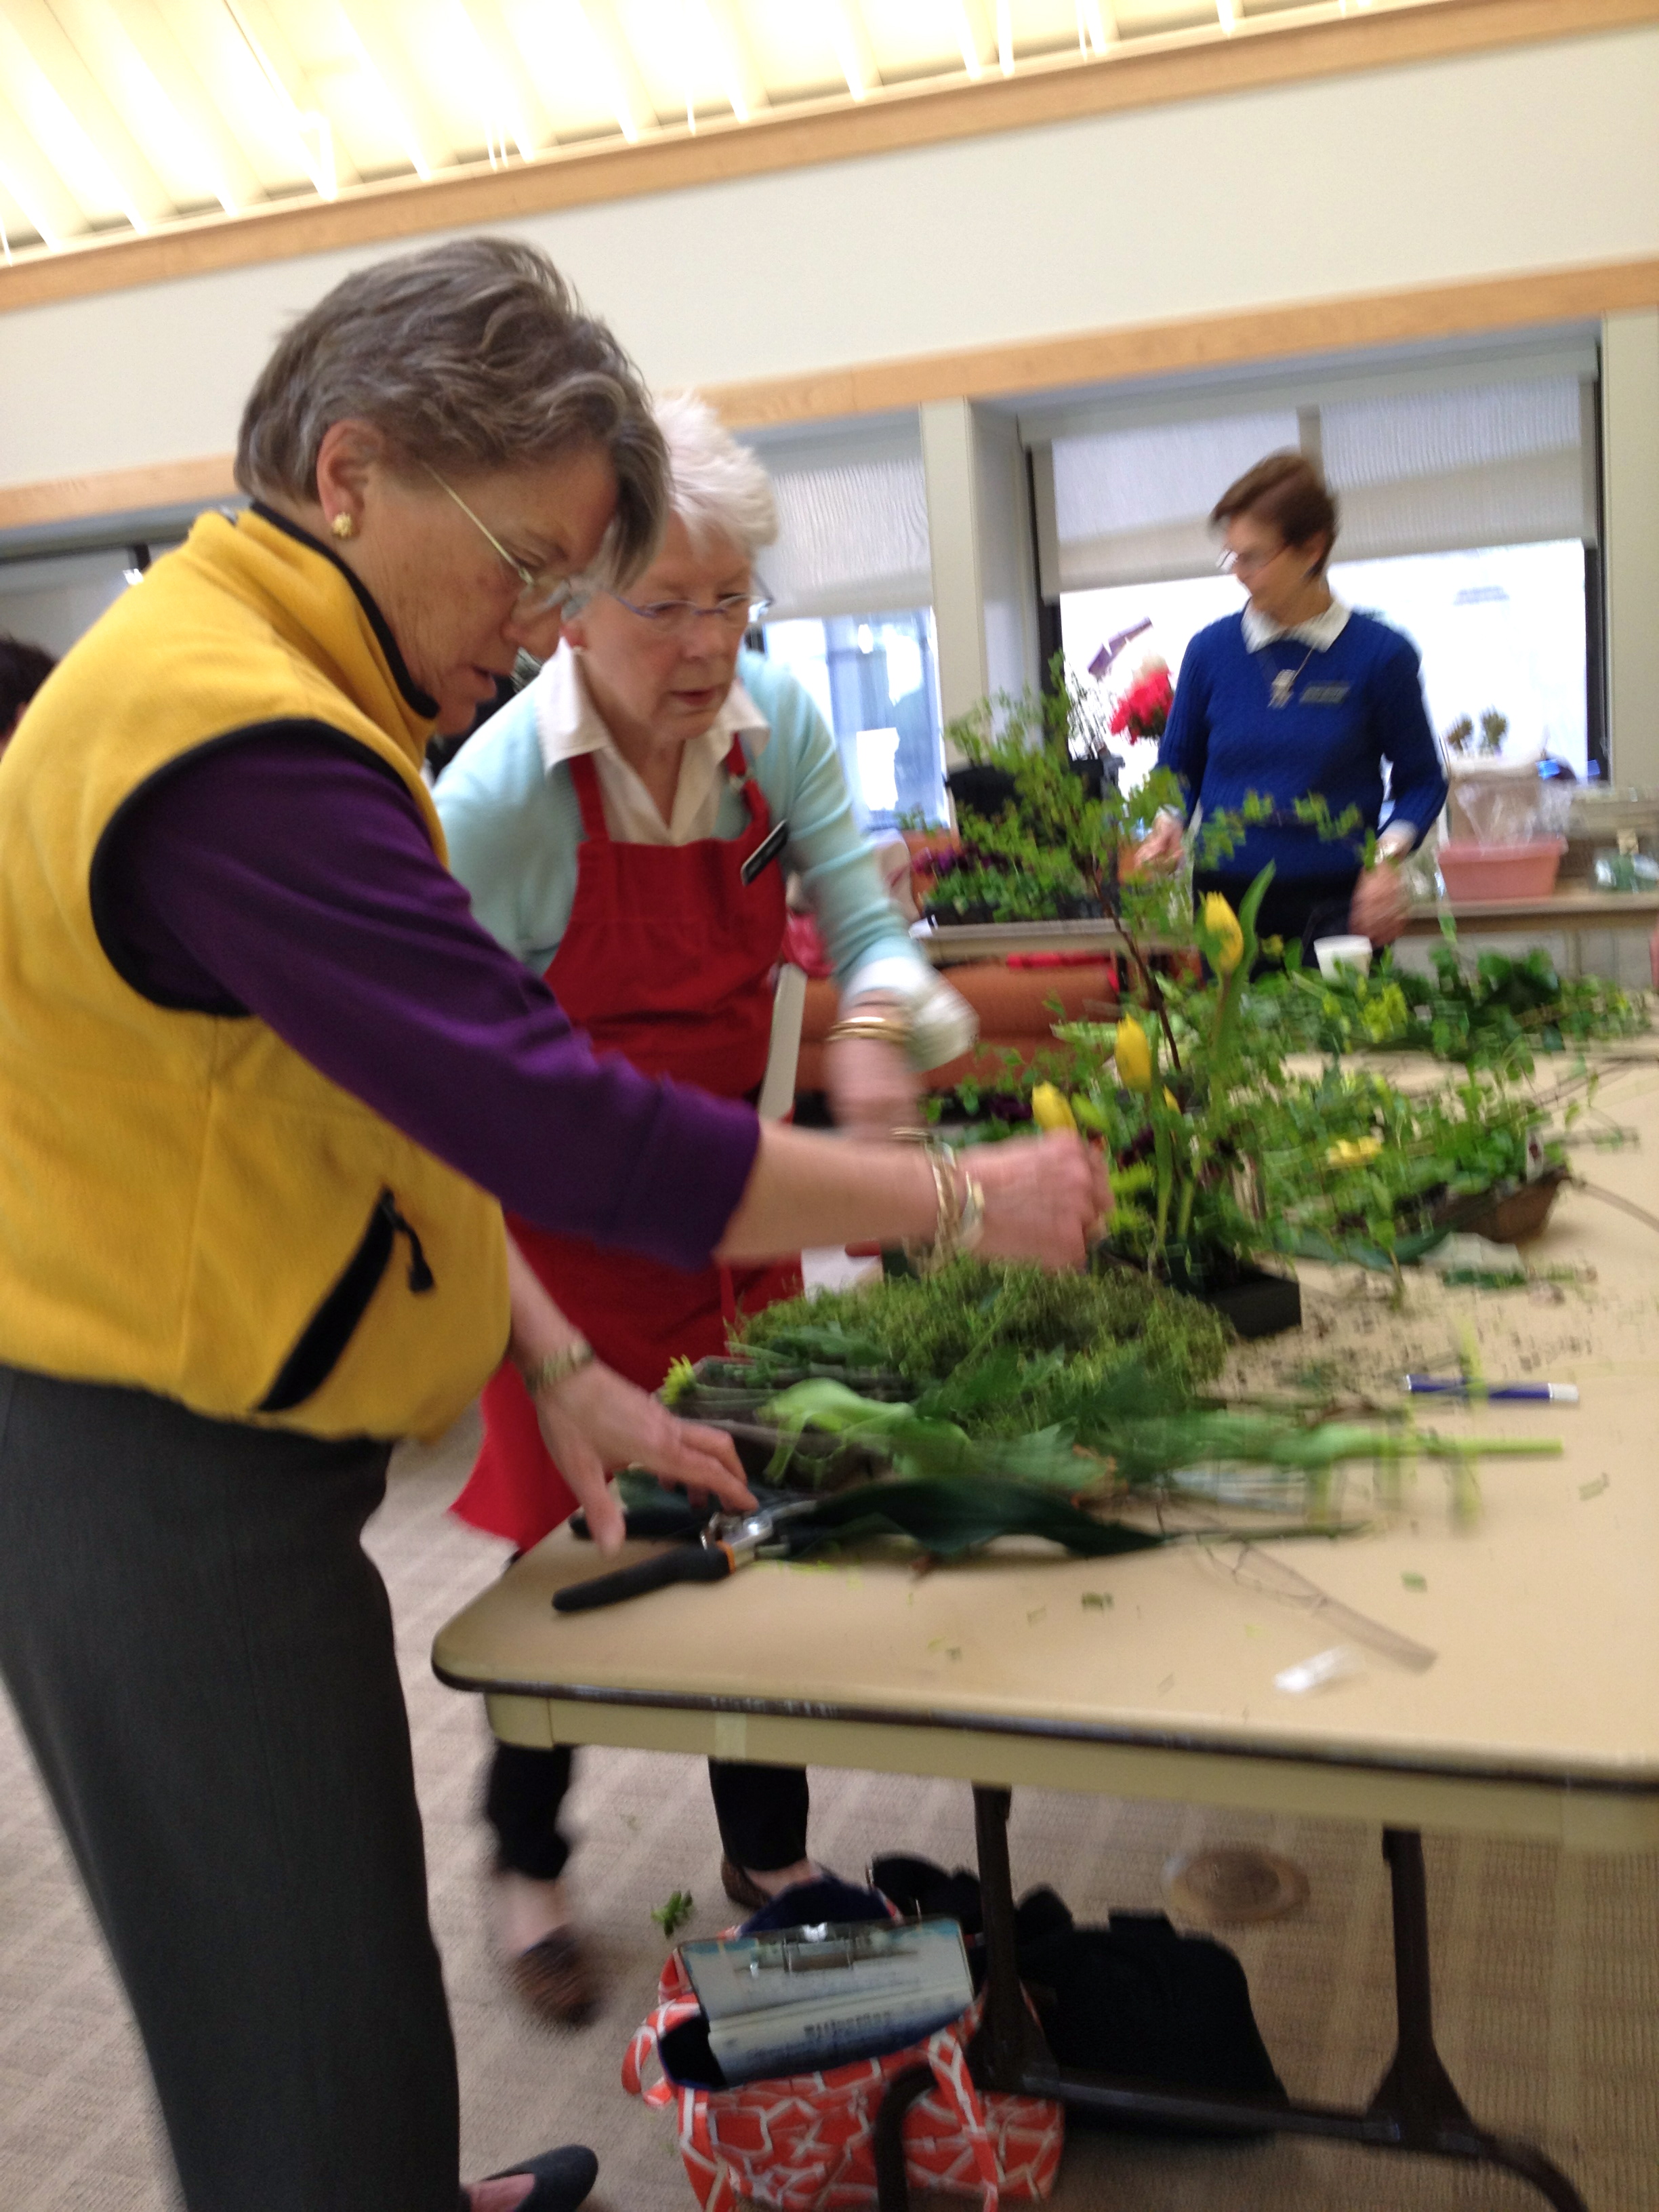
Students including Delphine from Belgium prep carnations for bouquet making. I'm thinking, 'carnations, boring,' but wait til you see what we made!!

There are design basics to cover in any bouquet, but since I’ve never created any type of bouquet other than hand-tied ones at the shop, I’m a clean slate for learning.  First, consider what type of style you’d like:  Decorative, Vegetative, or Form and Line.  Your typical bridal bouquet of tightly packed white roses would be considered Decorative, it’s controlled and uses a mass of materials. Something that’s more naturalistic, with a variety of material and height is Vegetative.  And then Form and Line will use less material, have strong lines, and be more dramatic.  Most of the bouquets I like seem to be a combination of styles, but I do tend to favor the vegetative look – something fresh from the garden.  At least that’s what I thought at the beginning of the class!

Decorative/Vegetative bouquet I could just die for by lovenfreshflowers.com, photo by wrenandfield.com, Aug 2011 cover of Philly's Grid magazine - gridphilly.com

Think about where this bouquet is going to live:  is it a bridal bouquet? Not today, people.  We’re going where no bouquets have gone before, because we’re unbridled.  These bouquets are for the home;  these you can bring to a wedding shower, dinner party, or birthday bash that the hostess can then just plop into their own container.  Good idea, no?

Bouquet elements to consider:

  • Balance:  Symmetrical or Asymmetrical
  • Binding Point:  it’s either high, medium, or low.
  • Stem Placement: stem can be arranged in a Radial/Spiral pattern, in a Parallel fashion, or in an Alternate pattern.
  • Flower Level: flowers are all on the same plane, or they are varied from a little to a lot.
  • Open or closed: flowers form a ring that’s open in the center, or entire bouquet is full. At least I think that’s what it means.

We each have a bunch of 20 carnations, which we’ve mostly removed the foliage from.  Next, Jane shows us how to pierce the calyxes of each flower with wire that will connect them all together. We trade a few stems with each other here and there  to get some alternate colors. (Thanks Trish!)

Piercing the carnation calyxes with copper wire

Delphine and Pat pulling their wired carnations together in hand

As we gather the wired bunches into our hands, we decide where the binding point will land.  With these long stems, I’m thinking medium to high binding point.  I am going radial, all the way, because I want my carnations to go in a spiral of varying heights; and then I’ll tuck stems of Dianthus ‘Green Trick’ and some pink rice flower within that spiral.   But other students have done many other things with theirs.  The carnations, being wired, can pretty much hold their shape exactly where you want them – imagine trying to do this with free-standing stems, how would you do it without totally losing your mind?  And carnations are one of the few flowers with a big enough calyx to pierce without destroying the whole thing.

The ever-delightful Afeefa and her more open bouquet using birch branches, tied with raffia, high binding point

Then we can choose to add a little plumosus (Asparagus fern) or bear grass depending on whether we’re feeling lacy or more formal. We also have some hypericum berry we can string through if we like.  Then we’ll twist the bunch with some chenille wire, adding whatever ribbon adornment we prefer.

Megan, who wants to go into event design, added bear grass threaded with purple bling to her bouquet

My carnation bouquet, thanks to Pat for taking the pic

Spiraling IN control - my bouquet at home

detail of my bouquet at home: Hypericum strung with copper wire separates carnation from Dianthus 'Green Trick'. A whole unnatural little world made of natural elements. Neat.

Next up, we create a bouquet that starts with a handful of Equisetum, cut to mostly the same length, and held together with a rubber band (which will eventually get covered up by something prettier.)  The stems will be arranged in a Parallel pattern, so choose stems that are straight!  Hey, did you know Equisetum is basically a living fossil? Missouri Botanical Garden says:  “Equisetum is the single surviving genus of a class of primitive vascular plants that dates back to the mid-Devonian period (350 + million years ago).” It’s not a rush, or a fern, it’s in a class of it’s own, literally.  Cool!

Equisetum bunched together will be the structure that holds the stems together for this lil bouquet

Then, simply pop stems inside the Equisetum structure and BAM! instant modern bouquet.

My bouquet with equisetum base (wrapped with copper wire)

My parallel bouquet from above: bear grass loops out of lisianthus, green eyed rose, ranunculus, freesia, and white allium

Here’s the next little cutie we did.  In this ‘bouquet’ we threaded wire through carnations again, this time to achieve stems with an Alternating pattern.  I’m sorry I didn’t get pics of what’s underneath, but I actually ended up doing most of this during lunch, since we were really packing the learning in.

My Alternate-stemmed bouquet, now on my bedside stand. Love the little green vase.

After a lunch break, we came back to find a lot of lovely colors to choose from, along with some big birch branches. Get in line for your materials and don’t be shy now!

Trish looks like a kid in a candy store!

Then we created some bouquets using Birch branches as a structure.  Those of us that were doing the more Vegetative design started by created a base structure out of wire covered in brown floral tape.   Wrap two 18 gauge flat wires to form a circle, and then attach four more wires to the circle, which then meet in the center under the hoop to form a sort of holder.  From there, add birch branches, even binding them to the wire form to get the branches to got out horizontally.

Jane shows us the birch and wire structure technique. I'm taking notes so I didn't get too many pics of this. And the drawings in my notes are incomprehensible.

For the more modern Birch bouquet, we created a structure using “Sickles” – which are bundles of birch wrapped with wire to form little crescent shapes, or sickles.   This is a technique that Jane learned from designer Gregor Lersh…who has some upcoming workshops in Germany, if you’re interested. You can make sickles out of anything that would look good bunched together – straw, bear grass, pine needles, etc.

Jane shows how to create little sickles out of birch, then shapes them into a bouquet structure, attaching them together with wire. Wire is also added to form a holder of sorts.

For both of the branch structures, greens and then flowers are simply added within the form.  My hand got way tired holding all my materials in place while I created my Vegetative bouquet. Guess I’ve got to do some hand strengthening exercises!

Here, Jane adds materials to the sickle form

My completed birch bouquet in container. Very rustic.

So you see you probably could not achieve the same effect with the branches if you had just placed them into the container without foam.   The wire structure made it easy to just poke stuff in, and then you hold it in place with your hand.  At the end, it’s very important to finish it off with greens in order to cover the wire mechanic.  Then, wire with chenille wire to wrap it all together at the end.

Jane shows us another bouquet that utilizes straws - very colorful! Great for a baby shower??

Did you think we were done yet? No, this is Unbridled Bouquets, we still have one more bouquet to make! We were at a breakneck speed at this point, and the creative juices were flowing.  Jane showed us how to staple straws onto a wire, then create a structure like the birch branch one for this fun bouquet.  Then poke your materials in, with hydrangea using up a lot of real estate it’s a quick one!

Stephanie's straw bouquet...cool!

Isn't the Anthurium lovely in this student's creation?

I, unfortunately, had a terrible stapler (was it made for Barbie?) whose staples were ill-fitting, so I didn’t create the straw hedgehog.  Instead I wired bits of light green straw onto copper wire, which I then attached to a wire bouquet structure.  I then added a bunch of Apidistra leaf (folded and stapled,) Hydrangea, Anthurium, and Dianthus ‘Green Trick’ for a little Tim-Burton-meets-Martha-Stewart action.

I'm calling this my "East Hampton" bouquet.

At home.

After a day of making bouquets (five in total!) our cheeks are flushed with productivity and pride; and maybe, just maybe, we feel a little on the unbridled side.   We have boxes full of beauty to take home!

Stephanie on her way home. Hope to see you soon!

garden club ladies to the rescue

Last week, I had the good fortune of being invited to attend the Four Counties Garden Club meeting and flower show at Cathedral Village, as a guest of Longwood instructor Jane Godshalk.  Decades ago, Jane got into floral design “through the back door;” by entering floral competitions held by this local garden club (a Garden Club of America organization.) Originally she thought she’d be more into the horticulture side of the club, but found she had a knack for floral design, and the rest is history.  Although she started later in life (in her early 40s) she finally found something she was good at and went with it.  You can see why I relate to Jane as a mentor, right?

Here Jane has created "a sculptural design in which the color green dominates" using Bells of Ireland, Bird's Nest Fern, Hellebores, Calla, Flexigrass, Green ranunculus, Mums, and equisetum

Look at this cool green Ranunculus Jane is using

There are three classes to compete in:

1- “Transformation” – a challenge class for novices working in pairs ( a novice has not won more than 1 blue ribbon in a Club show.)  For this class, you show up with clippers only, the rest is provided, and you have an hour to put it together. Your finished design will be viewed from 3 sides and should be no wider than 26″.

the "novices" work in pairs to create their designs of transformation

detail of vertical transformation design: i just loved the way this one spiraled upwards

2- “A Fresh Perspective” – a sculptural design in which the color green dominates, to be staged on a pedestal, viewed from 3 sides and not exceed 24″ width.  You do as much as you can before you arrive and complete the rest on site.  This is the class Jane is entered in.

Margo puts the finishing touches on her 'Fresh Perspective' Design

Jane makes sure everything is rock solid structurally and the mechanics are all covered up with plant material

3- “Spring Sizzle” – A polychromatic design to be staged in a Medium niche; background required.  You do as much as you can before you arrive and complete the rest on site.

A Spring Sizzle design, incorporating all plant material from the designers garden

a Spring Sizzle design where the sizzle is represented by copper wire spirals

The feeling in the room is somewhat frenetic, but I sense a connectedness between the women – they are working together to complete their designs, one helping the other if she needs it, giving feedback to each other about the small details of their designs.

Then it’s time for the “passers” to come around and make sure the designs follow the rules outlined.  A Passer will make sure none of the mechanics are showing – a bit of floral foam here, a wire there; and she will also measure the design. Though it may seem otherwise, the Passer is your friend.  She will catch little things before the judges see your design.

The Passer measures a design's width

Here the Passer has determined that the design is too wide, so Jane helps the novices decide what to cut to make it to the proper width. This is a team sport.

Then it’s time for the judges!! All the participants leave the room to attend their meeting, while three judges look at the 12 total designs in the room.  This is not a task for the faint-hearted:  they will spend an hour and a half critiquing 12 designs, with a clerk standing by to take notes on what they say (sometime I’d like to be the clerk – you could learn so much that way! but I wasn’t ready for this post on this day, just wanting to observe the whole thing.)

Judges discussing designs

Discussing proportion of material to container

They look at each class, deciding on first, second, third, and honorable mention, and dole out ribbons accordingly.  Judges leave comments to help designers improve their skills.  Then the ladies come back to see how they did.

Marty is positively radiant about her blue ribbon win for her Spring Sizzle design

And she should be...it really is stunning!

third place in the Fresh Perspective class

Judges comment for Third Place above references Biedermeier design, something I haven't done yet at Longwood but will learn - concentric circles of plant material

Jane's design got 2nd place

and this is a detail of first place in the Fresh Perspective class

first place and best in show by margo

As I drive home from this lovely event with these lovely women, I am struck by how cool it is that they’ve all gathered to spend this time together, creating beauty in their corner of the world.  They look closely at each other’s work, they take each other seriously, they learn from each other.   They are there for each other, support one another.   And they are really talented at floral design.  So why do I feel so sad as I drive away? I guess it’s because I wish I had my own garden club ladies, I wish I belonged to something.  I’ve had my nose to the grindstone for so long, I looked up one day and realized I had no balance in my life – no time for friends even.  Since I left my too stressful career back in August 2011, my life is starting to even out again.  My priorities are shifting.  I’ve found other things besides making television that are important.  And I’m so thankful to have been shown this part of the floral design world, where ladies rescue other ladies in distress!

my world is full…of flowers

I started my day making a birthday arrangement for a friend of the family named Pat, who is my stepmom’s dear friend and probably the hardest working person I know. She’s in the restaurant biz, and owns a cute restaurant in Downingtown called The Blue Cafe together with her husband Paul. Go there, the food is great! Pat is the kind of person who will literally hug the stuffing out of you, whose perkiness precedes her, and despite having been through some tough times, always manages to see the positive in everything and everyone. Julie picked up most of the flowers and I put them together – quite a cheerful mix, just like Pat herself! Happy Birthday Pat.

pat's bday arrangement: bubblegum roses, freesia, pom pom mums, protea, billy balls, boston fern and aucuba (from the garden)

Then I scooted off to falls flowers for my weekly dose of apprenticing. The materials Peicha selects for her shop are really exquisite, and there’s always something I’ve never seen or worked with before to choose from…which makes designing pure heaven!

fuschia boronia

Meet Boronia heterophylla, as I did for the first time today. A shrub native to Australia cultivated for the cut flower trade, boronia has fairly long stems of vibrant pink flowers and a fruity, tea-like fragrance. It really pops! Now, here’s another delicious dish of a flower – and don’t be afraid of it’s Latin name – Scabiosa. They can range in color from white to light lavender, to blue, to purple, to deep maroon. How very romantic.

Scabiosa, or Pincushion flower if you can't take this beautiful flower being called 'scabby'

'Free Spirit' Rose - couldn't you dive right in?

My thirst for loveliness partially quenched, I set to making a few arrangements that had been phoned in. This one was the April representative for a customer’s ‘year of flowers,’ something I think everyone should do! Wouldn’t that make a lovely mother’s day gift: a year of flowers?

hobnail vase with scabiosa, french lavender, white roses, veronica, purple clematis vine

Next up, a birthday arrangement for a customer whose only specification was they wanted it to be “WOW.” My interpretation of wow included the use of protea, orange ornithogalum, boronia, ranunculus, Free Spirit roses, and hypericum.

'wow' design

And finally, some little jars of delight, using leftover materials from the cooler. These were freebies – visual inspiration for a 2nd grade class as they create shapes and forms using clay. Little bit of this, little bit of that…

jars of fun for 2nd grade class

Thanks for letting me have full creative license today, Peicha! I had a blast. I never thought I’d put pink, orange, bright green and yellow together in one design, but I actually did it twice in one day…and I may do even do it again someday.