Jane’s New Floral Design Book! (featuring some of my photos)

cover photo by Tom Weishaar (all other photos in this post by me, most of which appear in the book)

Jane Godshalk, AIFD floral designer and instructor at Longwood Gardens, is now also an author!  Her new book, titled Flower Arranging Secrets: Natural Designs for Everyday Living, offers tips and tricks acquired throughout Jane’s decades of floral design experience. Some of my photographs are featured throughout the book, and I feel lucky to have been a small part of Jane’s incredible floral world.

Jane makes it look easy.

Jane makes it look easy. Buy her book, and it will be easy for you too! Here she is making an early spring parallel design using sand to hold the stems in place.

Jane has studied floral design internationally, is a longtime faculty member at Longwood Gardens, and is an award-winning floral designer whose work has been featured in publications such as the Pennsylvania Horticultural Society’s Green Scene magazine.

A lunchtime spring flower fiesta

A lunchtime spring flower fiesta Jane created using chicken wire to secure stems

At the heart of Jane’s book is the idea that floral design is for everyone, and the book aims to “demystify the process of arranging flowers for your home.”  Jane gives advice on how to select material and where to find it, how to care for stems once you’ve purchased them, which vases and containers to use, and design tactics such as color, stem placement, and rules of proportion.

Jane shows you where to find materials and how to prepare them for arranging

Jane shows you where to find materials and how to prepare them for arranging

Spring Design by Jane using chicken wire for mechanic, featuring peonies and materials from her garden

Spring Design by Jane using chicken wire for mechanic, featuring peonies and materials from her garden. Behind the scenes shot.

Jane empowers everyday floral designers by giving us the “how to” in a clear, simple fashion – and all the design mechanics she uses in the book are sustainable (can be reused or recycled.) In other words, no floral foam!  One of her tried-and-true methods of anchoring flowers is by using chicken wire. She also shows us how to use branches, bark, grapevine, and even sand as the mechanic for holding stems in place.

Using bark and branches to hold stems in place

Using bark and branches to secure stems

Jane shares many other secrets, such as the proper use of a kenzan or frog, how to create a hand-tied bouquet (a personal favorite!) and how to successfully incorporate fruits and vegetables into your design.  There is also a handy flower identification chart included. Jane’s new book showcases beautiful, eco-friendly and easy floral designs for everyone from beginners to experts. I highly recommend it. Congratulations, Jane.  It was so thrilling to work with you, and I am continually inspired by your knowledge and talent.

Jane's hand-tied bouquets are to die for! (photo not featured in book but concept is)

Jane’s hand-tied bouquets are to die for! (photo not featured in book but concept is)

Want the book? Buy it from Jane’s website for $24.99. Or, take a class from Jane at Longwood Gardens!

Reflecting on the Past Year in Flowers

It’s been many moons since I’ve blogged, but recently I was inspired by an email from Mary in Mumbai.  She writes, “…I really appreciate the time and efforts you have taken to provide information for your love for flowers, gardening and other activities. I hope you do carry on the good work. Your blog somehow has inspired me too and I will definitely try some of the stuff you have posted…I really look forward to hear about your new adventures in floral designing and your love for gardening.”  Thanks, Mary!

Golf Cart full of Autumnal Arrangements for Merion Golf Club

Golf Cart full of Autumnal Arrangements I created for Merion Golf Club

A lot has happened in the past year.  Back in February 2013, I was lucky enough to be hired by Merion Golf Club in Ardmore, PA to create floral designs throughout their clubhouse as well as maintain the surrounding gardens.  A big job, especially considering the work I did in June during the U.S. Open, an annual championship where the best and brightest golfers duke it out.

I maintained many container herbs and flowers throughout the year.

I maintained many container herbs and flowers throughout the year.

The style at Merion is “Farmhouse Elegance,” a style which is already very much my own.  So I would like to think that I took to it like a duck to water, but of course there are always speed bumps as you learn anything new.  I look back on some of my beginning designs and think, “yuck;” or how I’ve learned so much since then and would never put so much material into one arrangement.  I think simplicity is one of the hardest things to learn in floral design.  My temptation is to use a lot of different material, colors, and textures because it’s just all so pretty.  But using more pretty things doesn’t always equal an even more beautiful design.

Spring arrangement using larkspurs

Spring arrangement using lilies and larkspurs

Easter Tree with homemade eggs

Easter “Tree” I created with hand-blown, hand-dyed eggs

Spring Containers

Spring Containers

Lavender I love you

Lavender I love you

Working there during the US Open was a life experience I’ll never forget.  I created almost 200 designs from julep cup sized to large urn sized arrangements that had to last for an entire week.  Challenging, to say the least, but I learned so much and was able to utilitize my television production background to organize the “pre-production” part of the event, and plan everything to a tee (no pun intended!) Here are some of my planning documents:  The Open – Floral Setup; The Open: Floral Timeline.

Centerpiece for Golfers area

Centerpiece for Golfers area

Winner of US Open Justin Rose...finding out he won, my flowers in background.

Winner of US Open Justin Rose…finding out he won, my flowers in background. 😉

The result was something that I look back on and truly cherish, especially getting to know a lot of the wonderful staff at Merion much better during that week.

Sheena, my wonderful helper during the U.S. Open, keeps things in line

Sheena, my wonderful helper during the U.S. Open, keeps things in line

Chicken Wire 'Frog' held in place with floral tape

Chicken Wire ‘Frog’ held in place with floral tape

Base Layer of Mountain Mint

Base Layer of Mountain Mint

One of many centerpieces for Champions Dinner

Finished: one of many centerpieces for Champions Dinner

Here is a sampling of some of the other moments captured during the Open:

After the Open, we all breathed a sigh of relief.  But life carried on, and Merion bustled with other summer functions, basking in the glow of the highly successful event.  I was so impressed by the staff coming together and working so hard during that time, and also so proud to be a member of that team. Everyone did such a great job.

Mandy, one of the friends I made at Merion and a great golfer too!

Mandy, one of the friends I made at Merion and a great golfer too!

An interesting floral challenge!

An interesting floral challenge using a small version of Merion’s famous ‘Wickers’

Other challenges included being budget conscious, and of course I was also committed to being as environmentally conscious as possible, something that can be quite difficult in the floral design business.  Firstly, I was composting all vegetative matter.  I tried to source materials as responsibly as possible, using locally grown flowers when possible, cutting materials from the gardens themselves, using materials that were in season, and buying from farms that use sustainable growing practices. This was a big lesson for me.  I used Delaware Valley Wholesale Florist and had a great rapport with their wonderful sales rep, Susan, who helped me through thick and thin.  But it just wasn’t always possible to stick to my guns about responsible sourcing when there was so much to order and without much lead time to do, so I did end up ordering a lot of stuff that was flown in from other countries (mostly South America.)  But, as I said, a lot of it was grown sustainably so that made me feel a little better.

Locally Grown Hand tied bouquet

Locally Grown Hand tied bouquet – Flowers from Red Earth Farm

I also wanted to use eco-friendly mechanics instead of relying on floral foam, and with large arrangements I found the best method to be creating a ‘frog’ out of chicken wire, adding water, and then adding the stems.  The chicken wire did a great job of keeping stems in place, but still giving it a natural feel.

Fall Design using gold hurricane vase with a decorative mesh wire net holding stems in place

Fall Design using gold hurricane vase with a decorative mesh wire net holding stems in place

Pumpkin Containers for Fall Luncheon

Pumpkin Containers for Fall Luncheon

For large arrangements, and with most in general, it was helpful to add a layer of greens first, then the linear elements, the form flowers, and finally filler.  And if I was using branches, sometimes more branches would go in at the very end.  These large urns filled with seasonal materials really ended up being the workhouses at Merion for me, used in 2 or 3 rooms and then for special events on the buffet tables.  They would last almost a week, but needed water to be refreshed along the way.  I did mix flower food in with the water, and that made a difference not only for the life of the flowers, but cut down on icky looking water (if using clear glass) as well as icky smelling water.

Large urn with a lot of locally grown flowers

Large urn with a lot of locally grown flowers

Unfortunately I injured my back a few times during the course of my employment there, and finally had to seek medical attention and take a leave to deal with my injury.  My doctor banned me from heavy lifting, and so Merion had to let me go.  It’s been a bittersweet parting, because I really did love so many aspects of my job there, and so many of the people too.  But they deserve to have a worker who can do everything independently, managing the gardens as well as producing all the floral designs.  I wish them the best of luck, and hope that I can transition to a situation that will allow me to continue doing floral design with less impact to my lower back.  I have a few interesting floral opportunities on the horizon that I’ll blog about next!

day two – basic floral design I at longwood

I was eager for class #2, possibly because I felt a little more confident after the previous weeks of floral experience at the shop, and because it seemed we’d only scratched the surface during class #1.  There’s so much to learn when you’re dealing with plants, and that’s part of the reason I like it.  I never want to run out of new things to learn.

We are encouraged to make a little sketch before we begin, this is mine.

While waiting for the rest of the class to show, a few students and the teacher were discussing the upcoming Longwood lecture on Sustainable Floral Design.  Someone wondered about the lecturer, Jane Clark, and because I had been researching this topic, and her, I piped up that she had once had a shop called Fleurish which was no longer in business.  Our teacher’s immediate reply was, “that’s because you can’t do sustainable flowers.  Is organic impossible? To be competitive, yes it is.”  She went on to say that if you’re bidding against a non-sustainable florists, their prices are always going to be lower.  Organic flowers cost much more. But..isn’t there a market (maybe small, yes) of people who want “green” flowers, who don’t want the flowers at their wedding flown in from Columbia, dripping with pesticide? This will be a big topic for me, I think, and I’m just starting to research how others approach it.

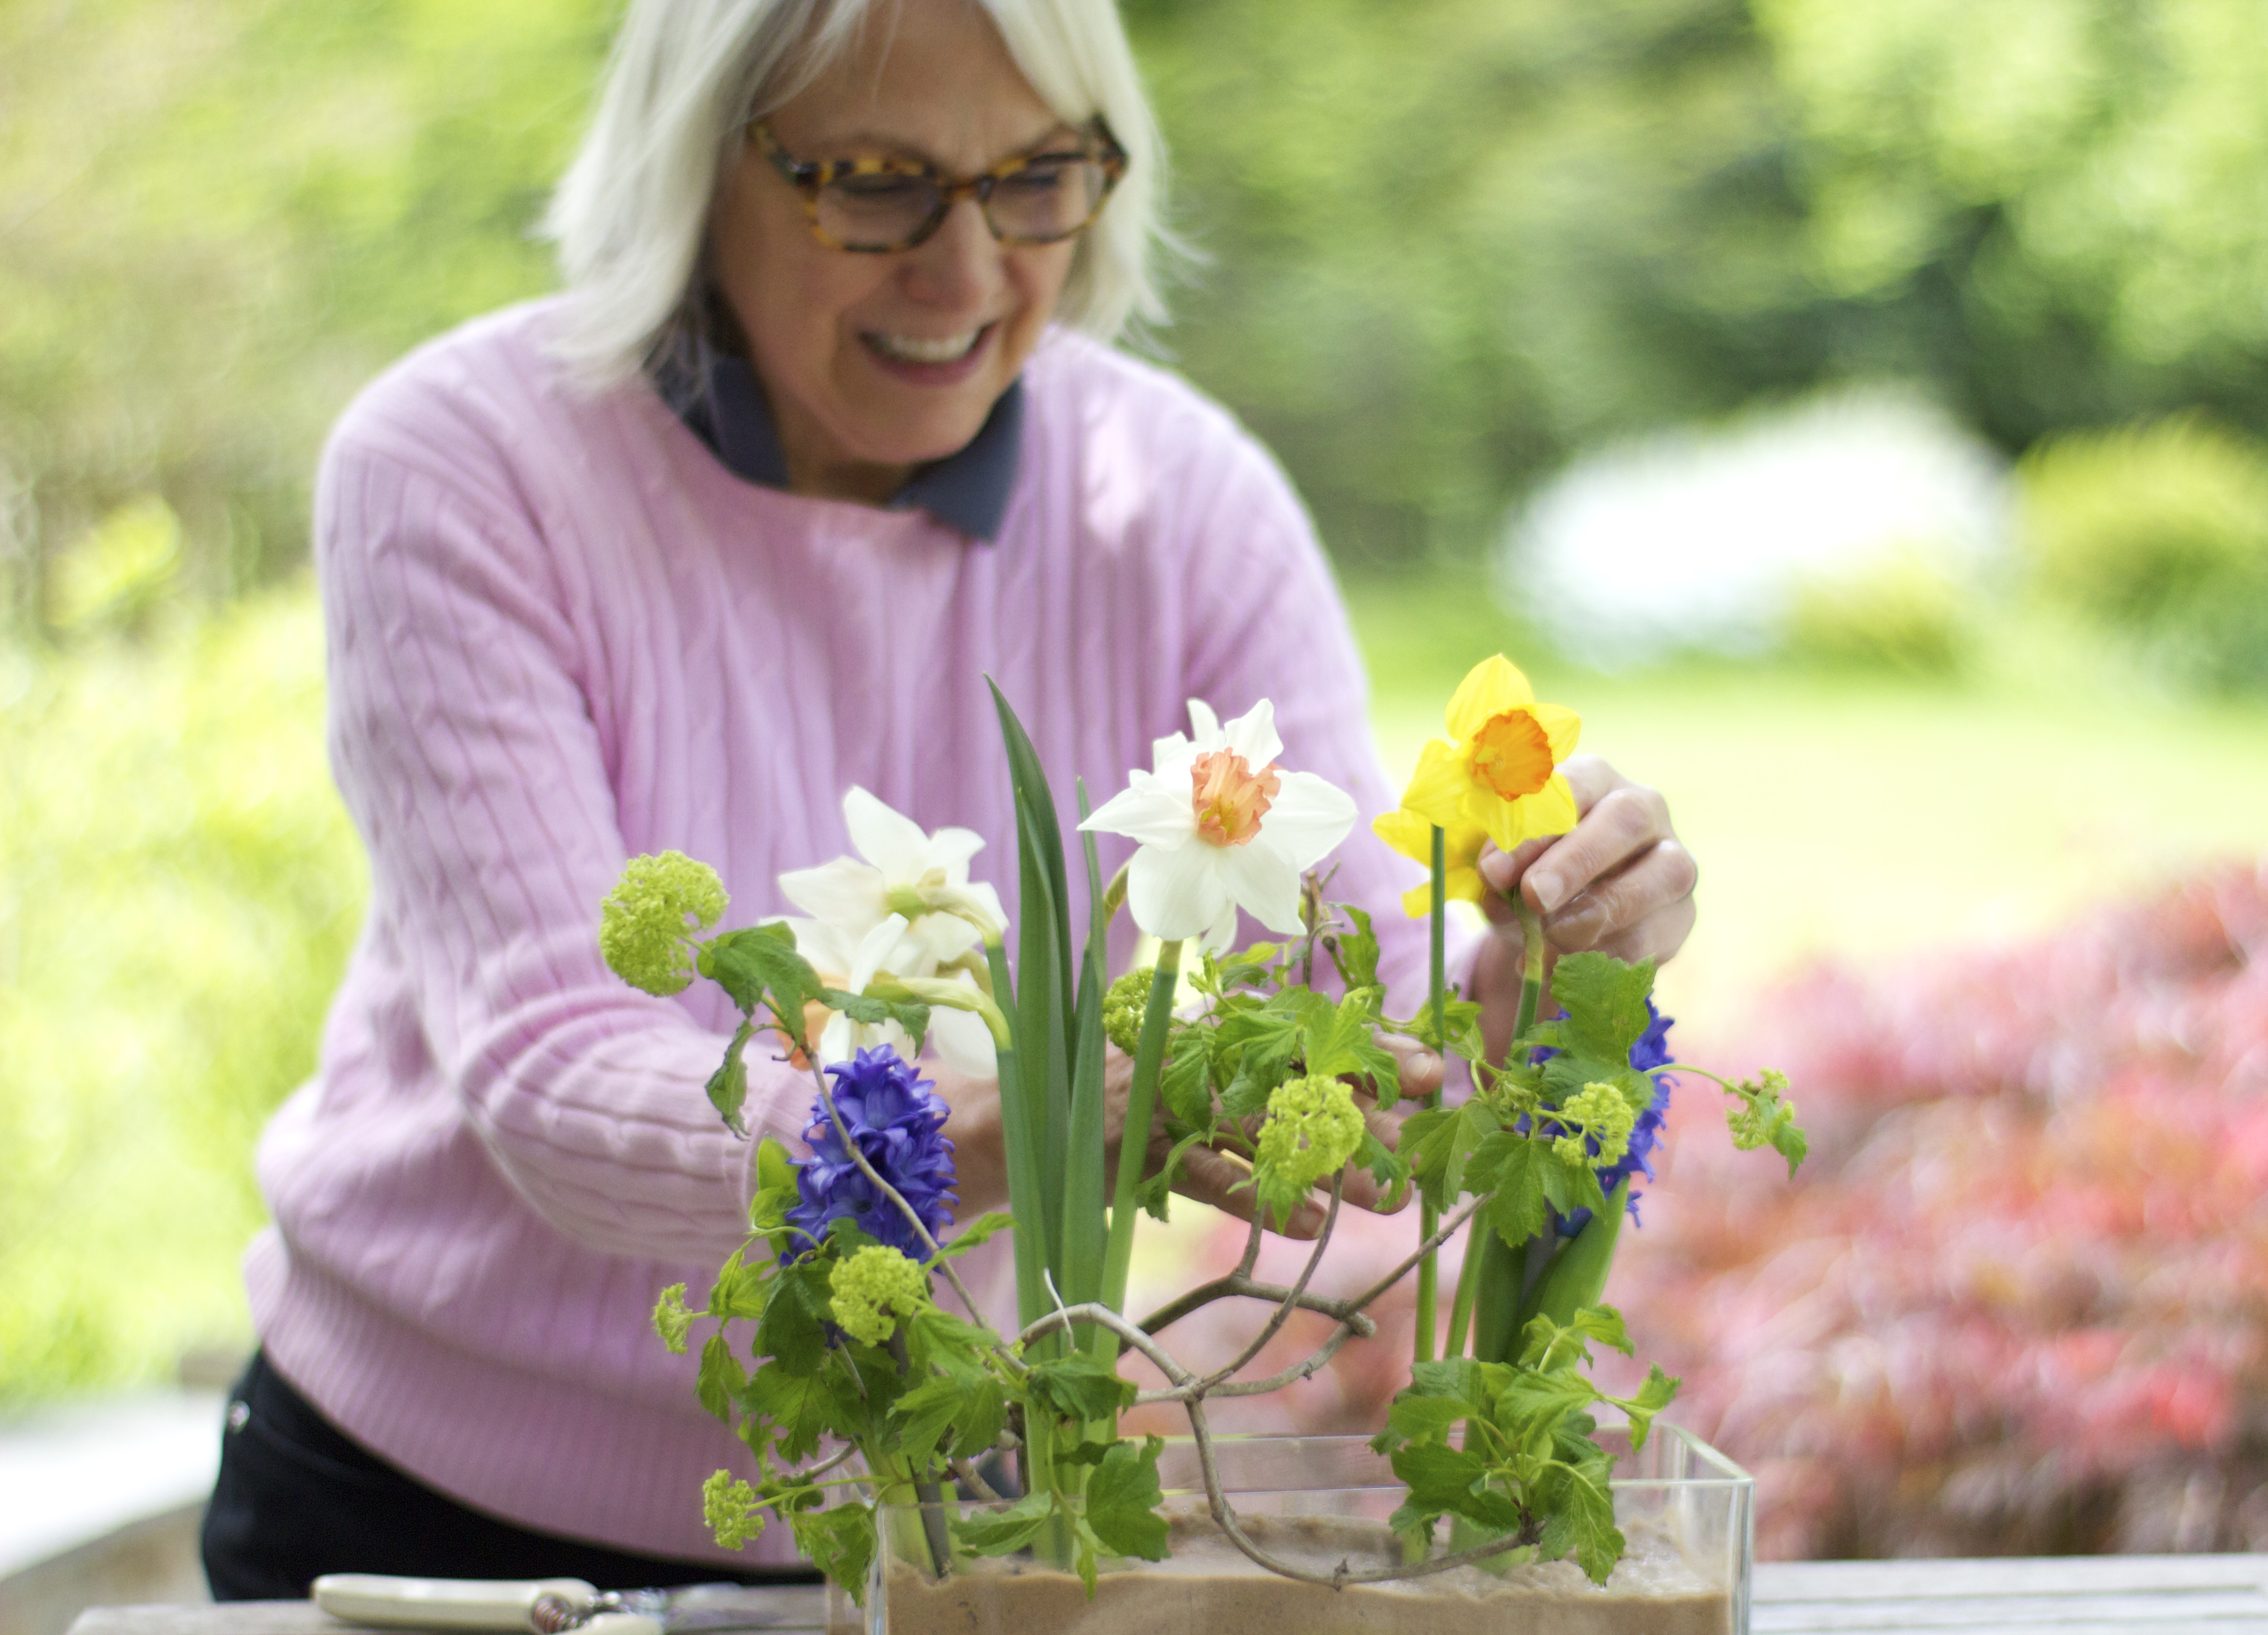
Locally grown arrangement created by Jennie Love, photo courtesy of lovenfreshflowers.com

Some just grow their own flowers and are done with it.  You have to admire that approach, and that’s why someday I want to meet Jennie Love, proprietor of Love ‘n Fresh Flowers.  She grows her own flowers in an urban location, which she sells through local stores and a Flower CSA, and also creates unique floral designs for events such as “eco-lovely weddings.” She’s doing a Floral Fun class at Longwood in the summer I hope to attend.

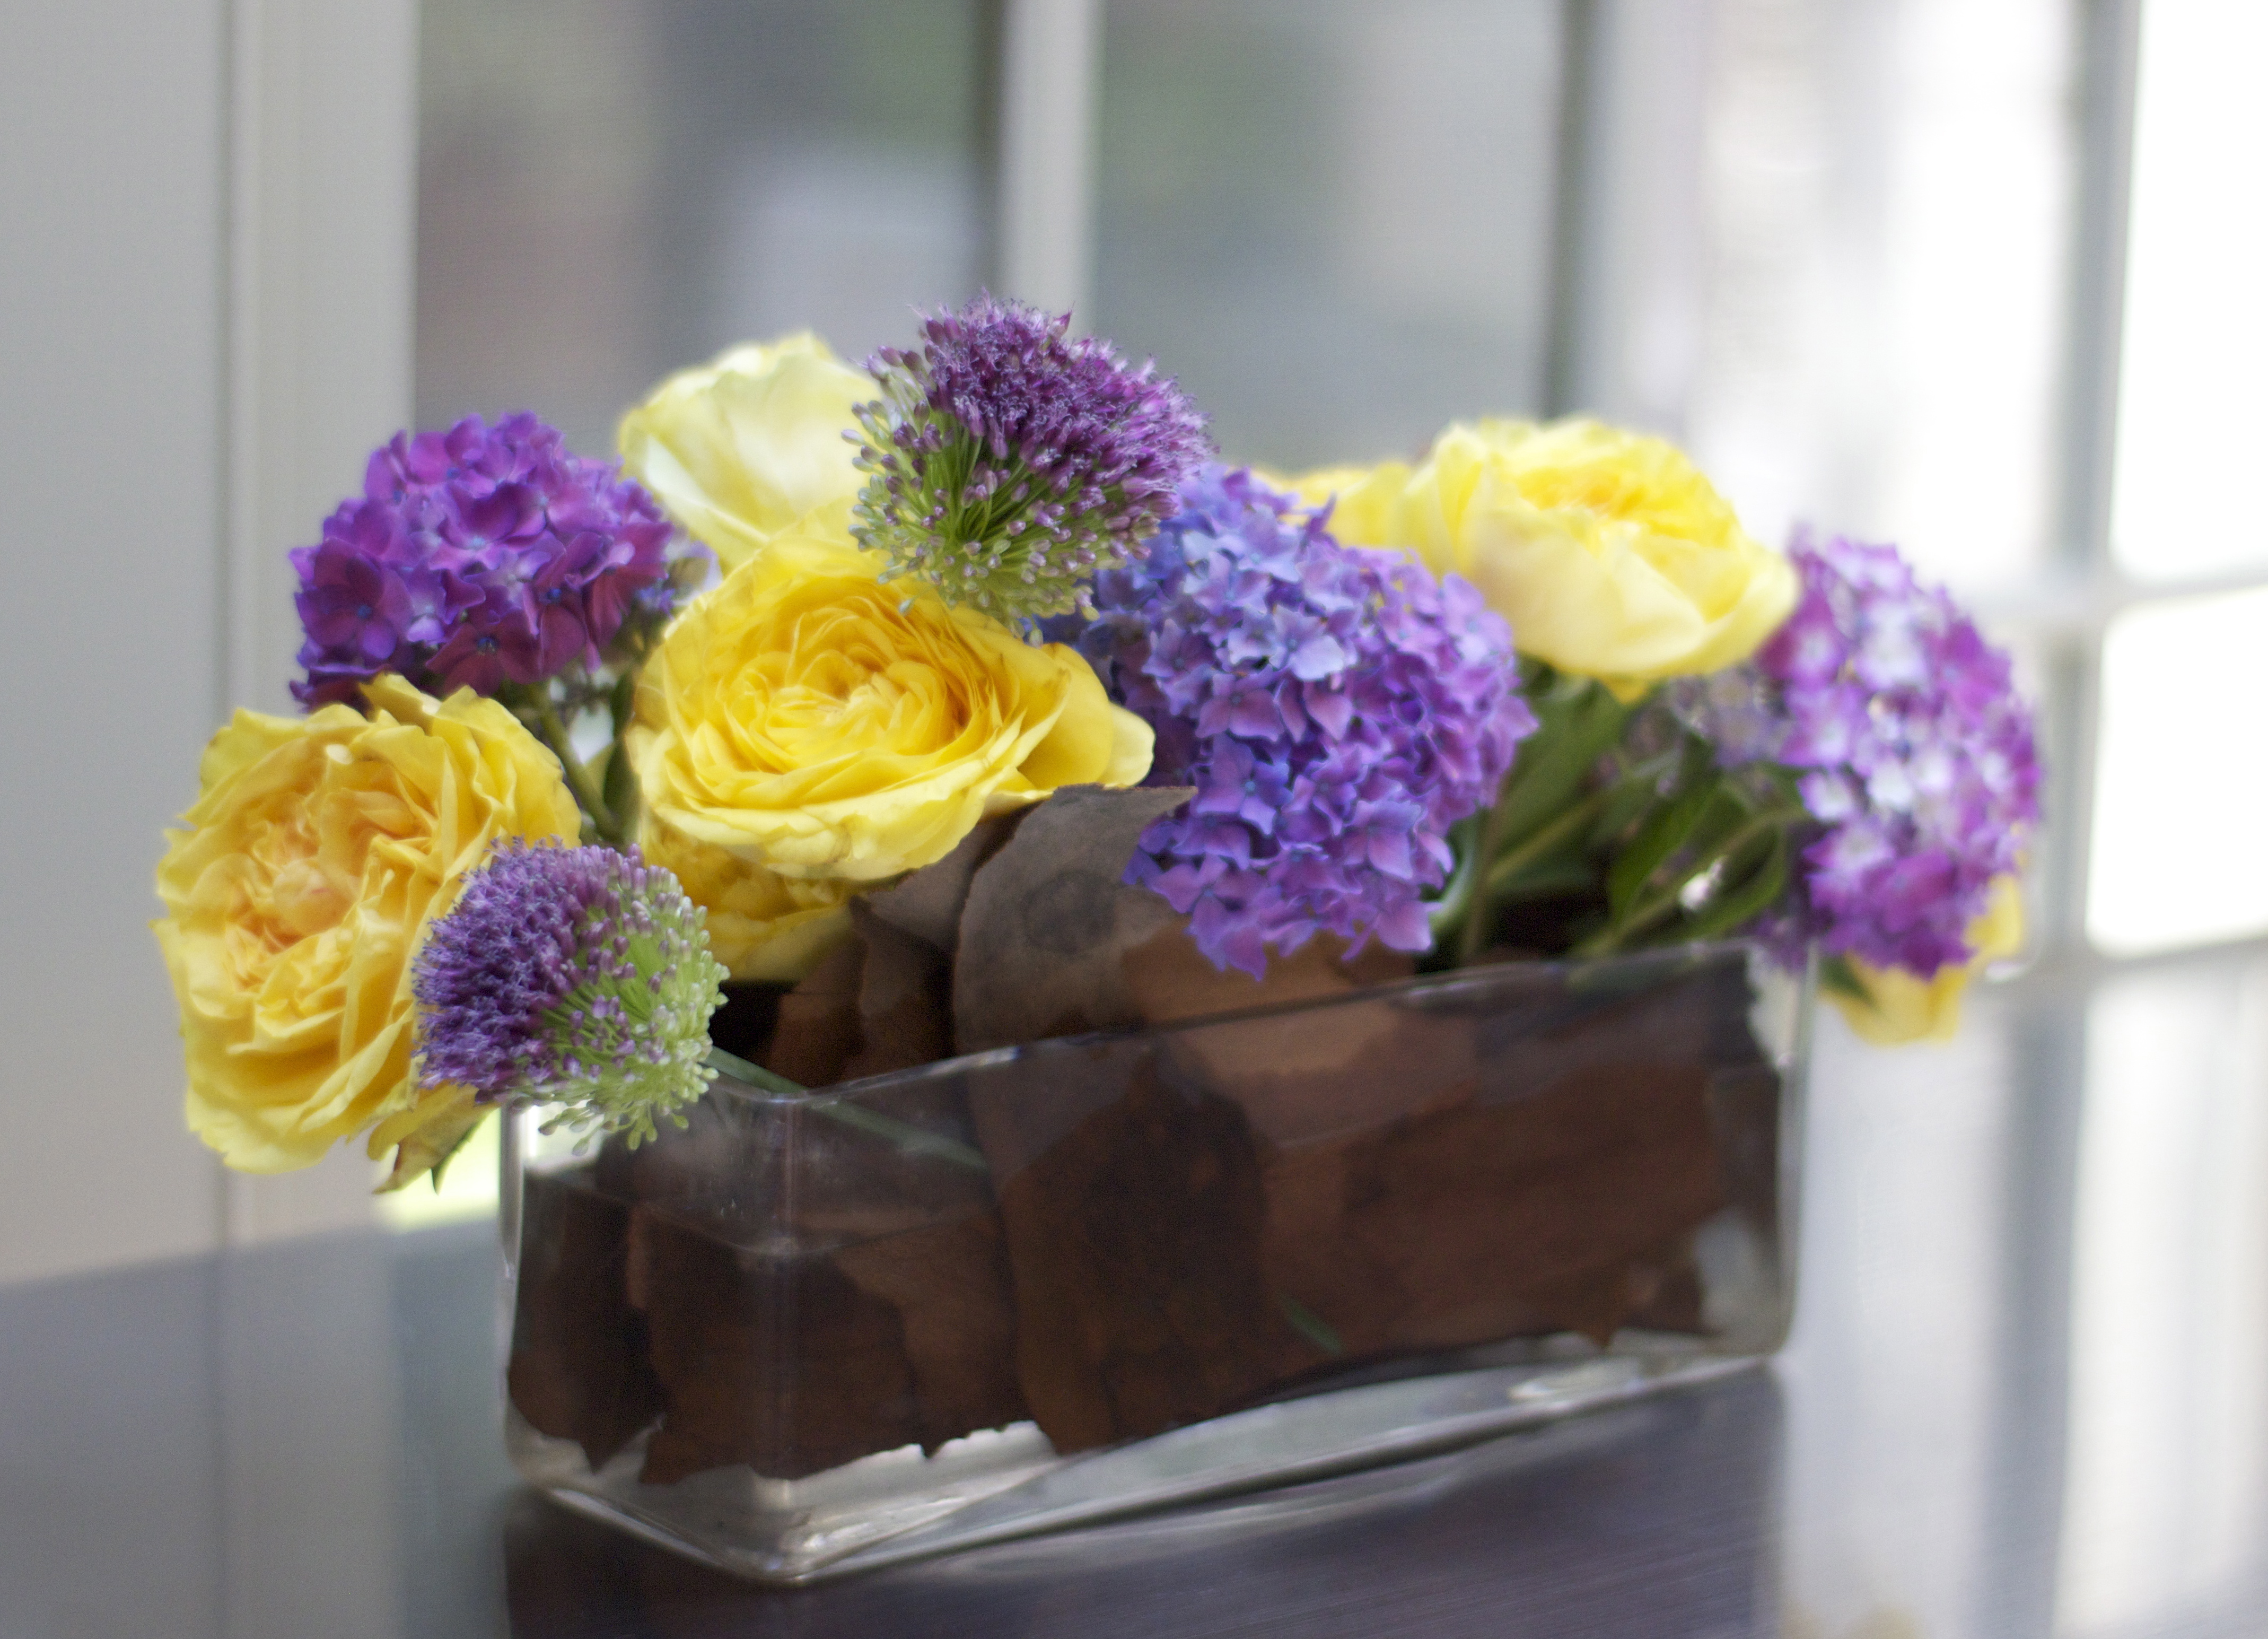
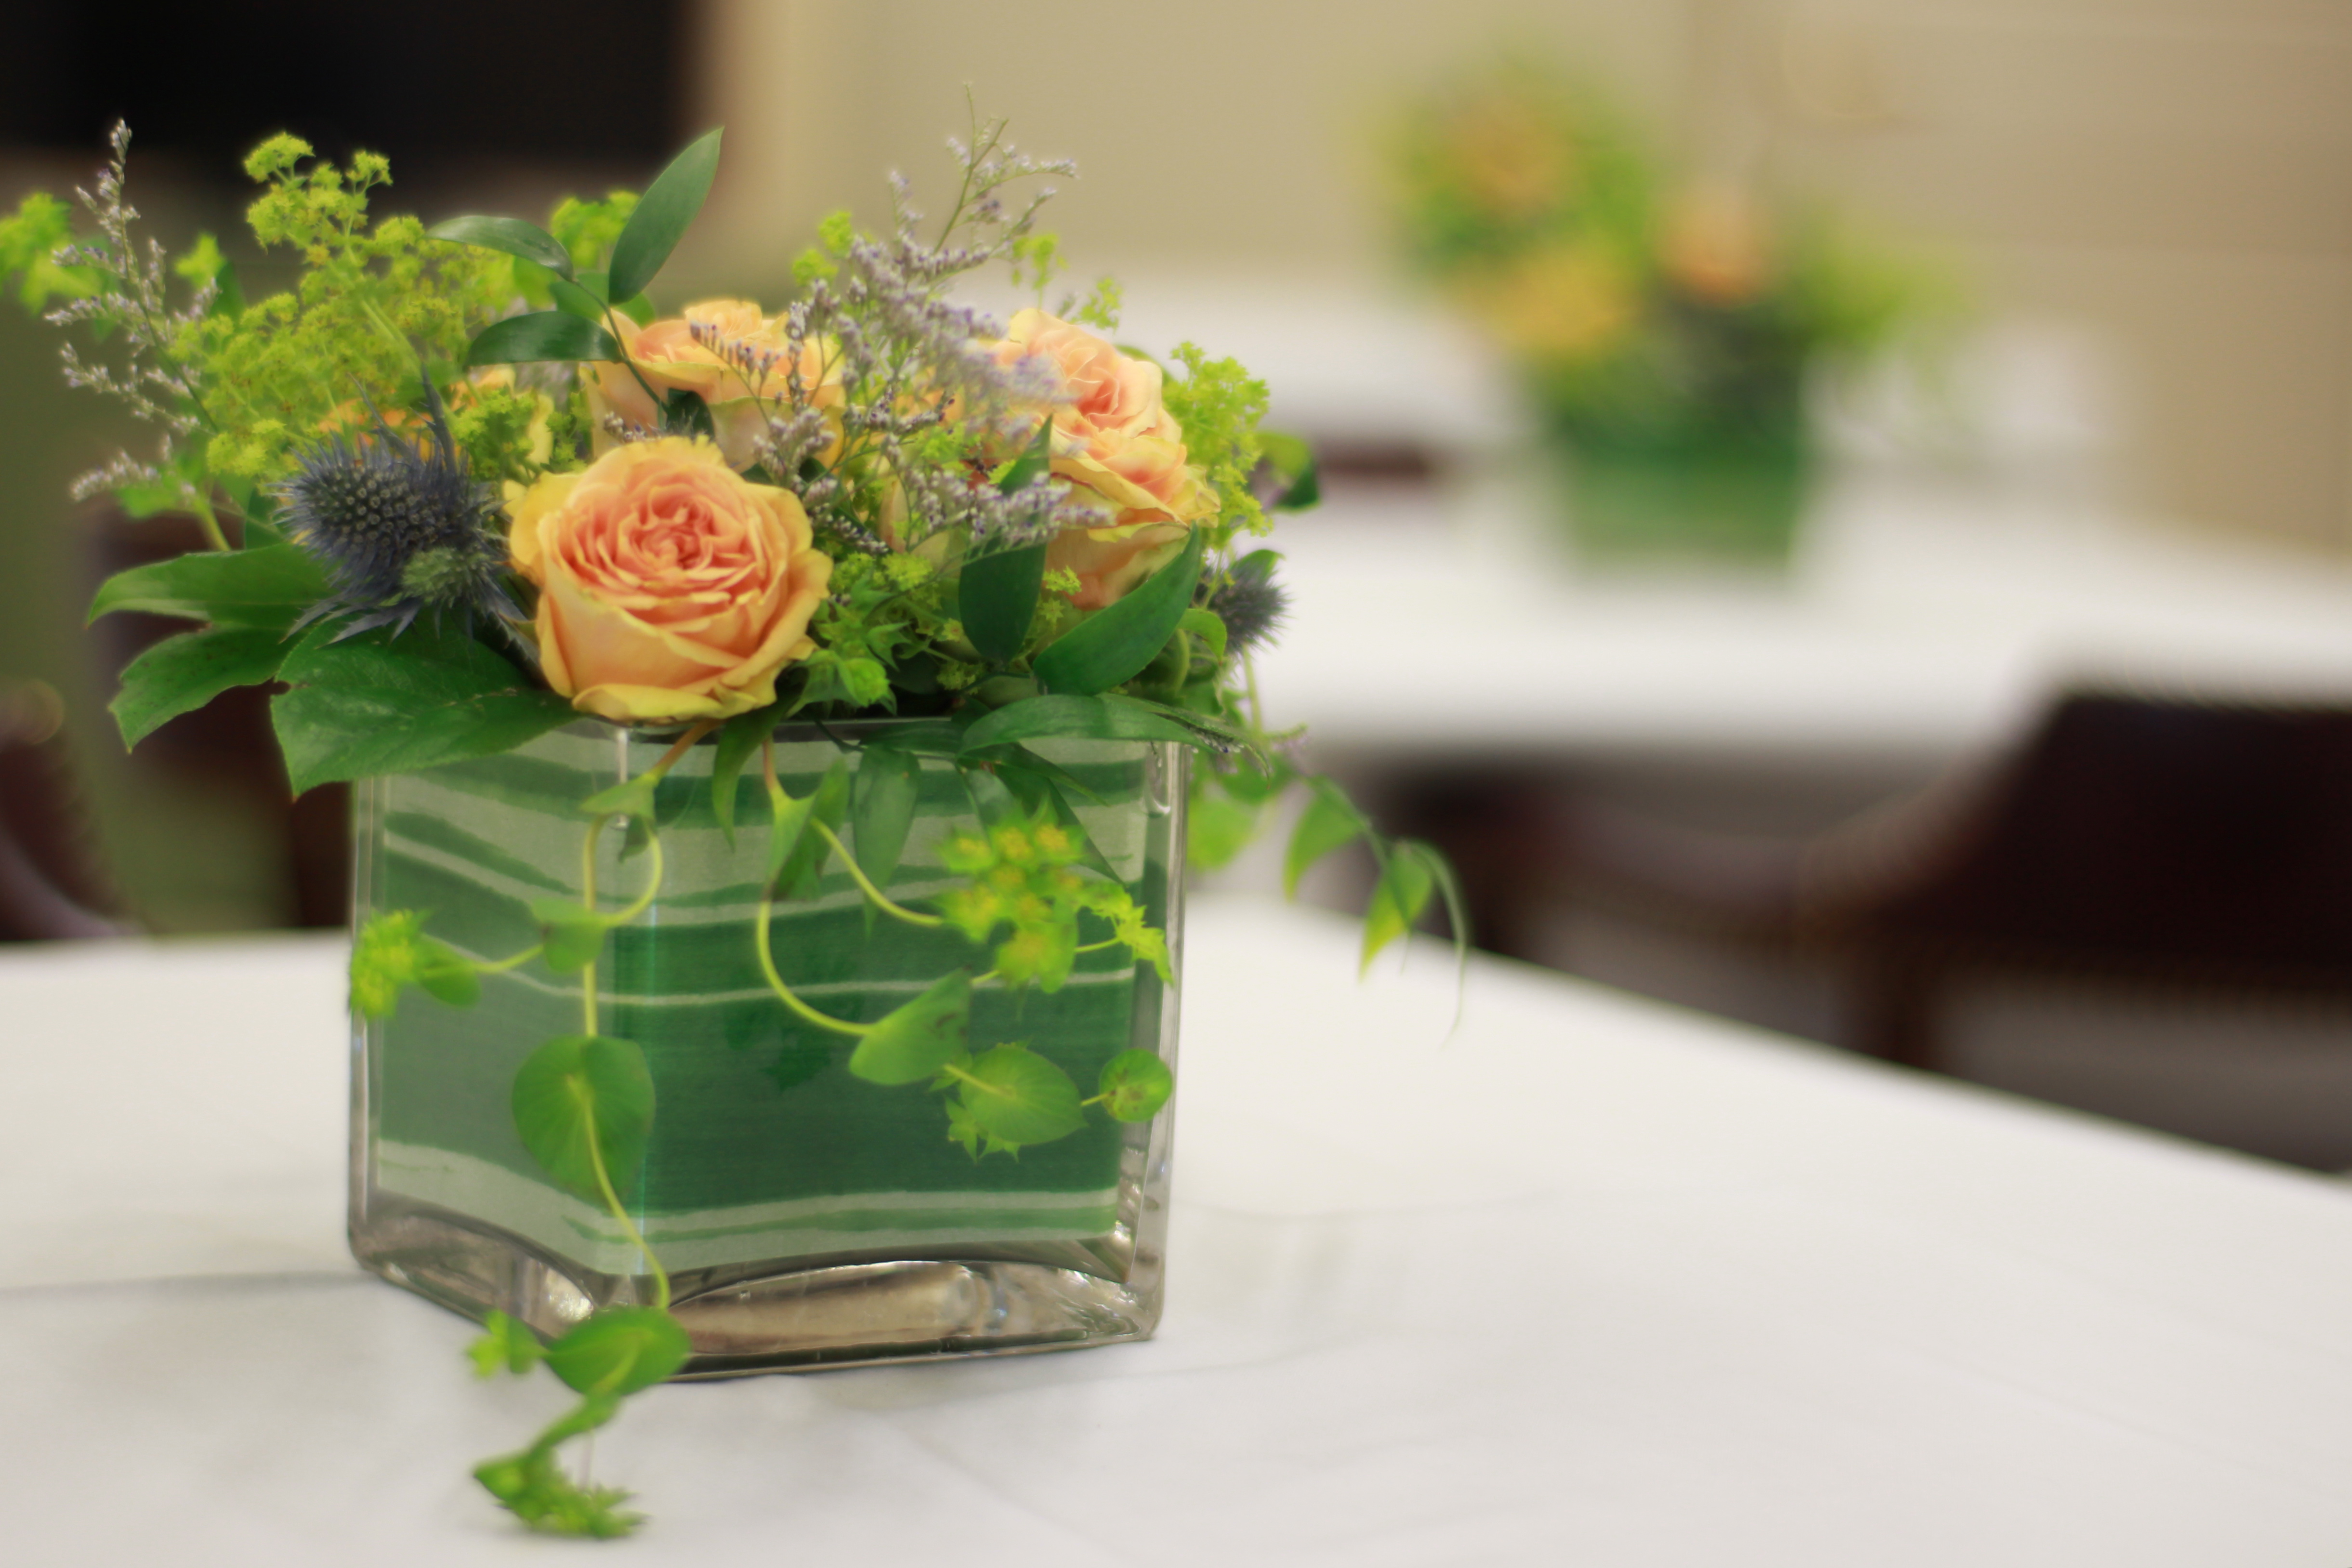
Arrangement in shape of Hogarth's Curve of Beauty

Ok, back to class.  We discussed the Shape of floral arrangements.  They can be round, horizontal, crescent, vertical, oval, symmetrical and asymmetrical triangle, fan, Hogarth (curve of beauty,) or parallel systems.  Gosh, I hope I never have to make a Hogarth arrangement…too hard!  We talked about Balance, Proportion and Scale within the context of these shapes, and then moved on to the flower and foliage forms.

Lily is example of a Form Flower - distinctive shape - this has been blooming for 2 wks

For example, line Flowers are linear in shape, and create height in an arrangement.  Like Delphinium, Snapdragon, etc.  Form flowers have distinctive shapes which add interest to a design: like Gerbera, Amaryllis, Lily.  Mass flowers are solitary flowers with a single round head like Roses, Carnations.  Filler flowers – Baby’s breath, Waxflower, Queen Anne’s Lace.  And then the Renegade flower is one which may be used as more than one type or just doesn’t fit into any category, like Bird of Paradise.

Florida Ruscus is 'mass foliage' hiding the mechanics, baker fern is filler and adds a dainty edging

Similarly, foliage has its’ forms as well.  Linear like spiral eucalyptus, flax, or some grasses.  Form foliage has an interesting shape or texture, color or pattern, like papyrus, monstera leaves, caladium.  Mass foliage adds bulk and covers the mechanics of an arrangement, like pittosporum, huckleberry, camellia, leatherleaf.  Filler foliage is smaller in scale and sometimes wispy, like fern, boxwood, ivy.

After the greens, Jane adds stock flower - the "line flower" always goes first

For this class, we were to make a round arrangement, or a “Roundy Moundy” using line, form, and filler flowers in a Revere bowl.  Ours were not real silver, mind you.  Roundy Moundies are “the most useful” shape for arranging, says Jane.  Also, the “Golden Rule” of floral design is that your flowers are 2/3 of the design, and your container is 1/3.  We started off with Oasis, again (but this time, Jane admitted that you should use floral foam “sparingly,” as it’s not recyclable) making sure that the floral foam actually rose ABOVE the lip of the container a bit.  This gives you the ability to point stems at a downward angle to hang over the container, achieving a fullness and roundness.  Next, we created our base of greens.  Then we added our line flower or Stock in this case.  On top of the Ruscus and Fern, here’s what each of us had to work with:  6 Stock, 10 roses, 4 carnation, 3 Waxflower or Baby’s Breath, 3 Pussywillow for accent if wanted.

After form flowers (roses+carnations) and filler (waxflower,) Jane adds pussy willows for accent

And…GO! I went into a MAJOR trance while arranging this time – sorry Melissa if I seemed out of it while you were chatting me up.  I was in the zone.  Once again, everyone had such unique designs given that we all had the same material, and I’m just mesmerized by this expression.  Here are some of the lovely results:

line of roundy moundies

the "cupcake"

purple pride

afeefa's rocks again

melissa's! nice!

airy one by pat


my roundy moundy - i bunched flowers instead of spacing them perfectly

Oh, wait there’s one more.  Our classes are enlivened by Betty’s presence.  She is the class “loudmouth,” (her word,) and always has a funny comment to make.  During this class she had us all laughing by creating new “technical terms” like ‘big ol honking flower’ to refer to the Stock we were using.  She’s a hoot – and talking to her in the parking lot I found out she’s a landscape gardener who lives in DE.  I got an invite back to her place to talk Cutting Gardens!  Sometime soon, I’ll have to do that.

these arrangements look way different in daylight i noticed - VIVA BETTY !!