garden club ladies to the rescue

Last week, I had the good fortune of being invited to attend the Four Counties Garden Club meeting and flower show at Cathedral Village, as a guest of Longwood instructor Jane Godshalk.  Decades ago, Jane got into floral design “through the back door;” by entering floral competitions held by this local garden club (a Garden Club of America organization.) Originally she thought she’d be more into the horticulture side of the club, but found she had a knack for floral design, and the rest is history.  Although she started later in life (in her early 40s) she finally found something she was good at and went with it.  You can see why I relate to Jane as a mentor, right?

Here Jane has created "a sculptural design in which the color green dominates" using Bells of Ireland, Bird's Nest Fern, Hellebores, Calla, Flexigrass, Green ranunculus, Mums, and equisetum

Look at this cool green Ranunculus Jane is using

There are three classes to compete in:

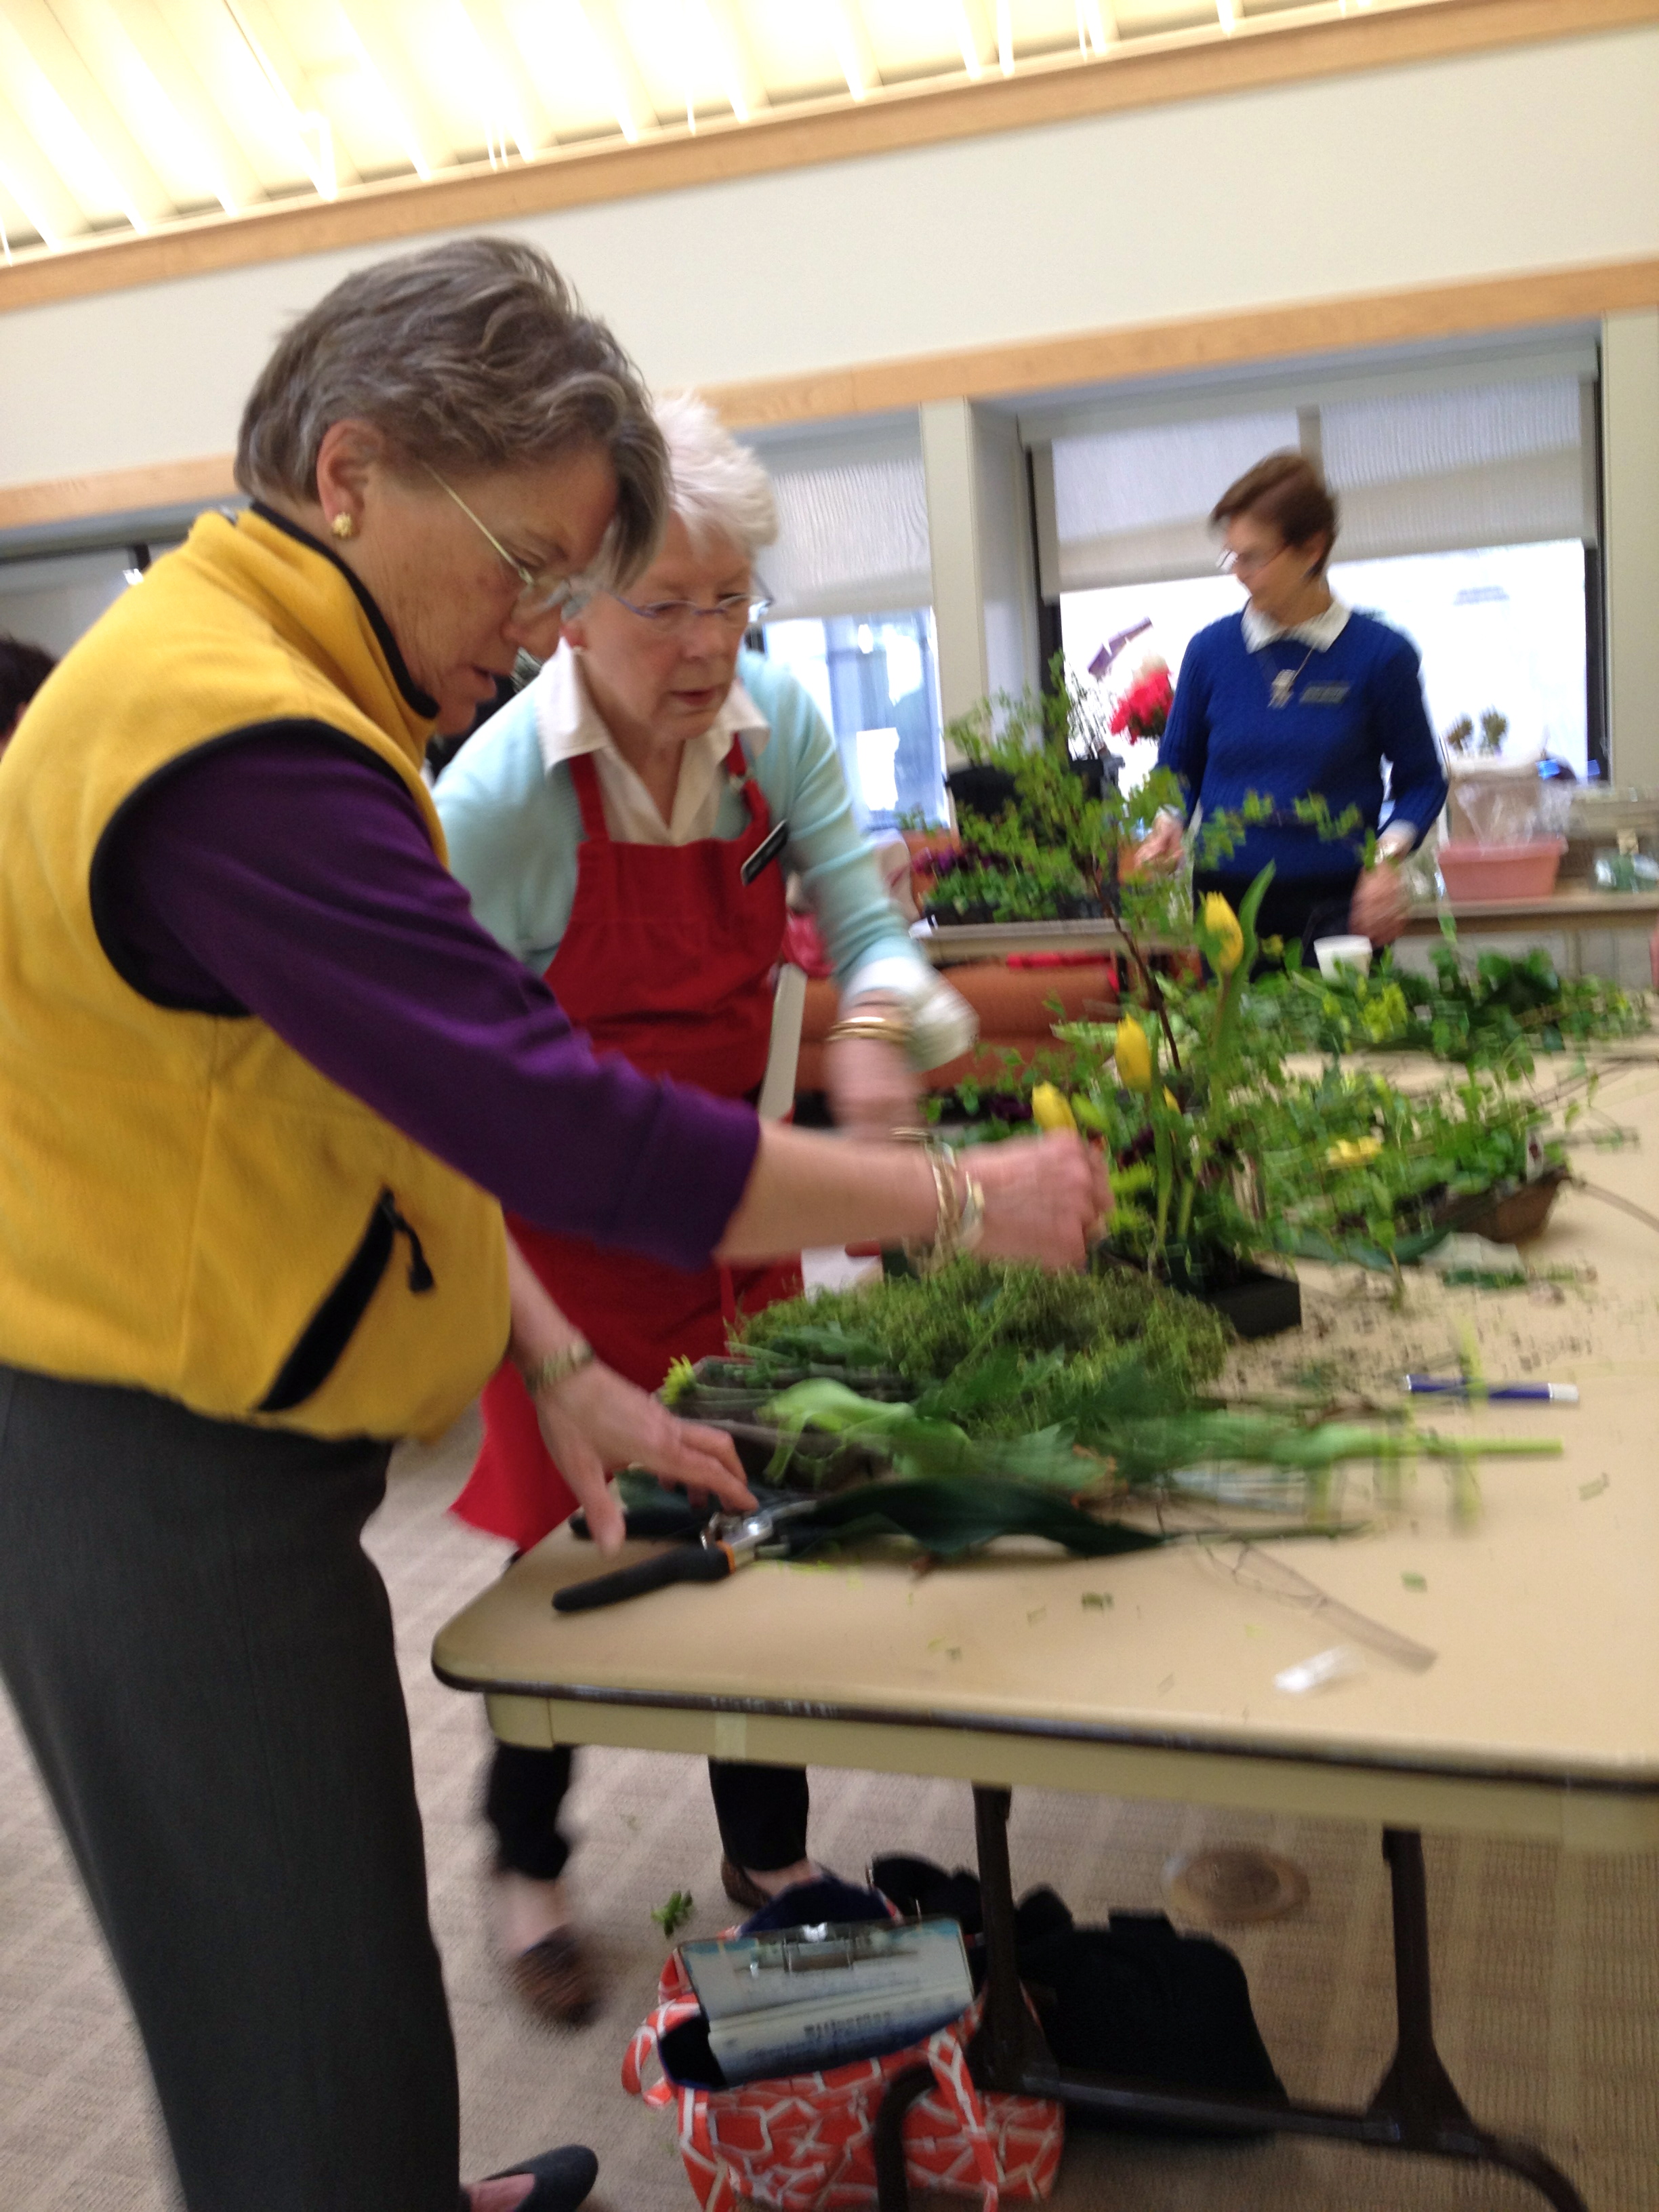
1- “Transformation” – a challenge class for novices working in pairs ( a novice has not won more than 1 blue ribbon in a Club show.)  For this class, you show up with clippers only, the rest is provided, and you have an hour to put it together. Your finished design will be viewed from 3 sides and should be no wider than 26″.

the "novices" work in pairs to create their designs of transformation

detail of vertical transformation design: i just loved the way this one spiraled upwards

2- “A Fresh Perspective” – a sculptural design in which the color green dominates, to be staged on a pedestal, viewed from 3 sides and not exceed 24″ width.  You do as much as you can before you arrive and complete the rest on site.  This is the class Jane is entered in.

Margo puts the finishing touches on her 'Fresh Perspective' Design

Jane makes sure everything is rock solid structurally and the mechanics are all covered up with plant material

3- “Spring Sizzle” – A polychromatic design to be staged in a Medium niche; background required.  You do as much as you can before you arrive and complete the rest on site.

A Spring Sizzle design, incorporating all plant material from the designers garden

a Spring Sizzle design where the sizzle is represented by copper wire spirals

The feeling in the room is somewhat frenetic, but I sense a connectedness between the women – they are working together to complete their designs, one helping the other if she needs it, giving feedback to each other about the small details of their designs.

Then it’s time for the “passers” to come around and make sure the designs follow the rules outlined.  A Passer will make sure none of the mechanics are showing – a bit of floral foam here, a wire there; and she will also measure the design. Though it may seem otherwise, the Passer is your friend.  She will catch little things before the judges see your design.

The Passer measures a design's width

Here the Passer has determined that the design is too wide, so Jane helps the novices decide what to cut to make it to the proper width. This is a team sport.

Then it’s time for the judges!! All the participants leave the room to attend their meeting, while three judges look at the 12 total designs in the room.  This is not a task for the faint-hearted:  they will spend an hour and a half critiquing 12 designs, with a clerk standing by to take notes on what they say (sometime I’d like to be the clerk – you could learn so much that way! but I wasn’t ready for this post on this day, just wanting to observe the whole thing.)

Judges discussing designs

Discussing proportion of material to container

They look at each class, deciding on first, second, third, and honorable mention, and dole out ribbons accordingly.  Judges leave comments to help designers improve their skills.  Then the ladies come back to see how they did.

Marty is positively radiant about her blue ribbon win for her Spring Sizzle design

And she should be...it really is stunning!

third place in the Fresh Perspective class

Judges comment for Third Place above references Biedermeier design, something I haven't done yet at Longwood but will learn - concentric circles of plant material

Jane's design got 2nd place

and this is a detail of first place in the Fresh Perspective class

first place and best in show by margo

As I drive home from this lovely event with these lovely women, I am struck by how cool it is that they’ve all gathered to spend this time together, creating beauty in their corner of the world.  They look closely at each other’s work, they take each other seriously, they learn from each other.   They are there for each other, support one another.   And they are really talented at floral design.  So why do I feel so sad as I drive away? I guess it’s because I wish I had my own garden club ladies, I wish I belonged to something.  I’ve had my nose to the grindstone for so long, I looked up one day and realized I had no balance in my life – no time for friends even.  Since I left my too stressful career back in August 2011, my life is starting to even out again.  My priorities are shifting.  I’ve found other things besides making television that are important.  And I’m so thankful to have been shown this part of the floral design world, where ladies rescue other ladies in distress!

Advertisement

day three – basic floral design I at longwood

In this class, we started by watching a video from the ’80s on Conditioning.  Jane had some stuff to add that I’ve worked into the tips I took away from it:

  1. Recut stems on an angle / Strip lower leaves to avoid decay under water.
  2. Put flowers into water in a cool dark place for several hours.  This video said to use warm water (100-110 degrees F) because it has less oxygen and can freely absorb water and nutrients better because warmth dissolves trapped air.  Jane says warm water can also speed up the flowering process, so using cool water can help flowers last longer.  So if you wanted something to open up right away, warm water would be the way to go.  And let the water cool before you put it into a fridge, if that’s what you’re using for the cool dark place.
  3. pH level of water should be 3.5-4.5 – water flows through vascular system better at this level.
  4. Use only NON-METAL containers.   Cleanliness is next to godliness.  Wash all buckets, containers, and cutting tools with bleach solution.
  5. Use a floral preservative like Floralife to reduce flower senescence.  Preservatives contain Sugar (carbs for nourishment,) Acidifier (to lower pH level,) and Biocide (inhibits growth of bacteria.)
  6. Daffodils should be stored in a separate container because it’s sap is toxic to other flowers.  Once you cut them, and put them into water for a while, the stem will harden off and not seep the toxin anymore.
  7. Tulips are funny ones.  To get them ‘straightened out,’ wrap them in wet paper and place them in a deep container to keep them from bending.   Also bear in mind tulips keep growing after they’re cut.
  8. Woody stems – slit the stem across the center for maximum water uptake.  DON’T mash the stems!
  9. Lilies – pollen can stain so pull off the anthers. This also adds to their vase life.
  10. Euphorbia and Poppies ooze a milky sap when cut.  Singe them with a flame or super hot water to prevent the ooze factor.
  11. Iris – to get them to partially open you can peel them open a bit and blow on them!  This was the best part of the video, because it was just funny watching a guy from the ’80s blowing on Irises.
  12. Orchids – tropical – keep in warm temps not below 45 degrees F and out of sunlight.
  13. Gerbera need head support and are prone to stem blockage.
  14. Jane says the best time to cut Garden Flowers is the morning or evening.  Ideally, water them at night and pick them first thing in the morning. Give them a shot of hot water, then put them in cooler water and let them rest for 4-6 hours in a cool dark place.   THANKS JANE!

botanical design using tulips at every stage from bulb to fully open flower

Jane then walked us through a few different arrangements before we did ours.  I really loved the Botanical design, which represents nature through the life cycle or study of a plant.  The design uses one kind of bulb flower in all of its phases, and the bulb on it’s own is included.  Cute!

Jane doing the landscape design using birch, moss, hellebores, tulips and more

Then the Landscape Design, which is a panoramic view of a man made garden area.  It’s a larger design and includes trees, bushes, flowers and ground cover.  Also you can use a little water element if you want!  This “would be perfect if you were having a bunch of gardeners over for a dinner party,” says Jane.

Landscape design - Jane did this in about 10 minutes

Today’s lesson was a Vegetative Arrangement, which is meant to be a design that presents plants as they grow in nature or the garden.  Flowers and foliage are selected according to seasonal compatibility – so you wouldn’t see a sunflower in with a daffodil because they wouldn’t be blooming at the same time in the garden.  This ‘slice of garden’ should show interest from all sides and bear in mind Color, Fragrance, Texture and Pattern.

Radial Vegetative Arrangement "think about how it might be growing"

I decided to do the Radial Design rather than the Parallel Design.  We used 1 block of Oasis cut to fit the container, then pinned some moss on using greening pins but leaving the center exposed.  Our materials were 1 Quince Branch (or Red Stemmed Dogwood – limited supply,) 3 Daffodils, 5 Tulips, 3 Iris, 1 pot of Tete a Tete Daffodils, and lots of different foliage to choose from like Bupleurum, Ivy, Fern, and 3 Galax leaves.  The Galax is shiny shiny shiny and draws your eye.

Mary Jo grabs tulips! You've got to be brutal to get what you want in this line. 🙂

after you've done the assignment, each student goes up and the class and Jane interact to discuss the design, what works and what doesn't. This one worked!

afeefa was lucky to grab some of jane's hellebores ... mmm!

This design was definitely harder for me than the Roundy Moundy.  I struggled with the Quince Branch, was not happy with it, and then Jane came around and gave me some Red Stemmed Dogwood which worked better with my orangey tulips.  I took the following pictures once I got home:

my vegetative arrangement when it first came home

other side, i like the dripping bupleurum meant to mimic lady's mantle

about 5 days after it was made, irises blooming, tulips going nuts, and tete a tete much leggier

I just want to pinch it’s cheeks and say, “My how you’ve grown!”