Imagine a work of art that’s come to life…in flowers. The colors, textures, lines, and emotional energy of the painting or sculpture are all interpreted in the floral design, displayed next to the artwork itself.
A spot-on floral translation of the painting Warning by Jimmy Ernst, 1960 Photo by Laura Blanchard
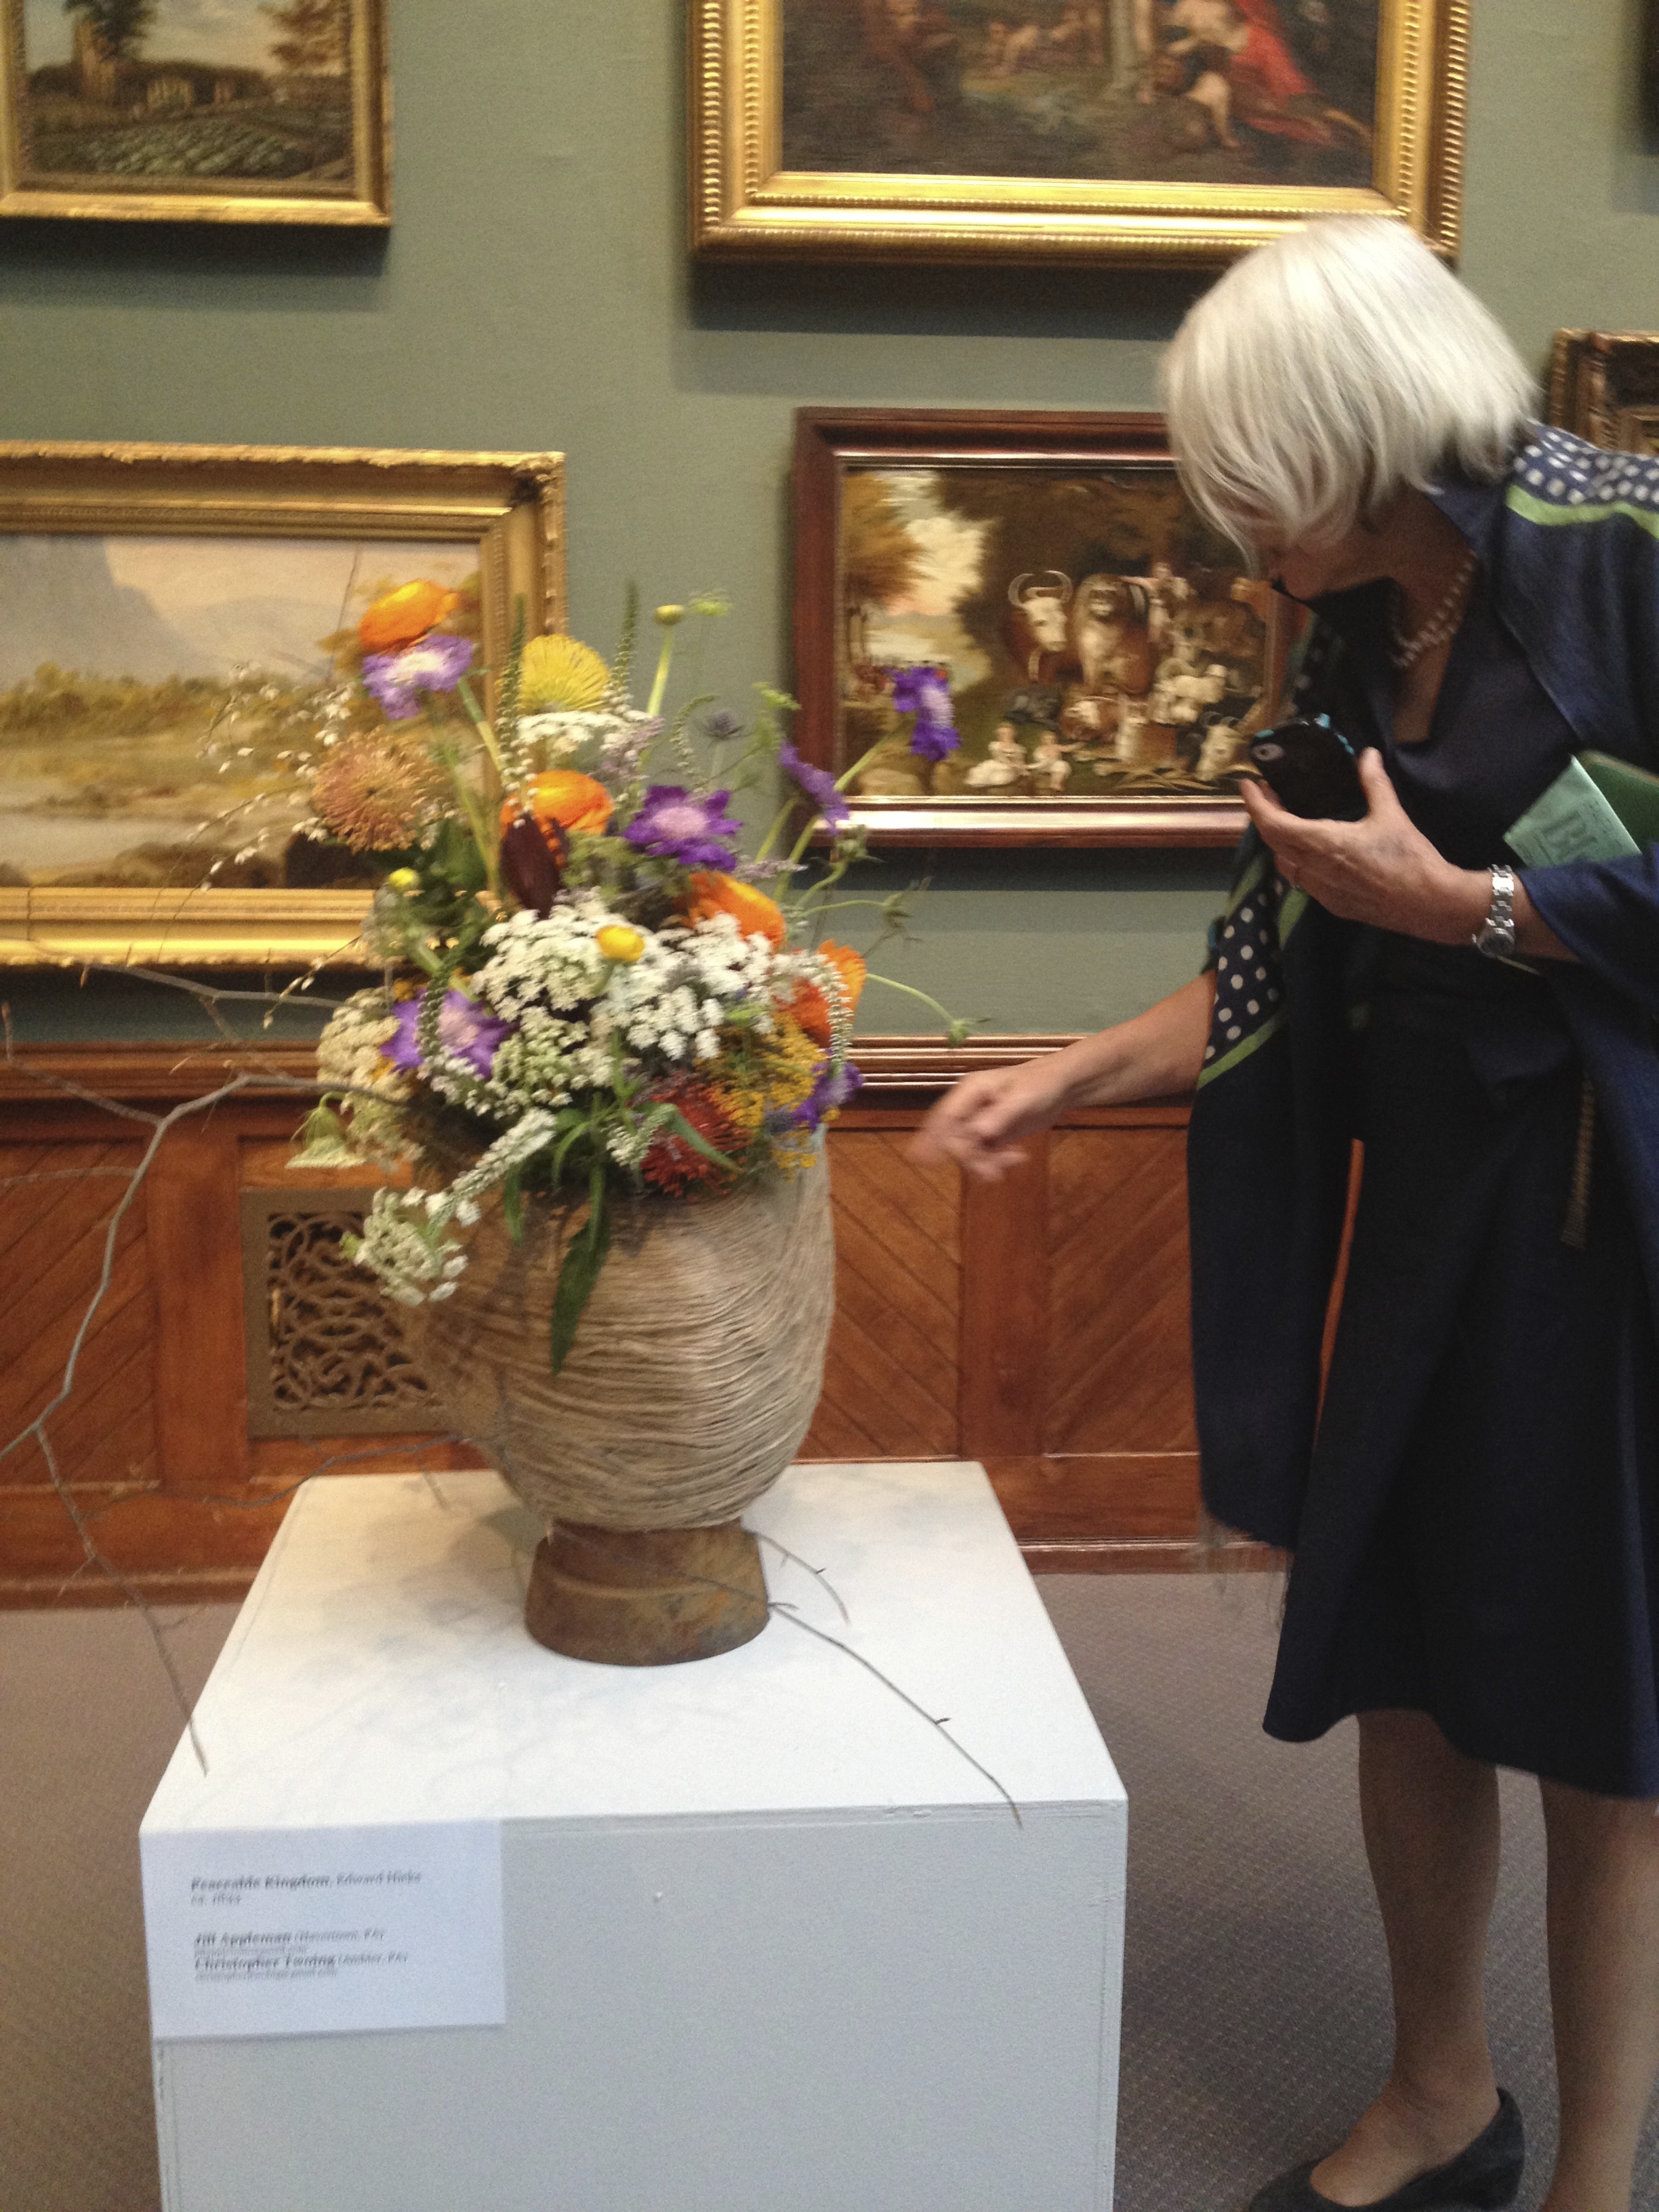
That was the challenge for 45 national floral designers and 15 garden clubs during the first weekend in April at the Pennsylvania Academy of Fine Arts – and I was lucky enough to be one of them.

This floral designer showed unbelievable mastery over her material.
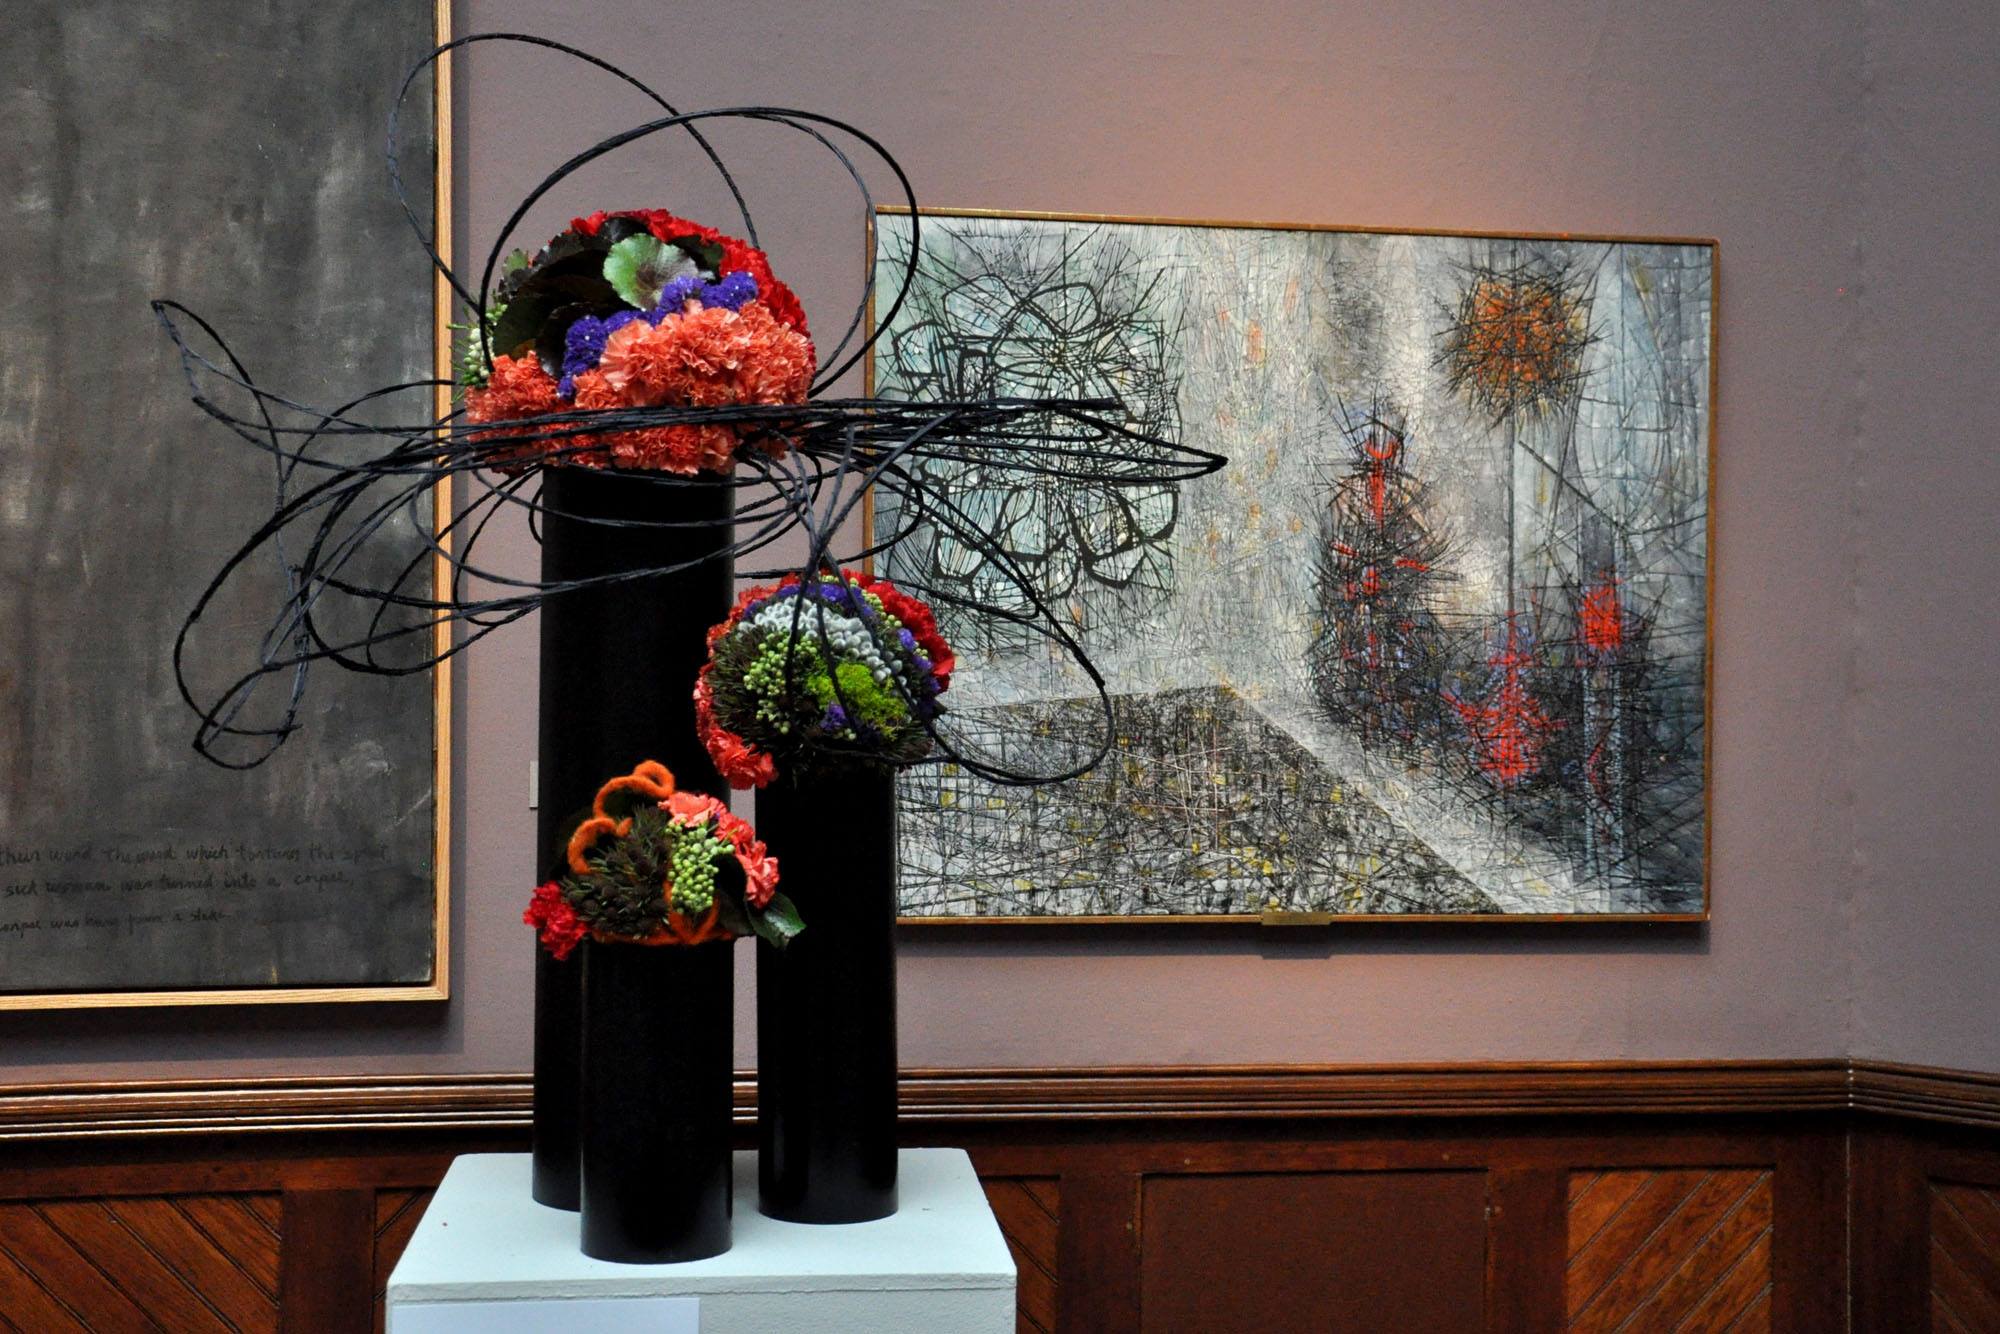
With the inaugural PAFA in Bloom event, a breath of fresh air blew into the 138-year old Historic Landmark Building. Sixty diverse floral designs, from the diminutive to the dominating, were placed carefully throughout the building, and an echo was sounded between paint and bloom. (Or in some cases, marble.)

One of my favorite floral designs, depicting Nydia, the Blind Girl of Pompeii by Randolph Rogers c.1853 – Marble
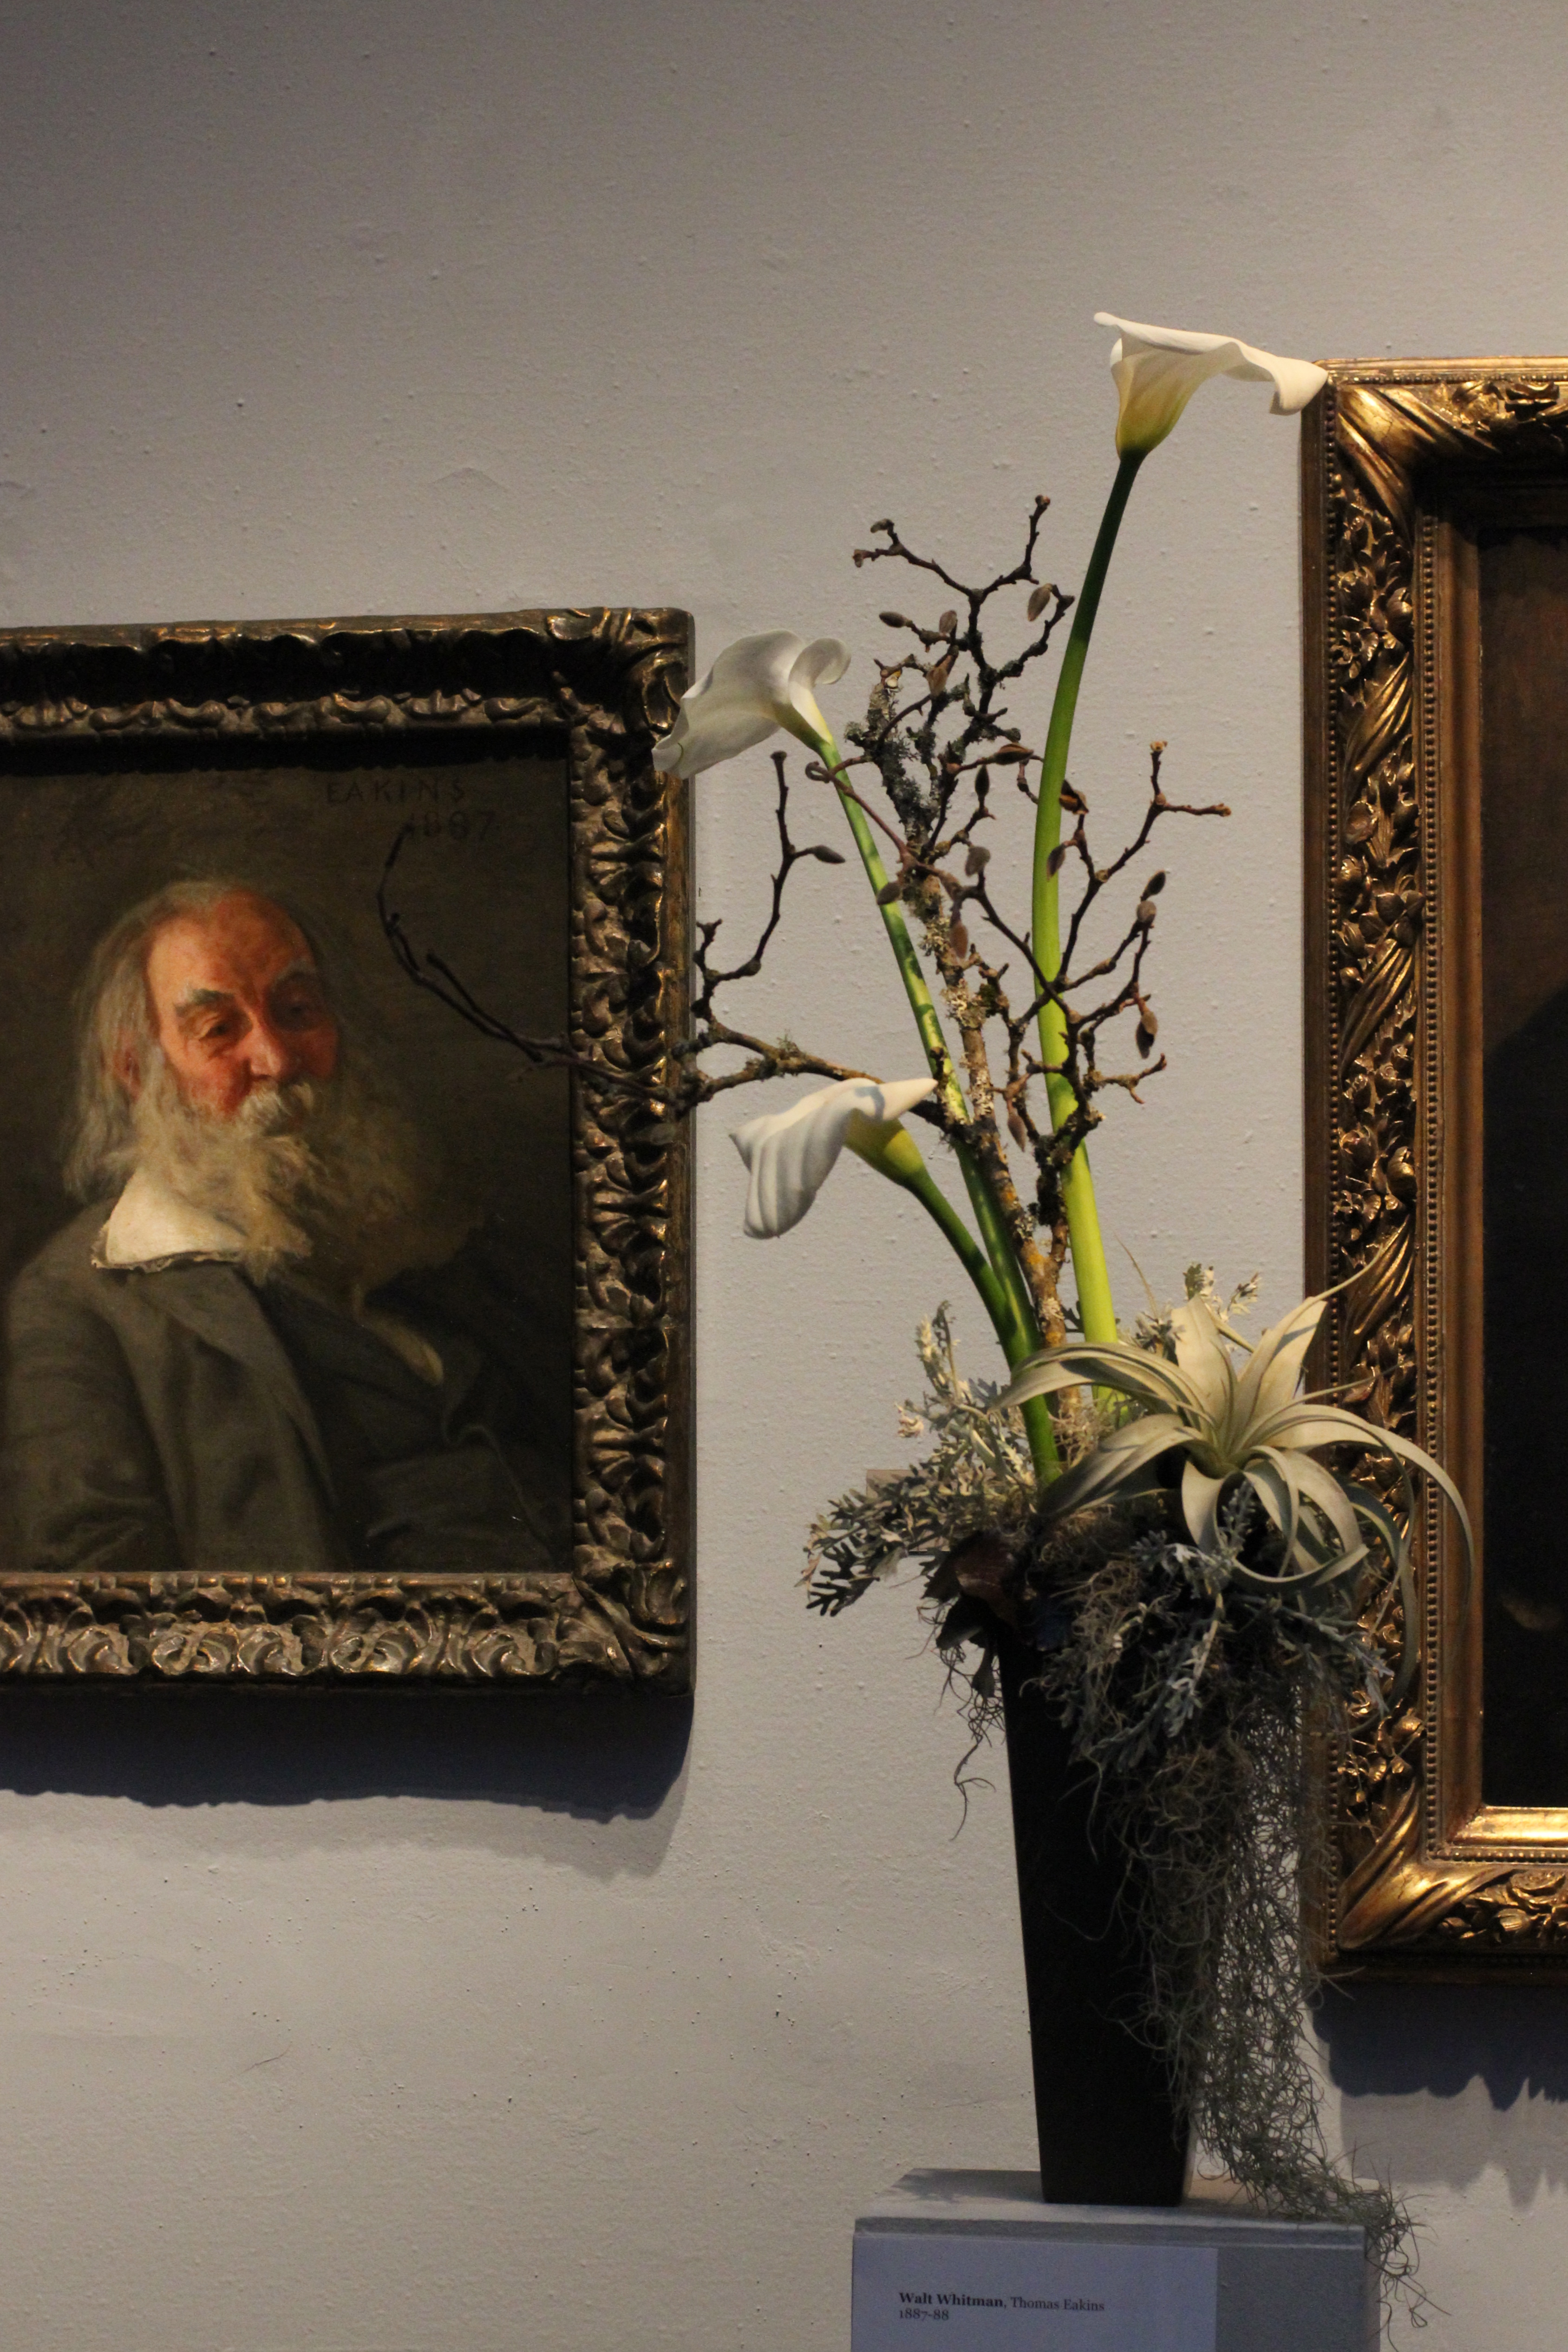
So, how does one go about tackling a floral interpretation? This was the question I asked myself months before the exhibit. It was my first time doing something like this and I was more than a little intimidated by the scope of the project. First I had to study the work of art, which in my case was a portrait of the poet Walt Whitman done by Thomas Eakins in 1887.
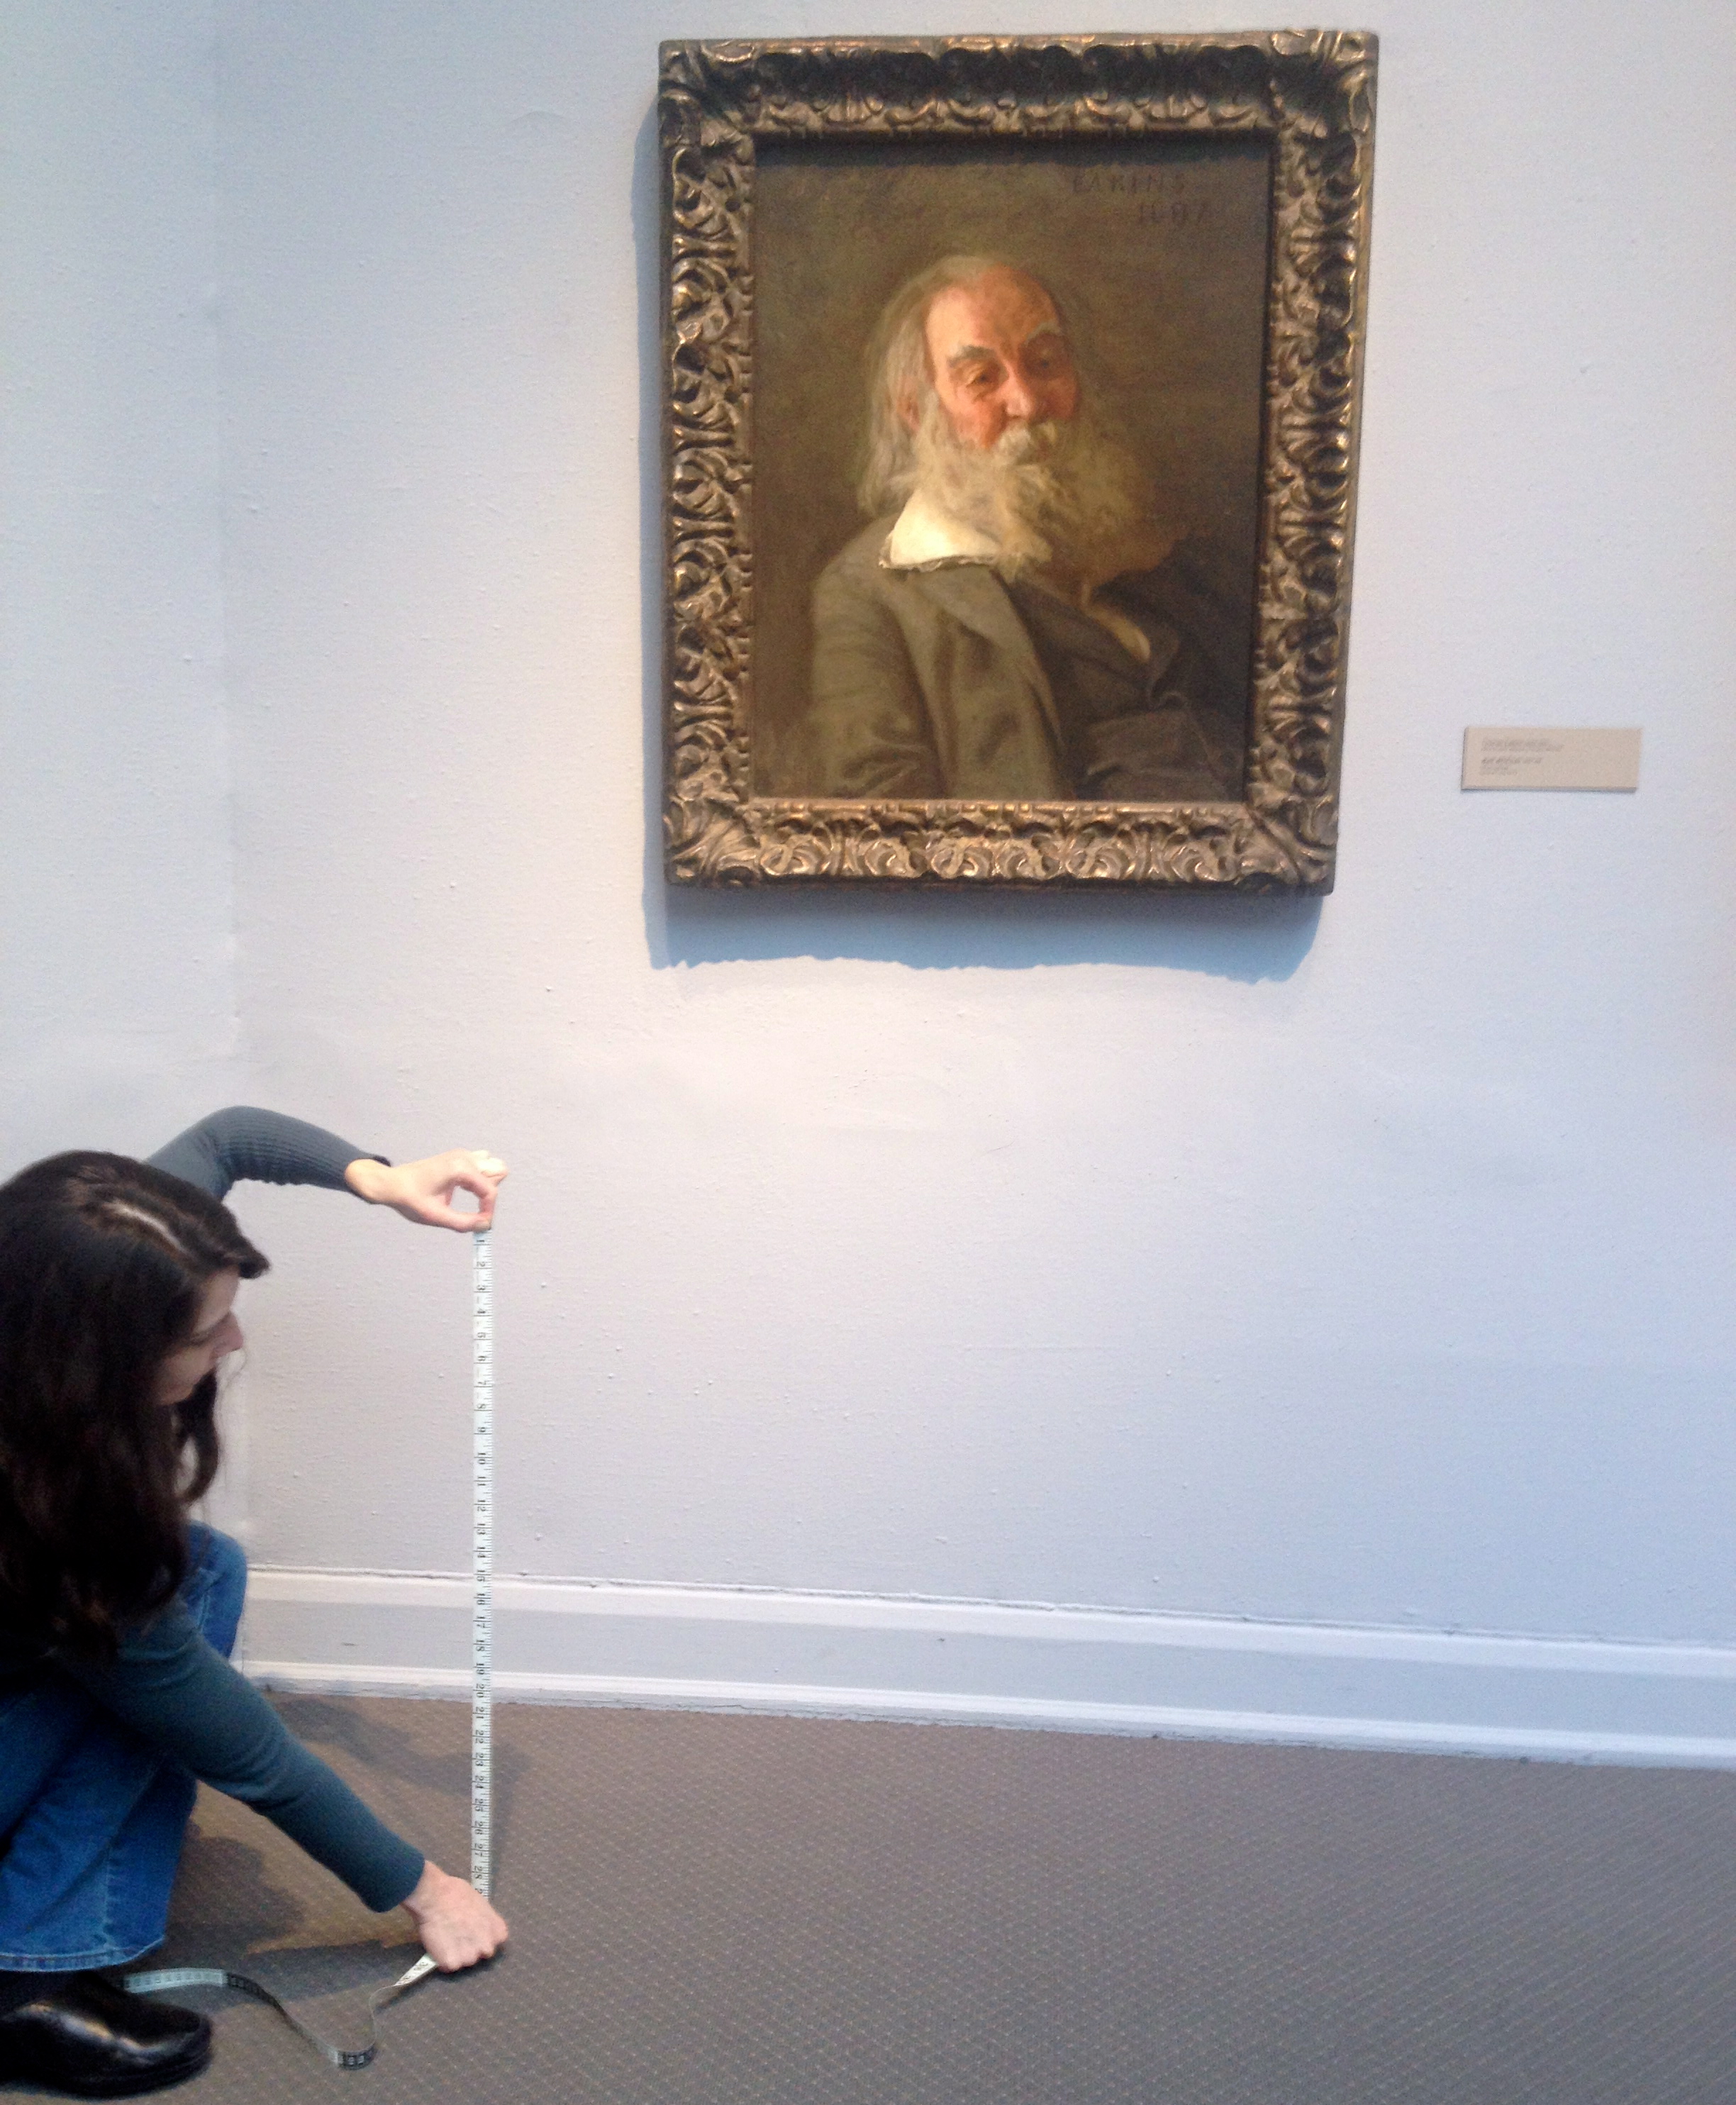
My lovely sister-in-law Juliet and I took a trip to PAFA to get an idea of how large a space I’d have to fill and see Walt close up. Here, she shows how large the pedestal will be.
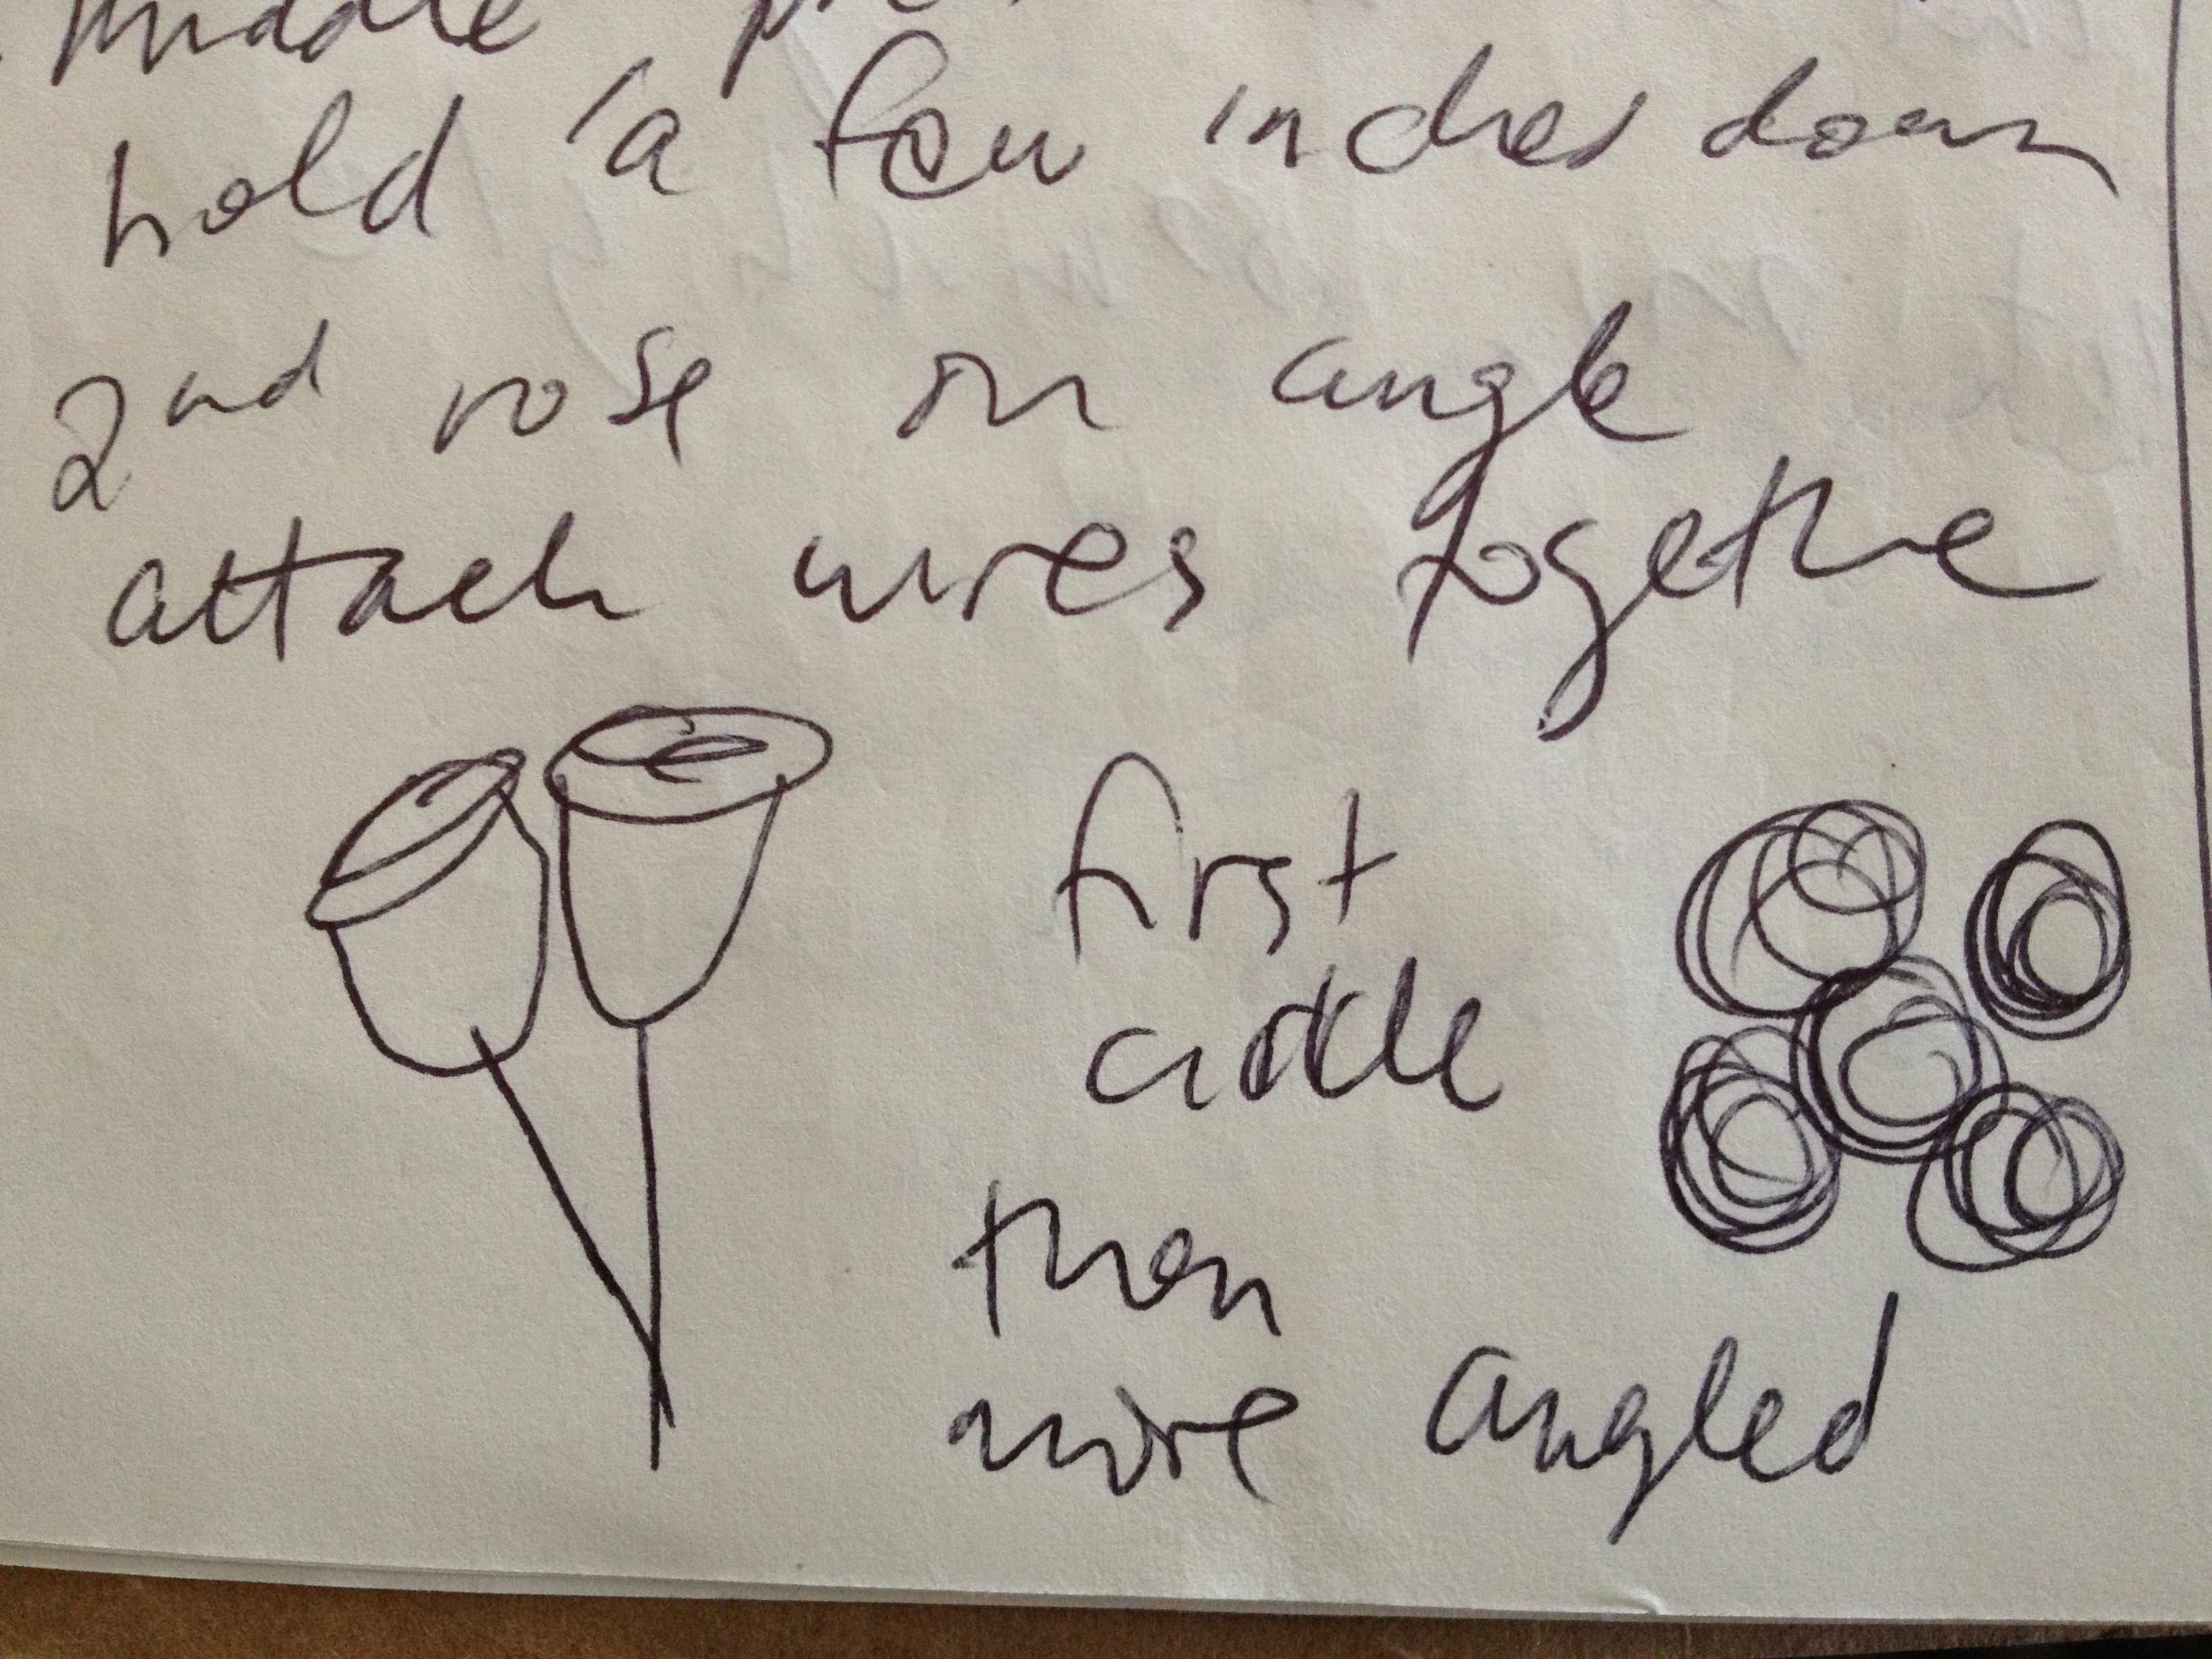
I started thinking about colors: brown, sage, slate; white, grey; peach. I decided I wanted the container to represent his body, and the design to be symbolic of the painting’s content rather than a recreation. There were some very specific rules about what materials we could and could not use, with the emphasis on using fresh material as opposed to wood and fabrics like wool which could harbor damaging insects. You could still use those items, if you fumigated and/or dry-cleaned them, but I didn’t really want to add any steps to the process, and wanted to keep my design as simple as possible. To me, the energy of the painting is male, vital, and merry; and with that white collar my mind went instantly to calla lilies; a perfect representation of Walt’s joie de vivre. His gnarled quality might be echoed by a branch of some kind. The greys and whites of his beard could be items like spanish moss, dusty miller, and I loved the idea of using a big air plant – Tillandsia xerographica – as a focal point.

I ended up picking out my Calla lilies personally at Del Val Wholesale, with the help of Carol Taylor. These were locally grown and the most deliciously huge callas you will ever find!!
Picking up materials from DV Flora was an exciting part of the process, because I got to see behind-the-scenes of the largest wholesale floral operation in our area, and meet some of the friendly and helpful staff who were topnotch to work with. Thanks, DV! After gathering all my materials, I did a mock design first; borrowing the perfect container from my friend Jane (her basement is a designer’s dream come true)! I was really happy with the outcome, but could I replicate my design on the spot, at PAFA, on the day of the installation? I was incredibly nervous about that part, but luckily I had a huge help from my sister-in-law Juliet (who is a talented architect.) This short video shot by Juliet shows the scene at PAFA the morning of the preview party. There was also a cameraman from FOX news there, to add to the excitement!
Then it was time to place the design upstairs on the pedestal. We wheeled Walt’s floral counterpart up to see if it stacked up next to the real Walt.
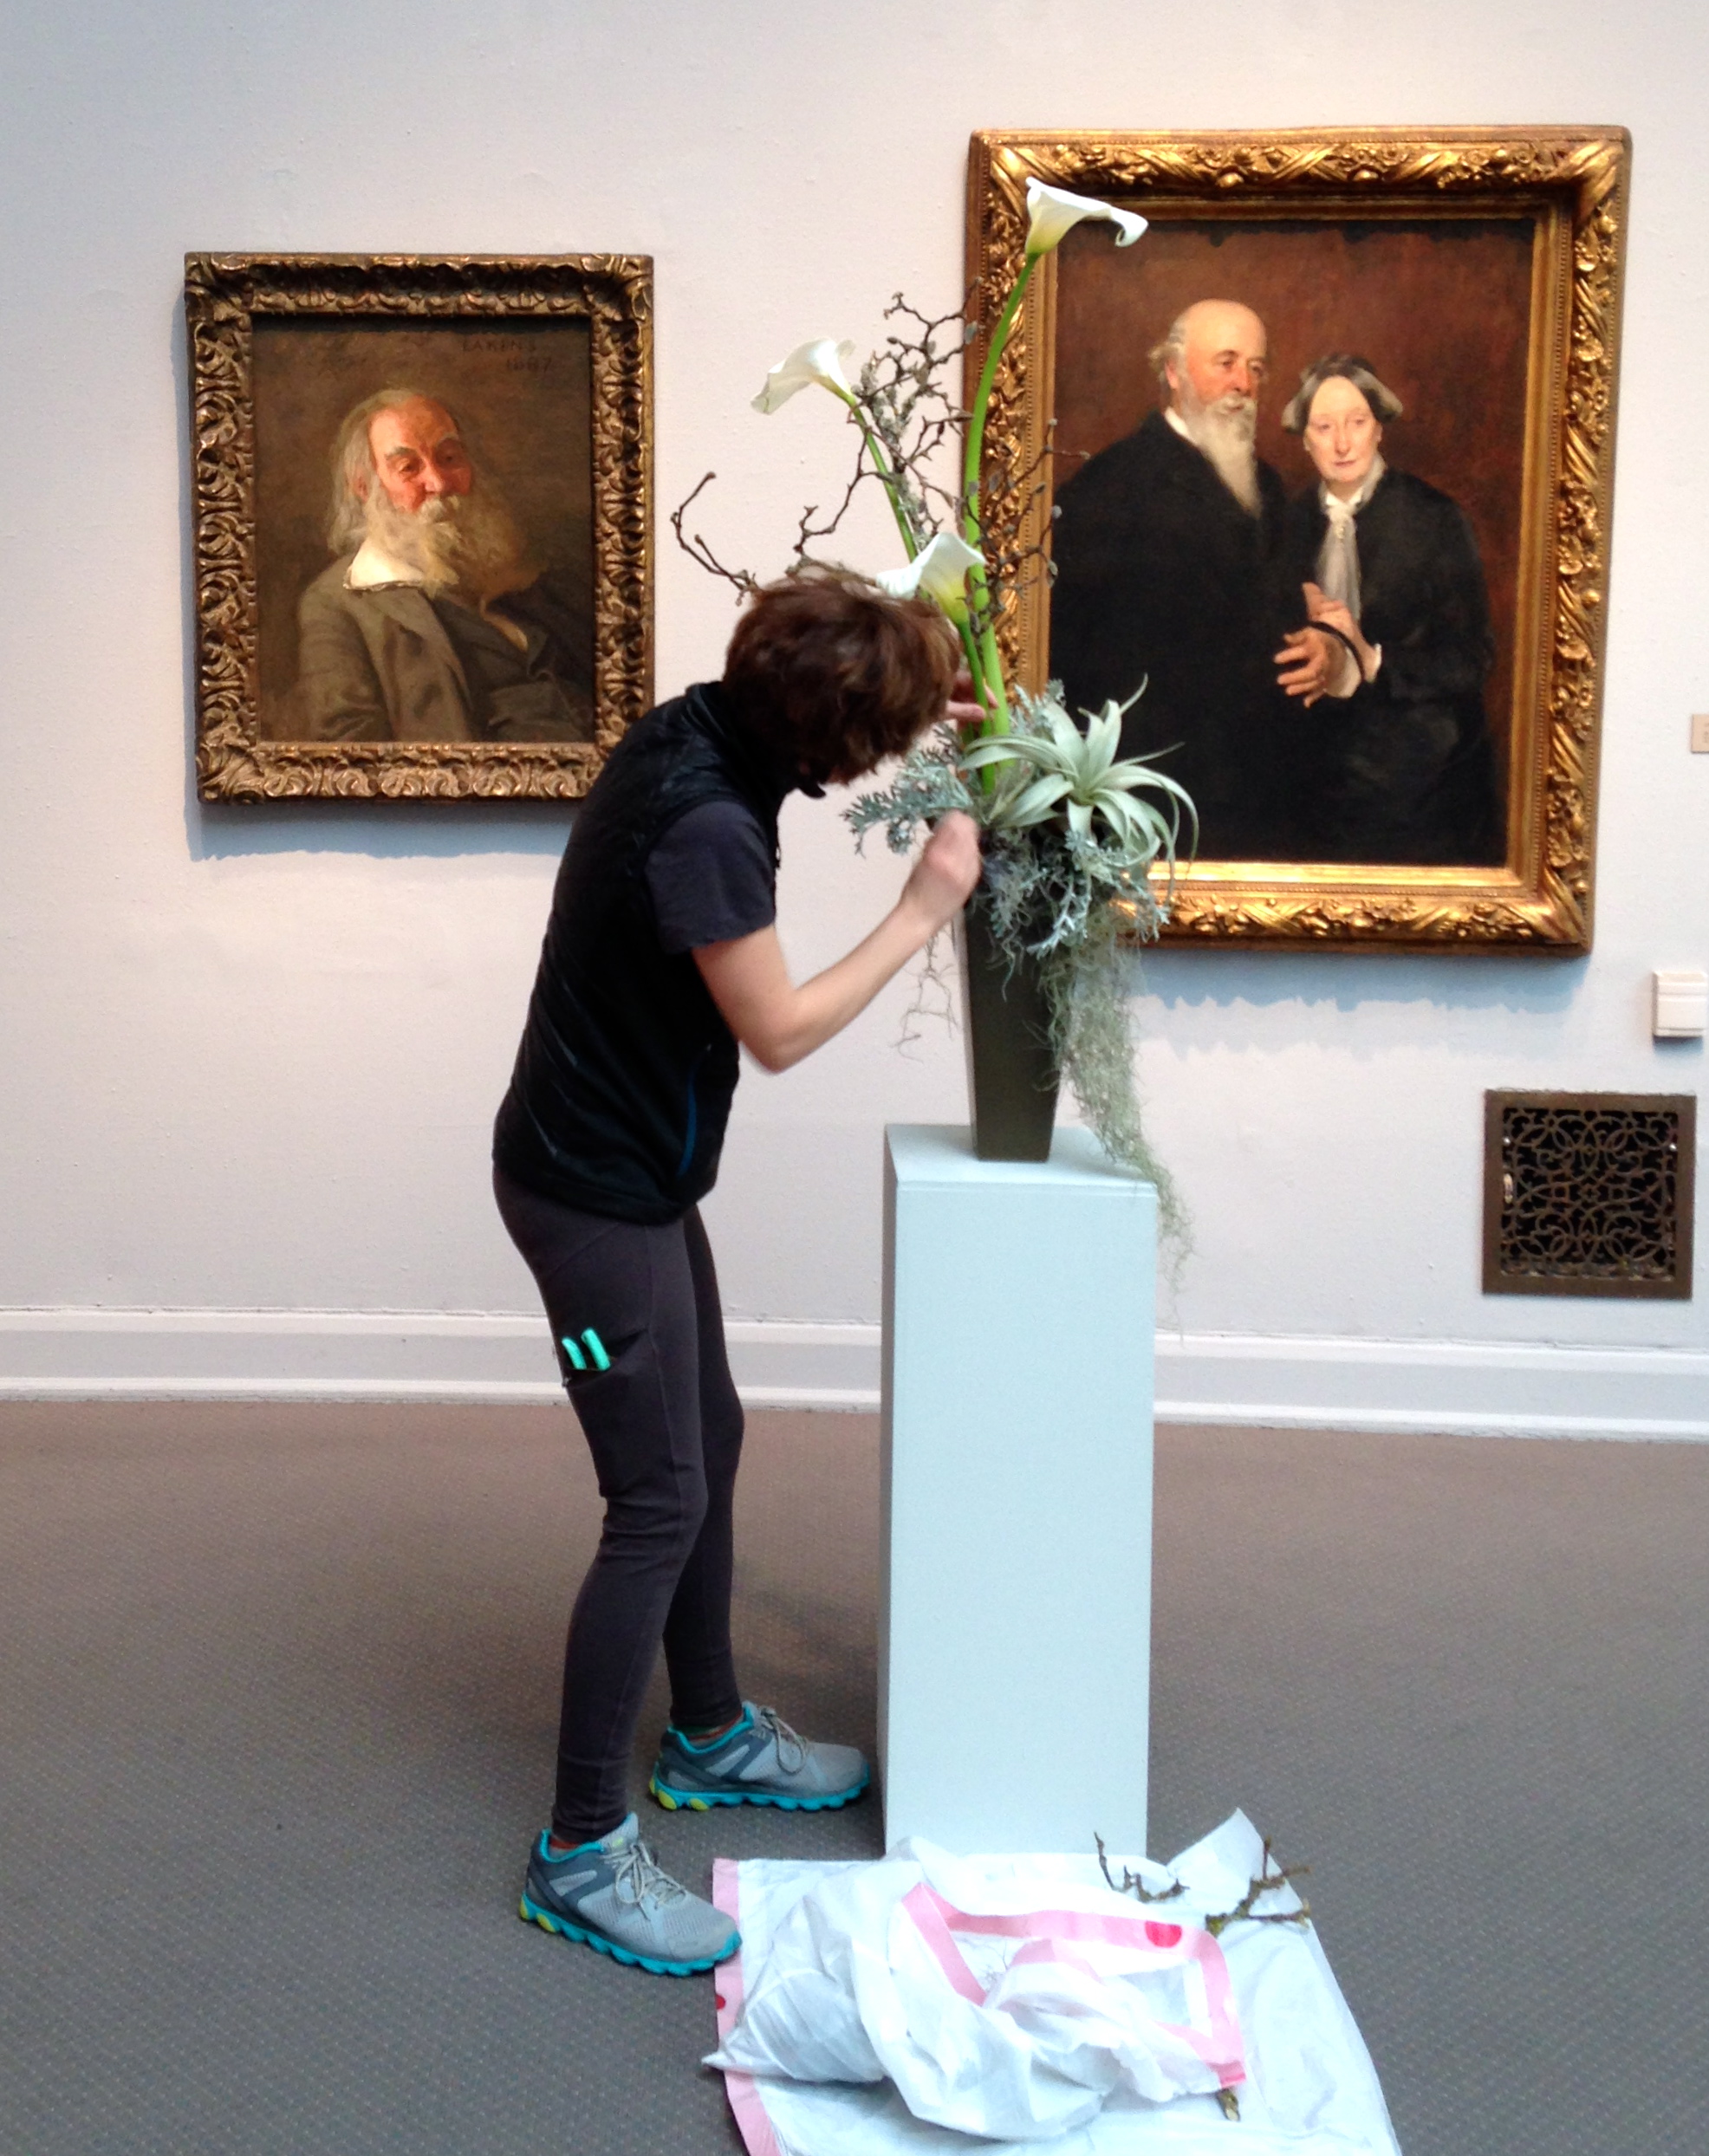
Making some last minute tweaks to my design…having trouble ‘walking away’…photo by Juliet
In the end, I was pleased with our efficiency in getting in and out of PAFA, because my design really only had a few materials in it (I had created the base of galax and some spanish moss the day before.) Thank you Juliet for rocking this day with me!

Getting friendly with Walt
Then, it was on to the Preview Party, a gala affair attended by those in support of PAFA in Bloom. It was so exciting to see all the fresh faced designers and my floral friends Peicha, Valerie and Jane in one place..and to watch people looking at my design! Here are some photos from the evening:
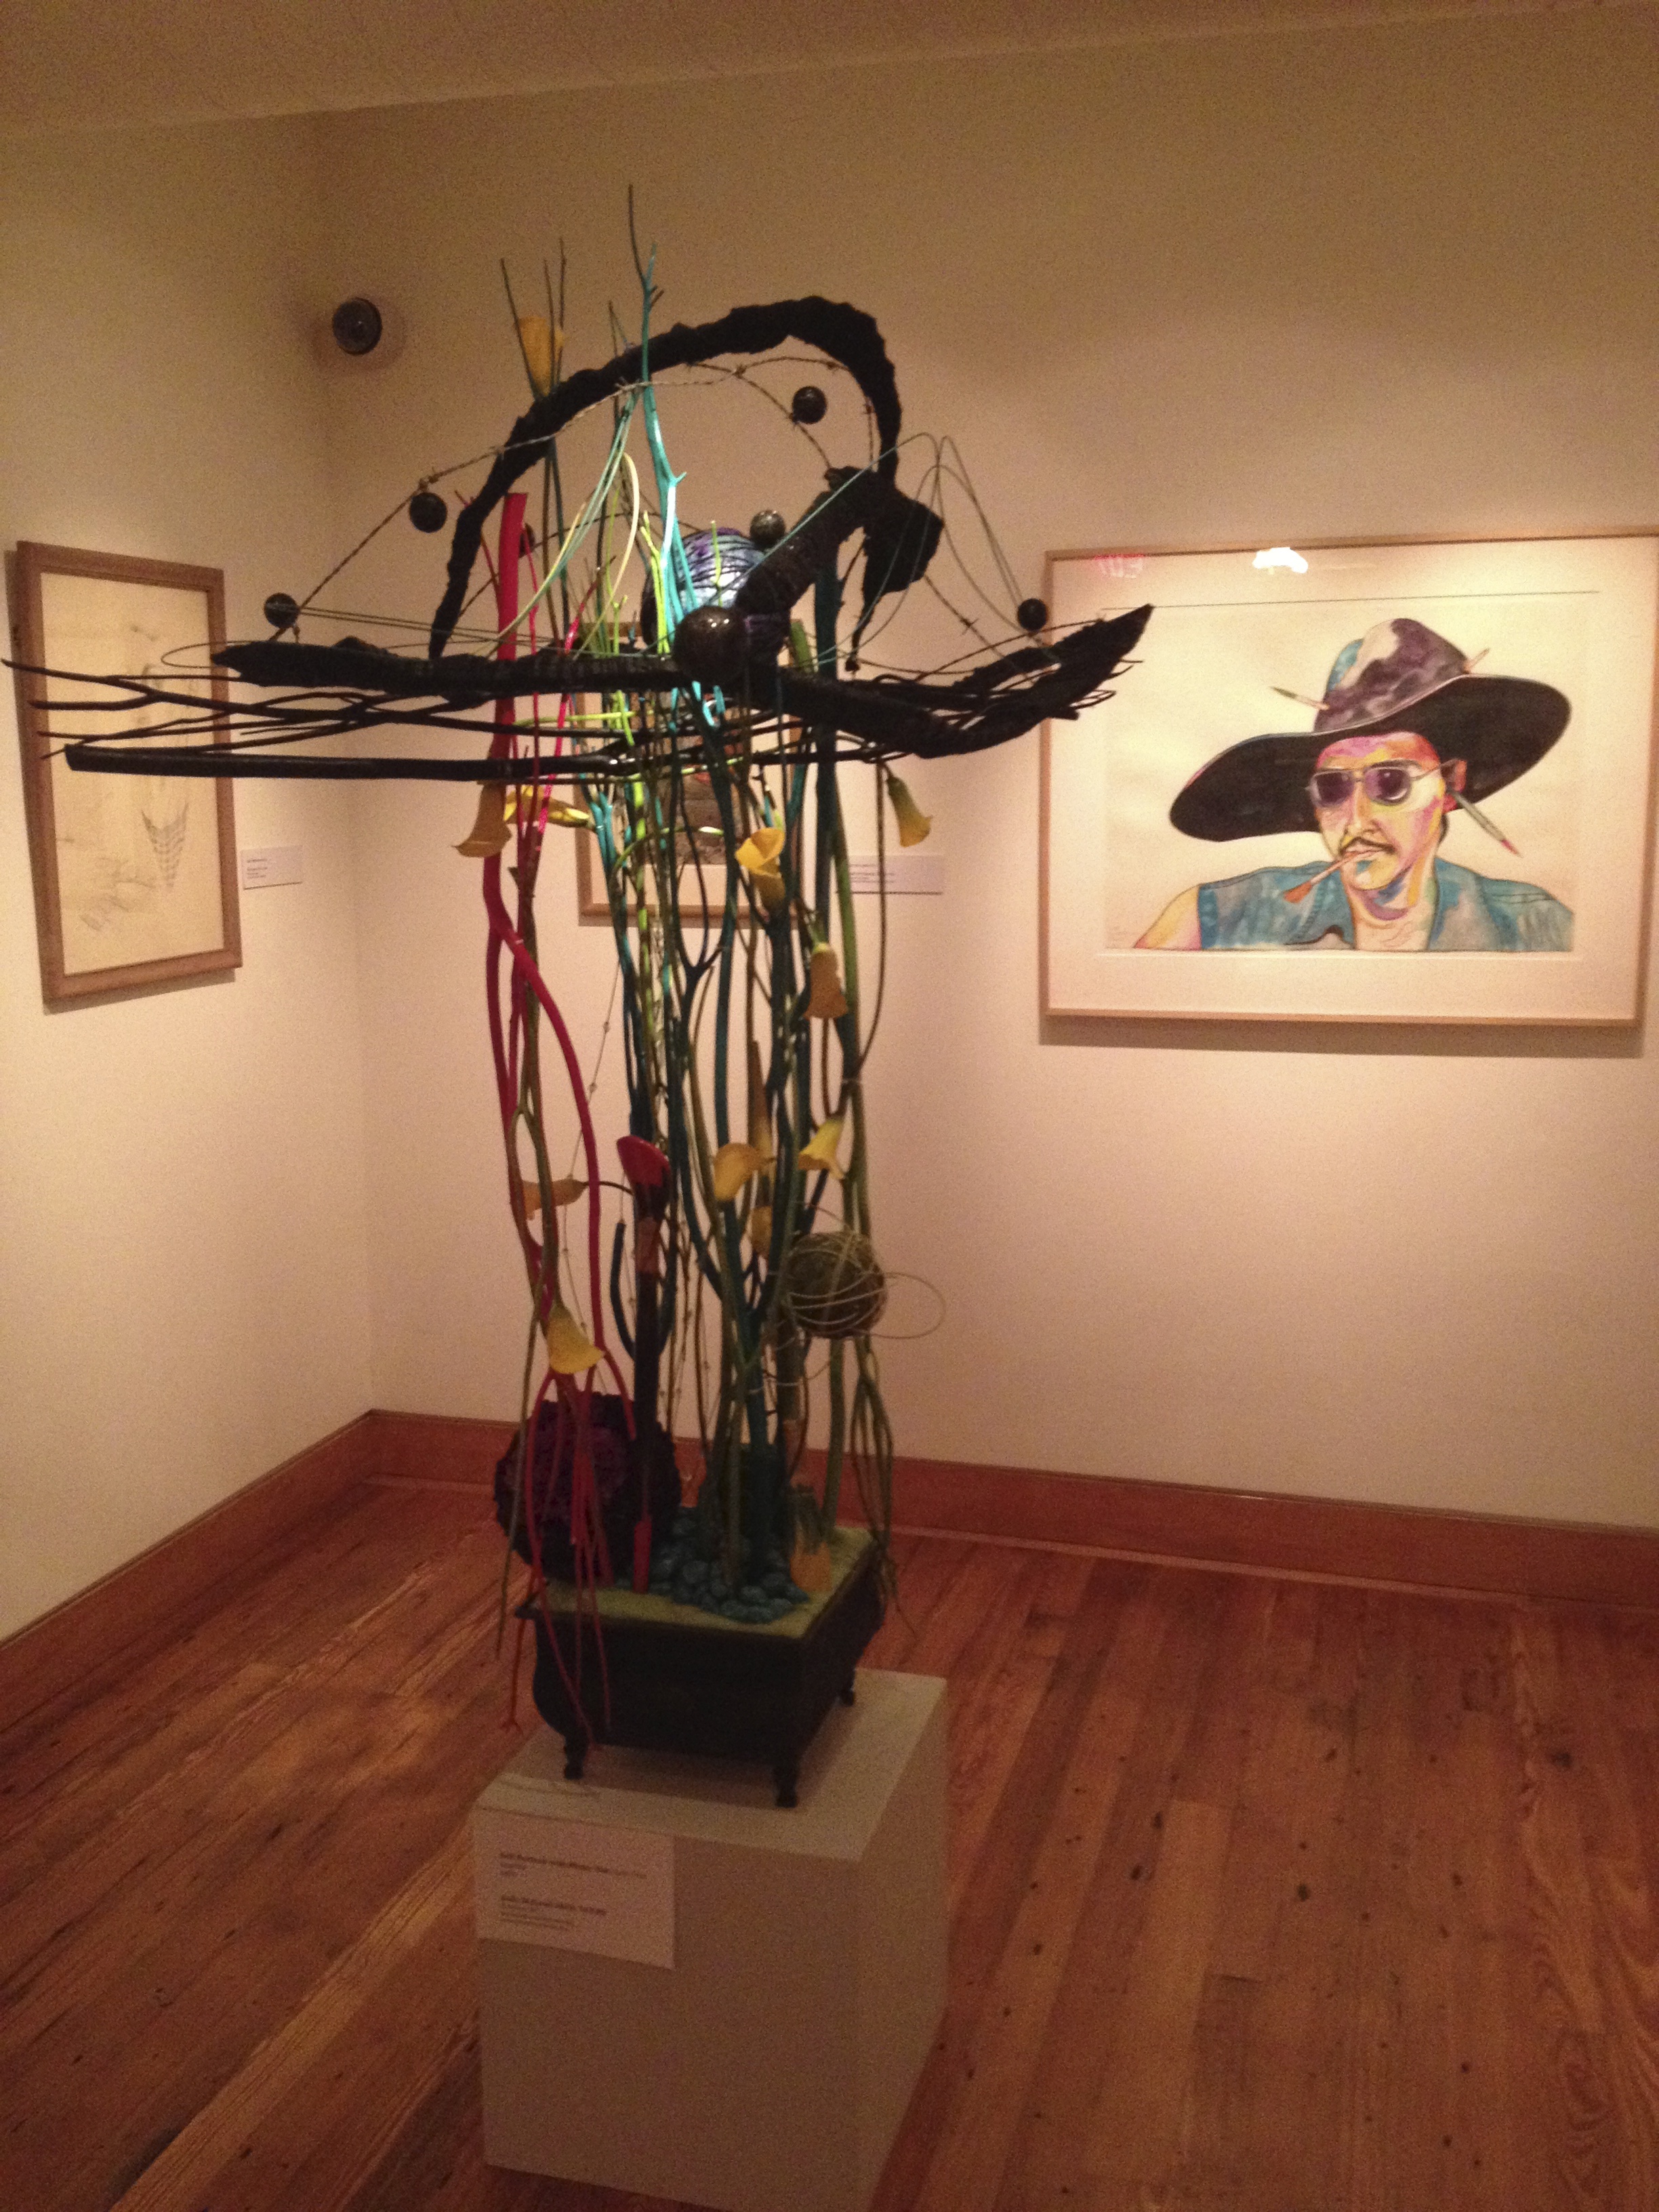
Jane takes a closer look at an intriguing design

Peicha is in the house! With Naima, quite a masterpiece herself.
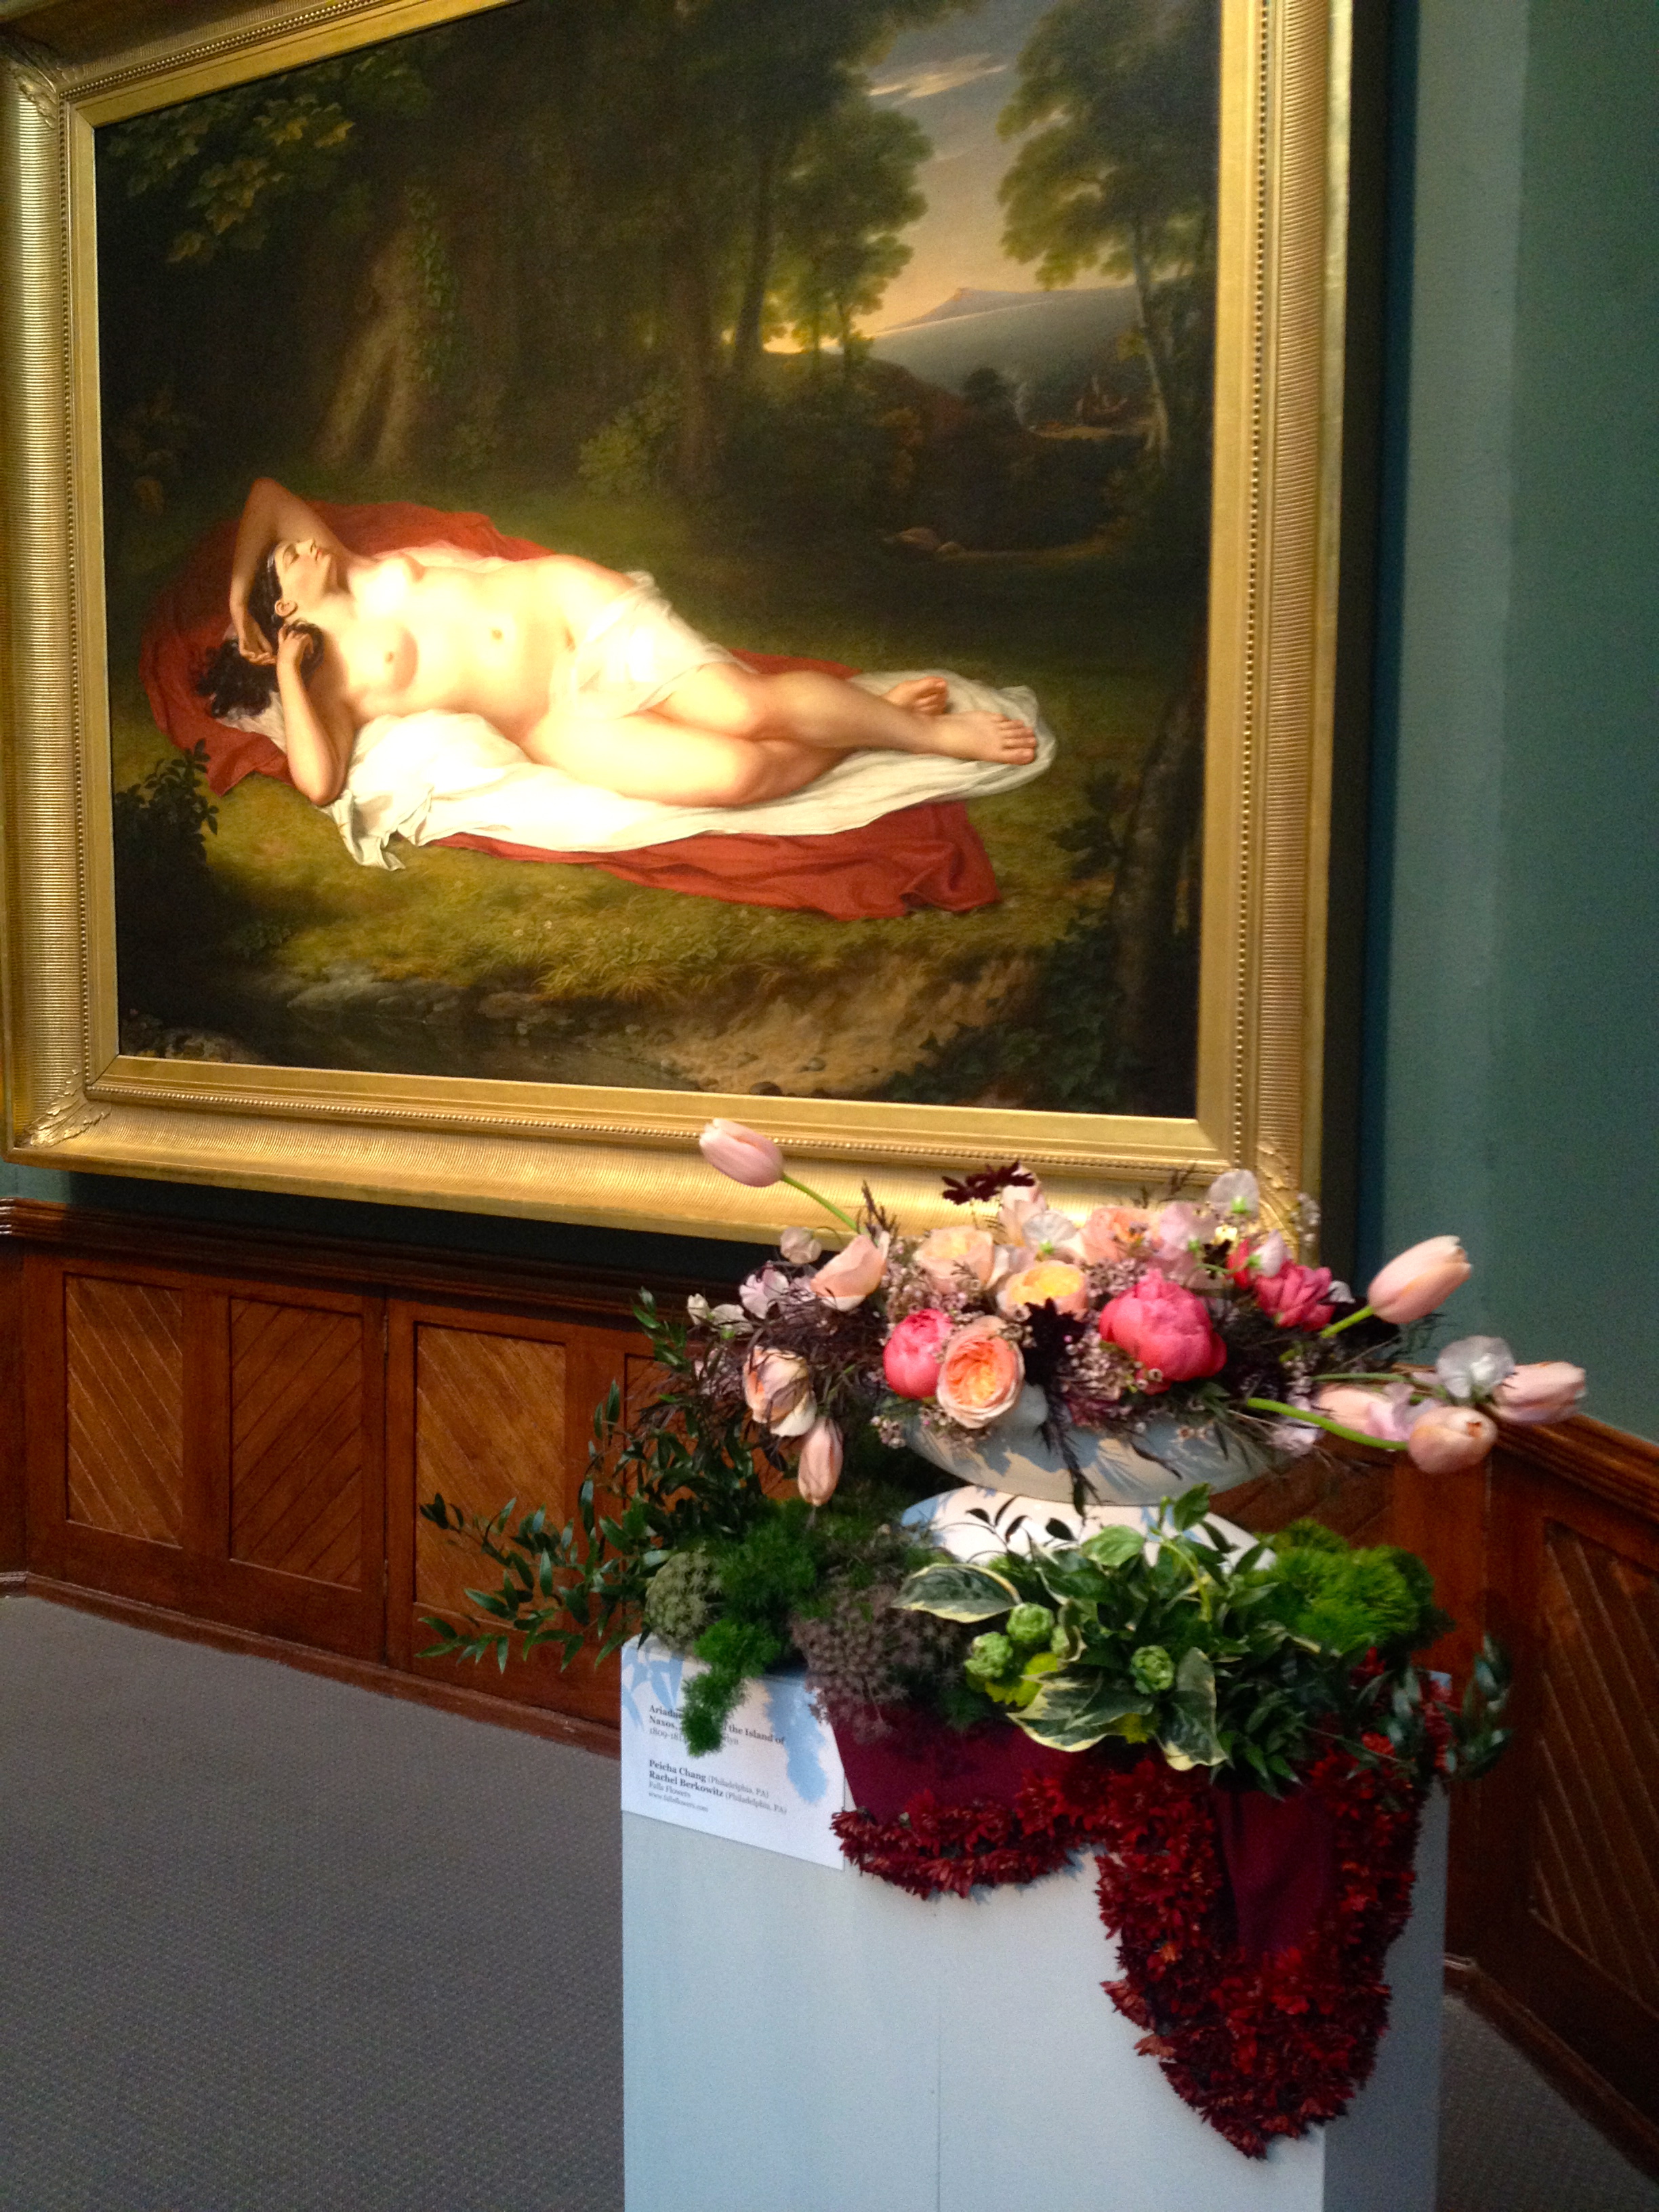
Ariadne Asleep on the Island of Naxos as interpreted by Peicha Chang of falls flowers. Simply sensual!

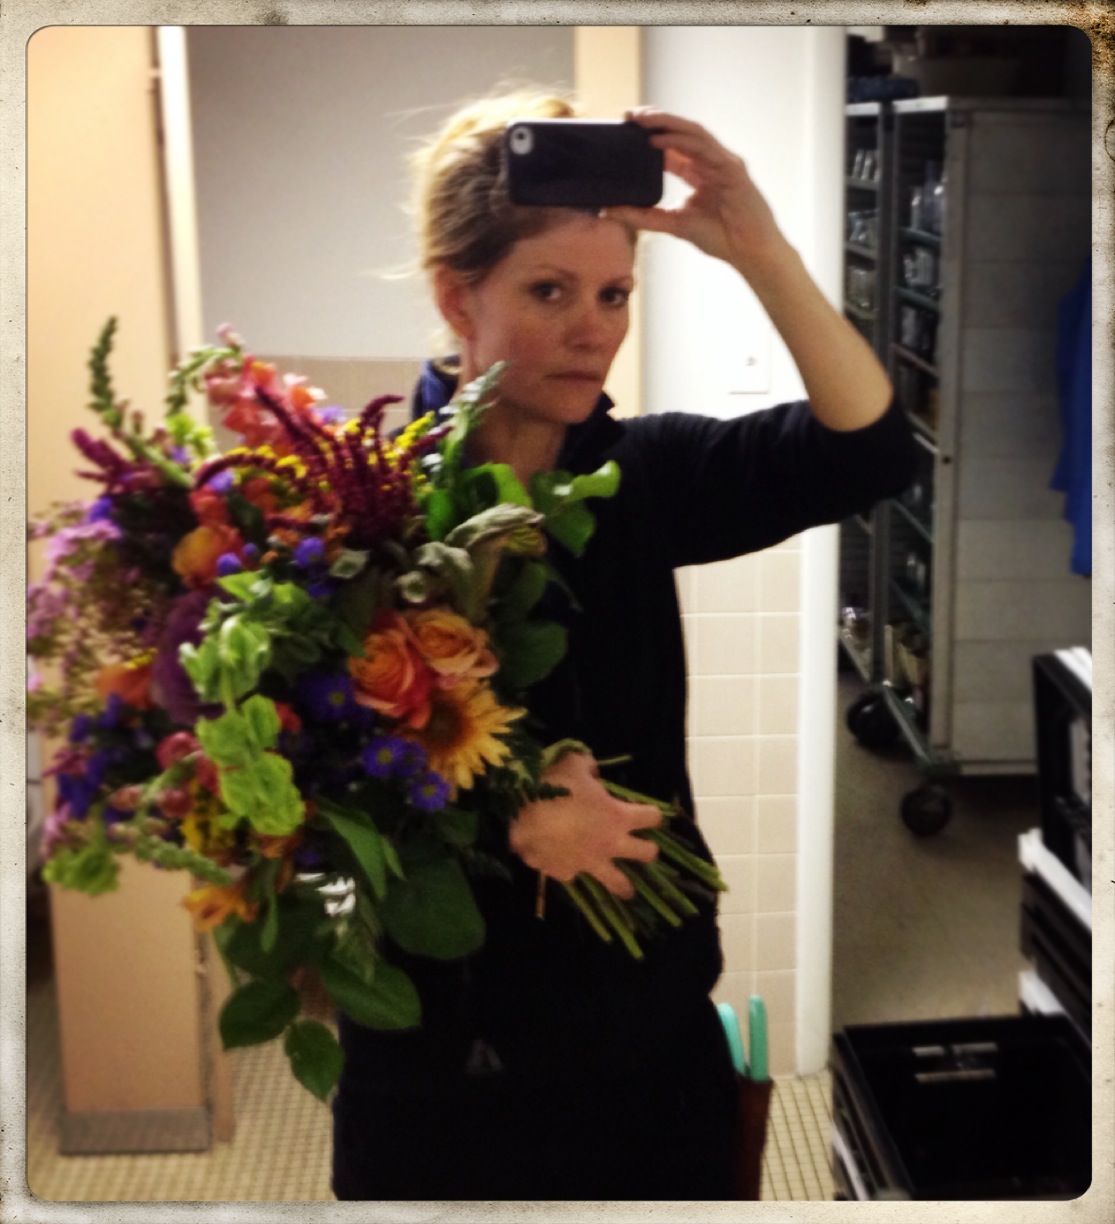
Valerie McLaughlin’s magnificent “hand-tied” bouquet. Thanks Valerie, for making me aware of this event!

Take a look at Death on the Pale Horse, a Benjamin West painting, which at 176 x 301 inches is one of the largest oil paintings in PAFA’s collection. The floral designer who interpreted this one was a genius in my opinion…
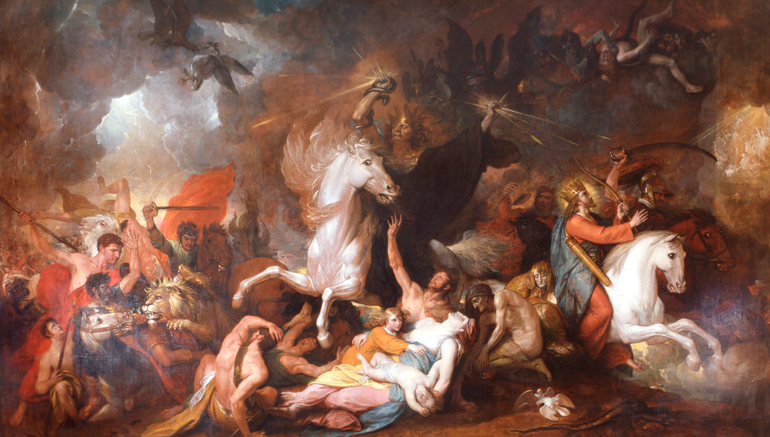
Benjamin West’s Death on the Pale Horse 1817

This floral translation of Death on the Pale Horse was astounding.
It was intimidating to be in the same room with the works of so many great artists, and then great floral designers as well, but it was an experience I will never forget. Thanks to Schaffer Designs for including me and for organizing this very successful event, and for maintaining my design over the course of the exhibit…I hope this will be the first of many!
After the show, I got some great feedback from George Hubner, right here in Swarthmore: “I saw the PAFA in Bloom exhibit this afternoon, and your arrangement stood out in particular among the 60 others! I didn’t go around paying any attention to the names of the arrangers, but I noted yours. I have noticed that in the US when someone makes a flower arrangement, the more flowers they can cram in the better. Why use just three flowers then you can stuff in 30 in the bowl instead. The Japanese will use three to great effect, but in the US more is preferred (or as Mae West is supposed to have said “too much is not enough”). Your arrangement stood out for your use of only three flowers. It looks like a Sogetsu to me. And it seems to me that your using calla lilies was referencing Whitman’s calamus poems too. There must have been thousands of flowers used in the arrangements! The masses were impressive, but your arrangement was simplicity itself and refreshing to see in the middle of all the other over-the-top arrangements.” Thanks, George!